-
How to Create a Realistic Orange in illustrator?
almost 8 years ago
STEP 1
Choose File > New. Once the new document window appears name the document then add width and height.
STEP 2
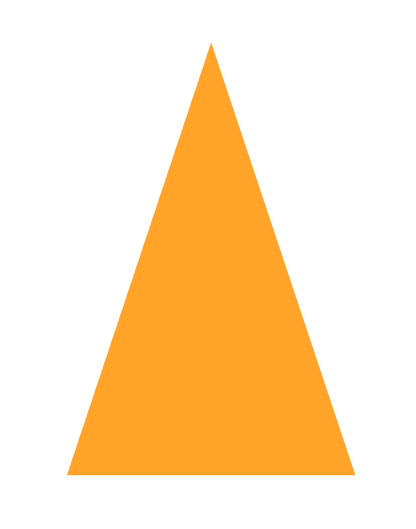
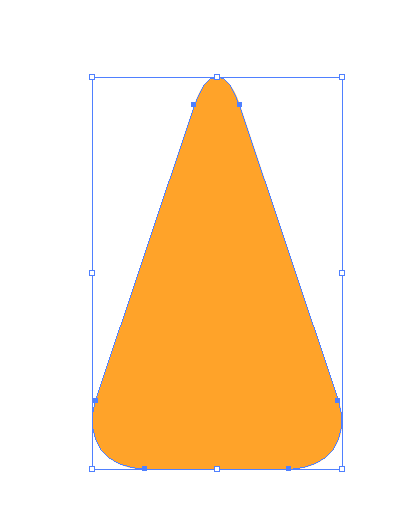
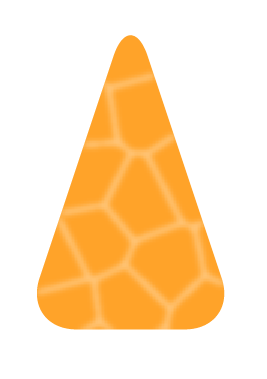
Create a triangle having width 2 in and height 3. Then fill it orange color ( R= 255, G= 163, B= 41 ). Make the corners round. To make the corners round choose Effect > Stylize > Round corners and set the value according to your need. As I have set the value to 0.50 in, now expand the object choose Object > Expand Appearance and then ungroup the object.
STEP 3
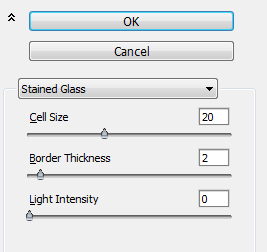
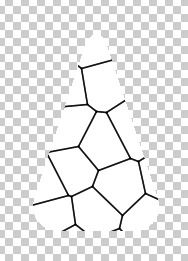
Now we have to create the texture for inner parts of the orange. Copy the triangle, fill white color in it, than choose Effect > Texture > Stained glass. See the below image for stained glass settings.
STEP 4
Expand the object choose Object > Expand Appearance than go to Window > Image Trace and follow the below settings. after that expand the object go to Object > Expand. Ungroup the object three times place the stained glass effect above the yellow triangle and decrease the opacity. Apply Gaussian blur than group the two object.
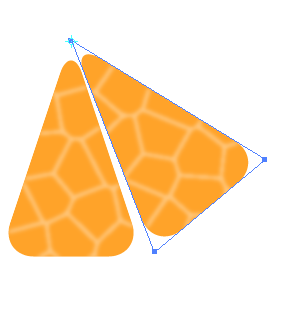
STEP 5
Now make the other part of the orange. Rotate the object by Alt-clicking to the position that you want. Repeat the last action by pressing Ctrl + D.

STEP 6
To make orange more realistic and natural we should add more effects. Select the orange make copy of it and send it to the back. Fill orange color and opacity up to 50 %. Then group it.
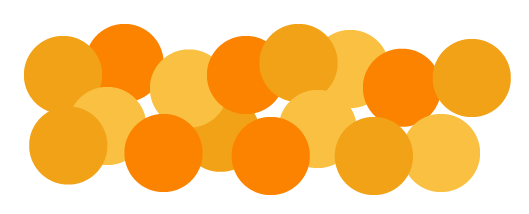
STEP 7
In this step, we will make edges of the orange. Create the group of an ellipse in different shades of orange color as shown in below image. Group these ellipse move them to the brushes panel ( Window > Brushes ) after creating pattern brush erase the group of ellipse from the artboard. Now make an ellipse apply the pattern brush to it and decrease the opacity.

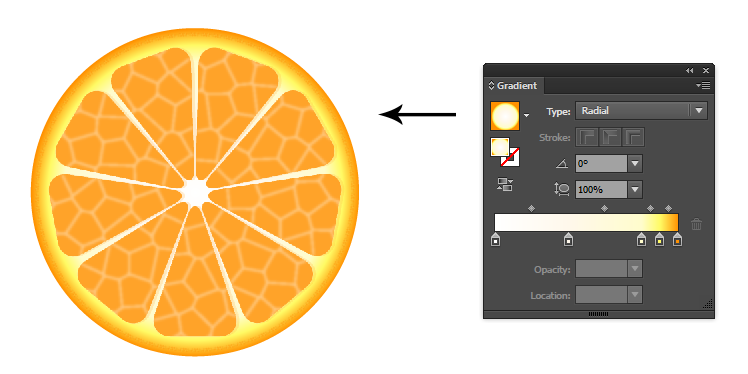
STEP 8
Now create another ellipse bigger than the previous one and send it to back. Apply the gradient to the ellipse take five colors in gradient one is white and other four will be shades of orange color. you can take the color values as shown in below image.
STEP 9
Create the upper part or we can say that the exterior part of Orange. Create ellipse and with the help of direct selection tool delete left anchor point of ellipse. Now we have a semicircle.
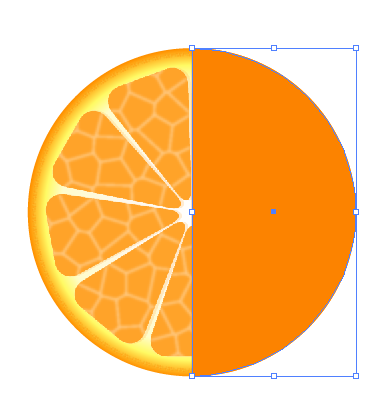
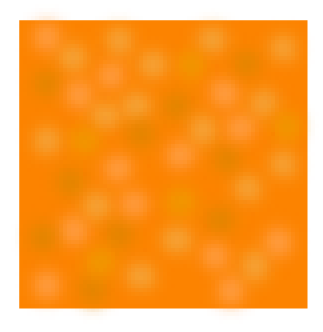
STEP 10
Now we have to create the texture for the upper part of Orange. First, create a square of width & height 1 in. fill this square with orange color make the copy of a square with no fill and no stroke and send it to the back. Inside the orange square create various types of ellipse with different shades of orange color select all the ellipse and apply gaussian blur choose Effect > Blur > Gaussian blur.
STEP 11
Select the two squares and ellipse and move them to the swatch panel. Apply the swatch to the semicircle that we have created previously and send it to the back.
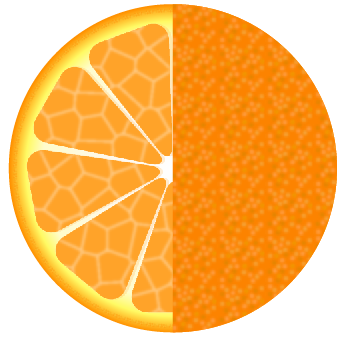
STEP 12
Select the orange ( Inner part ) and compress it as shown in below image. adjust the outer part of the orange as per the inner part you compressed. Then select everything and rotate a bit.


0 Comment(s)