-
How to Display Advance Custom Fields in Wordpress - 2 Different Methods
almost 7 years ago
Custom fields are the addition fields in WordPress that are used to show the custom data that we want to show/have in our WordPress posts/custom/posts or pages.
While adding a new post in WP Website you will find draggable or drop-down boxes, those boxes are the custom fields or we can call it meta boxes which have a feature that permits you to add additional information about a post on your website, we also call that information a metadata.
In this tutorial I will show an example to create custom fields by 2 different methods:
Method 1: By writing few lines of code in functions.php
You can write the below lines of code in your theme functions.php for adding custom fields to any post type.
<?php


    $phone          = get_post_meta( $post->ID, 'phone', true );
    $mobile         = get_post_meta( $post->ID, 'mobile', true );
    $event_start    = get_post_meta( $post->ID, 'event_start', true );
    $description    = get_post_meta( $post->ID, 'description', true );
    ?>
    <table>
        <tr>
            <td>Phone Number : </td>
            <td><input type="text" name="phone" value="<?php echo $phone; ?>" placeholder="Phone No" />
        </tr>
        <tr>
      <td>Mobile Number : </td>
            <td><input type="text" name="mobile" value="<?php echo $mobile; ?>" placeholder="" />
        </tr>
        <tr>
            <td>Event Start Date : </td>
            <td><input type="text" class="special_start_date" name="event_start" value="<?php echo $event_start; ?>" placeholder="" />
        </tr>
        <tr>
            <td>Description : </td>
            <td><textarea name="description" cols="150" rows="6" placeholder="" ><?php echo $description; ?></textarea>
        </tr>
    </table>
Method 2- By using the plugin i.e. advanced custom fields.
This is a very useful plugin using which custom field can be created easily.
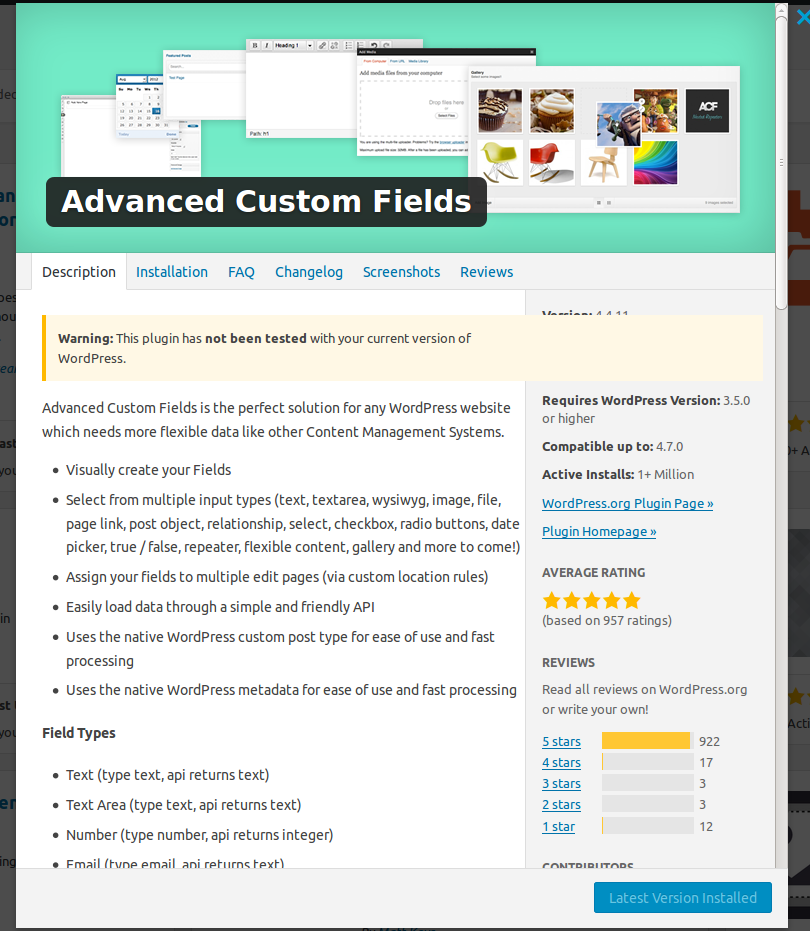
Make sure you Install the same plugin as shown in the screenshot above.
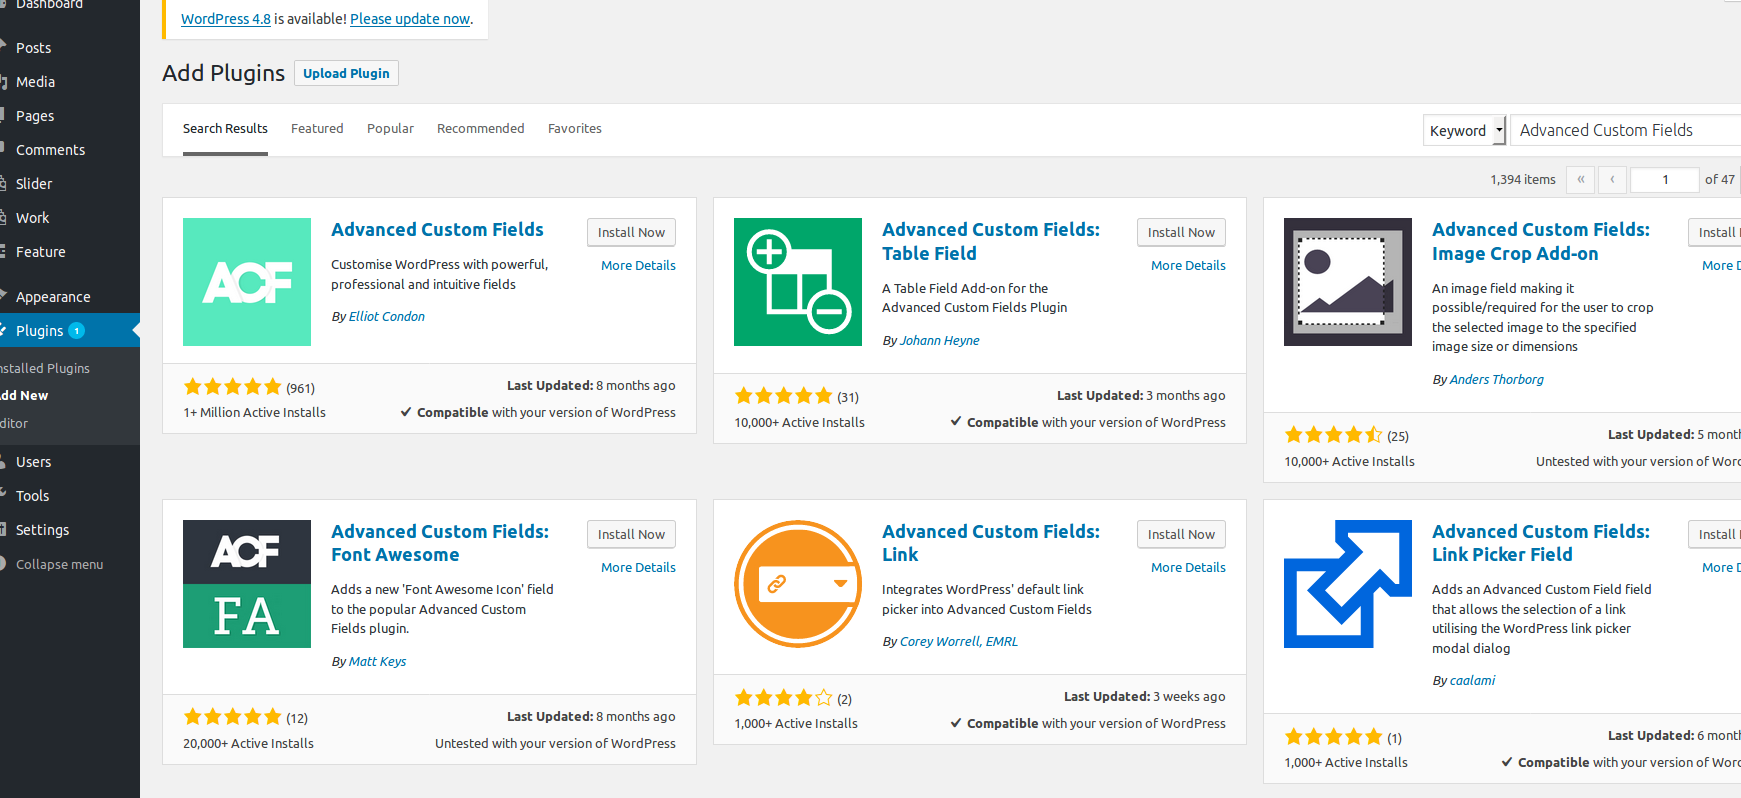
Step 1: Instalation Process: First login to your WordPress dashboard then go to
Plugins-> add new and search for the plugin Advanced Custom Fields.
After Installing the plugin just click on add or create custom field, it will hardly take 3-4 click for creating fields.
See the below screenshot for installation help:
Step 2: Once the plugin is installed and activated after then you can go to custom field menu on the bottom left and can add new form group.
Step 3: This plugin having features like it already has multiple input types defined.
You only have to select the type of the input box like ((text, text area, wysiwyg, image, file, page link, post object, relationship, select, checkbox, radio buttons, date picker, true/false, repeater, flexible content, gallery and more ).
You can select from any input type and can assign these fields in any WordPress custom post type.

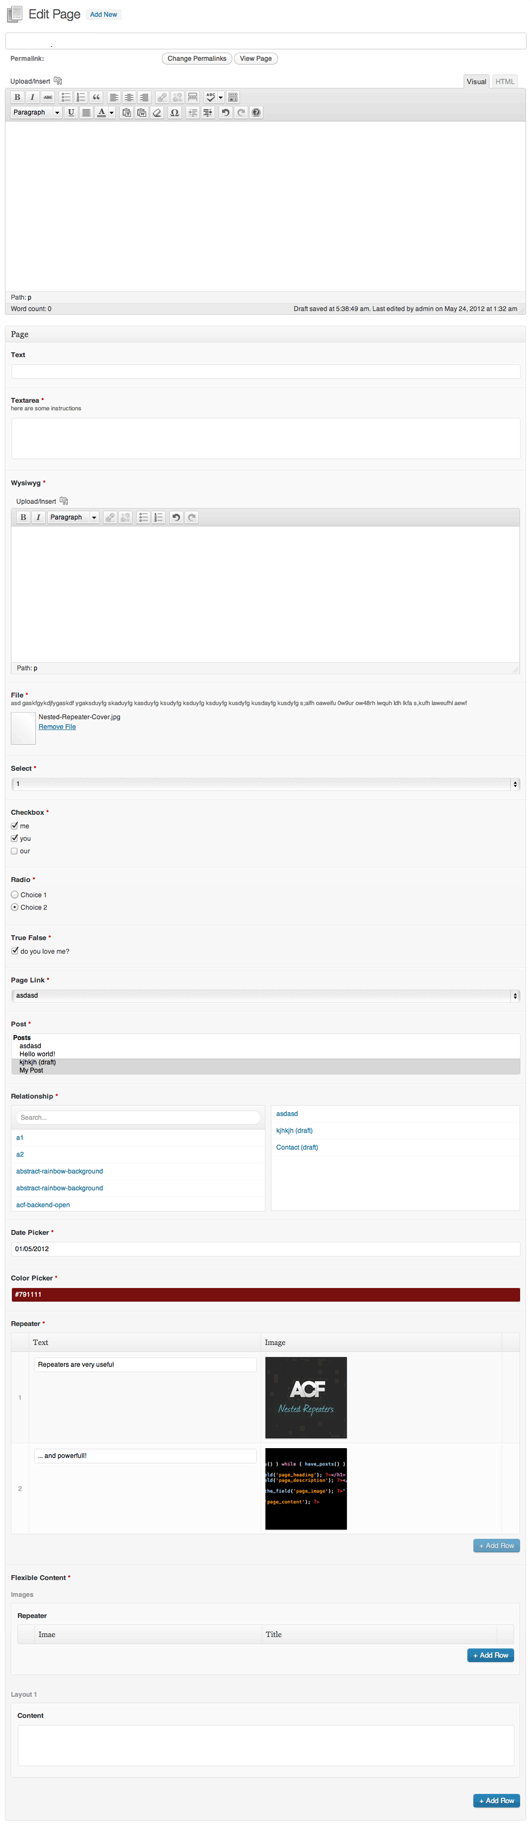
Step 4: Once all the fields that you want for any post is added. You can set it or can assign it to any custom post or page.
And once set and assigned, you can save your custom field and can check the post that the form fields you added in the plugin will be visible in the post add and edit page.
Step 5: After adding posts you have to set the custom field data to be visible on the FrontEnd page, for that you have to edit the file and have to write one line of code for each custom meta box you want to show on that page.
For example, if you have added the custom fields in posts, you can edit your theme's single.php file.
<?php the_field('new_field') ; ?>
//new_field = it is the name of the field that you create in the custom field.
The code will looks like as in below screenshot


0 Comment(s)