-
How to create a fire effect in illustrator
over 7 years ago
In this tutorial, we'll learn how to create the fire effect using gradient mesh. follow these steps to create it.
Step 1: Open up a new document and make a rectangle with solid black color.
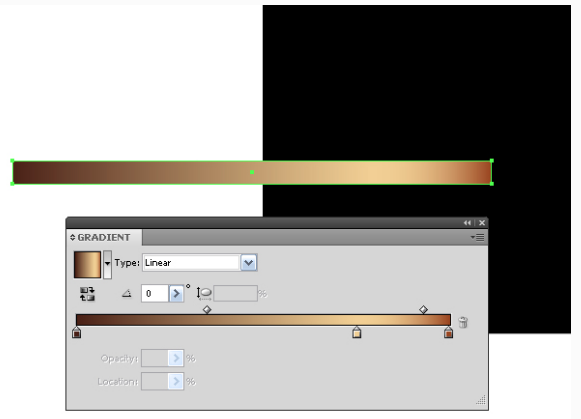
Step 2: Make an another rectangle to create a match stick filled with brown shades of the linear gradient. Copy that rectangle and paste it in a front. slightly reduce the height and filled with a linear gradient of dark brown shades.
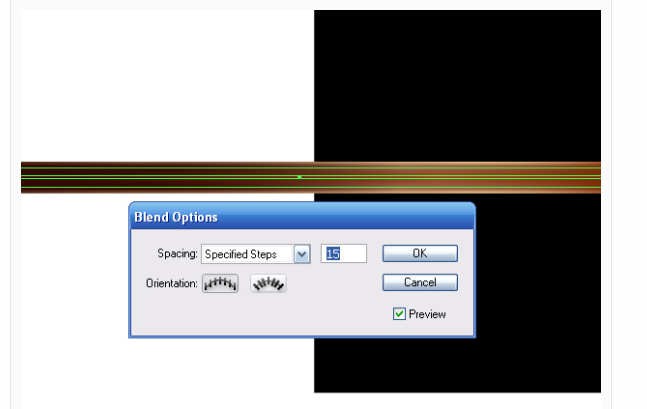
Step 3: Select both object and Goto Object > Blend > Make.
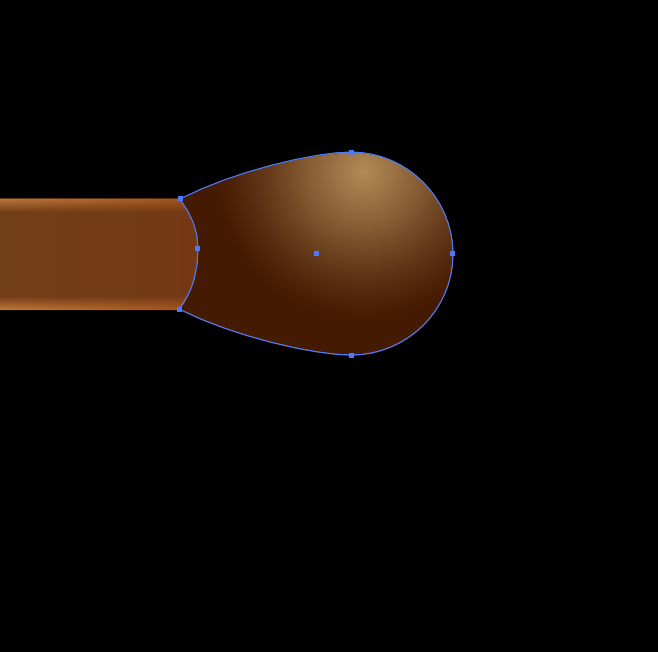
Step 4: Now make a match head. For that first make an ellipse but besure that the ellipse should be center align with the right of the match stick. see the below image to place the ellipse.
Step 5: Take a direct selection tool and select the left anchor point. Drag the anchor point to the left. Now add two points on the circle which intersects the match stick.
Step 6: By using direct selection tool transform the shape. Filled with radial gradient from dark brown to light brown shades.
Step 7: Copy and paste the shape of match header and changed the gradient color to slightly dark shades.
Step 8: Take a pen tool and make some wood burnt area and filled with dark brown color.
Step 9: Create pores on the match head. Make a ellipse on the match header. firstly use the solid color of fill the radial gradient of the match head. copy and paste the ellipse on it. Reduce the size and filled with dark brown color.

Step 10: Now we'll create the match flame. Take a pen tool and create the shape of flame. select the flame and send to back to match stick.
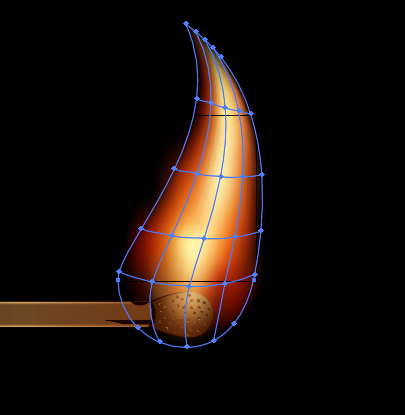
Step 11: Select the shape of the flame and Go to Object > Create Gradient Mesh.
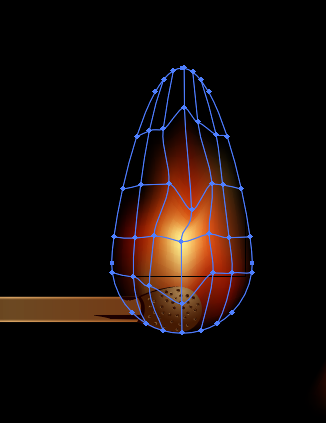
Step 12: By using direct selection tool. Select the anchor point and move the points so the shape just look like flame. See the below image to set the anchor points.
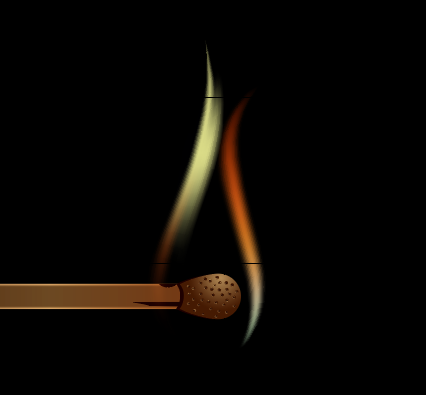
Step 13: Create another flame and add gradient mesh. Now select the shape and color it.
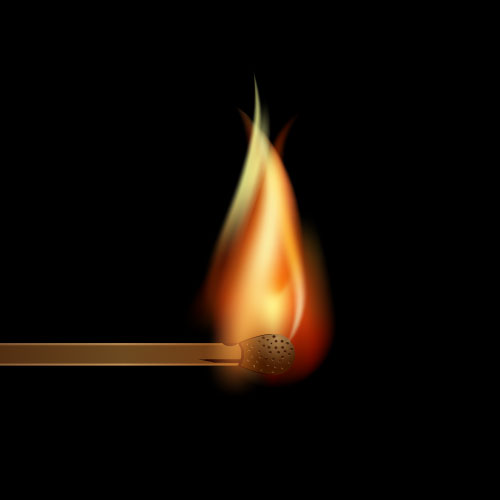
Step 14: Now create two more feathers of the flame.
Here we can create the flame by follow these steps.


0 Comment(s)