-
How to create a smoke effect in illustrator
almost 8 years ago
In this tutorial we'll learn how to make smoke effect.
Step 1: To create a smoke effect, First we need to open a new document of any size. Make sure your color mode is in RGB mode.
Step 2: Now goto the rectangle tool and make a rectangle on the canvas. Fill with dark blue color inside it. Create inside this rectangle.
Step 3: Take a mesh tool and add the mesh point inside the rectangle. See the below image for adding mesh in the rectangle.

Step 4: Take a Direct selection tool and select the mesh points and fill the different shades of grey color.

Step 5: Take the warp tool and double click on it. open the warp tool dialog box. Set the value of brush size by 150px * 150px.
Step 6: Now select the rectangle and deform the mesh by using warp tool as shown in below fig.
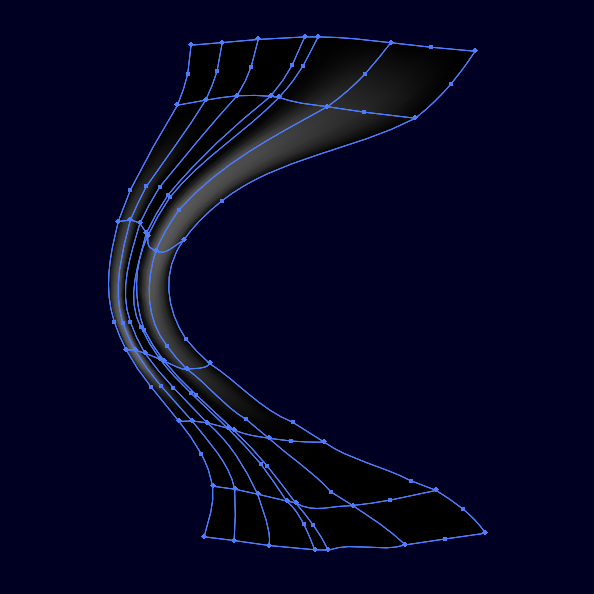
Step 7: Apply the screen blending mode on the mesh.
Step 8: Now create some more gradient mesh to get better result and make sure the mesh point can be re-colored by different shades of grey.


This is the process to make smoke effect.


-
almost 8 years ago
very good
-

1 Comment(s)