This blog is part of 1 Tute Sets.
Google Spreadsheet and Excel Tutorials
Tute set by sachin.joshi
10 Blogs-
1
How to split text in Google spreadsheet or excel?
by sachin.joshi
-
2
How to Find Duplicate Values in Google Sheet or Excel?
by sachin.joshi
-
3
How to solve #NUM! error in excel?
by sachin.joshi
-
4
Hide Columns and Rows in Excel
by sachin.joshi
-
5
Keyboard Shortcuts for MS Word and MS Excel
by sachin.joshi
-
Grouping columns and rows in Excel and Open Office Calc
almost 11 years ago
Hello Friends,
In My previous blog I have explained about Transpose feature of Excel- Move data from column to row and vice versa in excel.
Now, in this tutorial we will talk about Grouping Columns and Rows in MS EXCEL and Open Office Calc.
Grouping allows you to group a se of rows or columns which you can expand or hide for easy readability.
According to me this is really helpful and useful for handling a large spreadsheets where you want to see your data in organized manner.To do This below are the steps-
Step 1- Select the cells you want to be able to group, first you have to select the row or Column you want to group or on which you want to applying grouping.
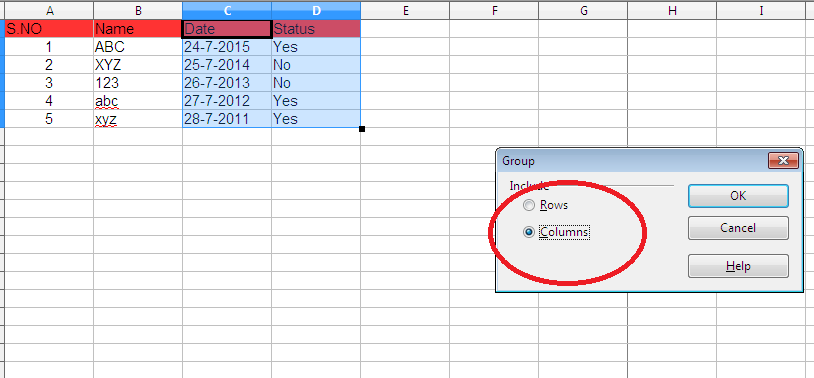
Step 2- Go to Data Group and OutlineGroup or Press F+12. After this you will see a pop-up on your screen on which there will be 2 options (1. Row and 2. Column) Select any one of the option which you want to Group.
In the below example I want to Group the Column C and D to Group both of them, I will select Column C and D, Go to Data and select Group and outline and then select group (for newer version Go to Data-->Group-->Group). And then I select Column as I already mentioned that I am grouping Column C and D.
See the screen shot below-
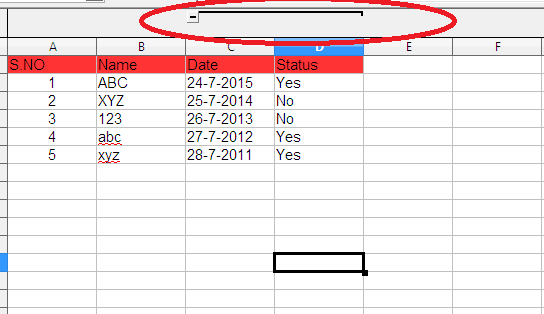
Step 3- Now You can clearly see the bar which is indicating the grouped data. As shown in below screen-shot area marked in red circle.
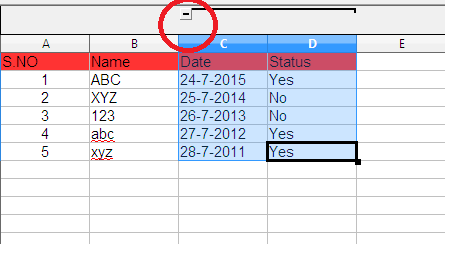
That's all you have do, Now on left side of the bar you can see "" sign By clicking on the "_" sign you can collapse the grouped data/column.See the screen shot below-
If you want to display back the columns you collapsed, So on the same bar you can see that there is "+" button in place of "" button, so clicking on "+" button it will display your columns back.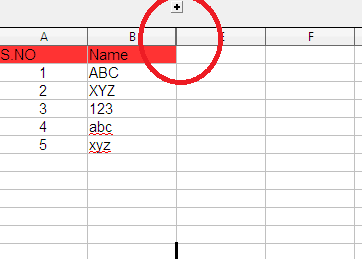
If you want to Ungroup the selection made previously then just Go to Data Group and Outline Ungroup.


0 Comment(s)