-
Phpmyadmin: How to install PhpMyAdmin in Ubuntu 14.04
about 10 years ago
This blog will help you to understand how to install securely phpMyAdmin to manage your databases on Ubuntu 14.04
How to install phpMyAdmin:
Step 1: First you need to update the package index on your server with this command:
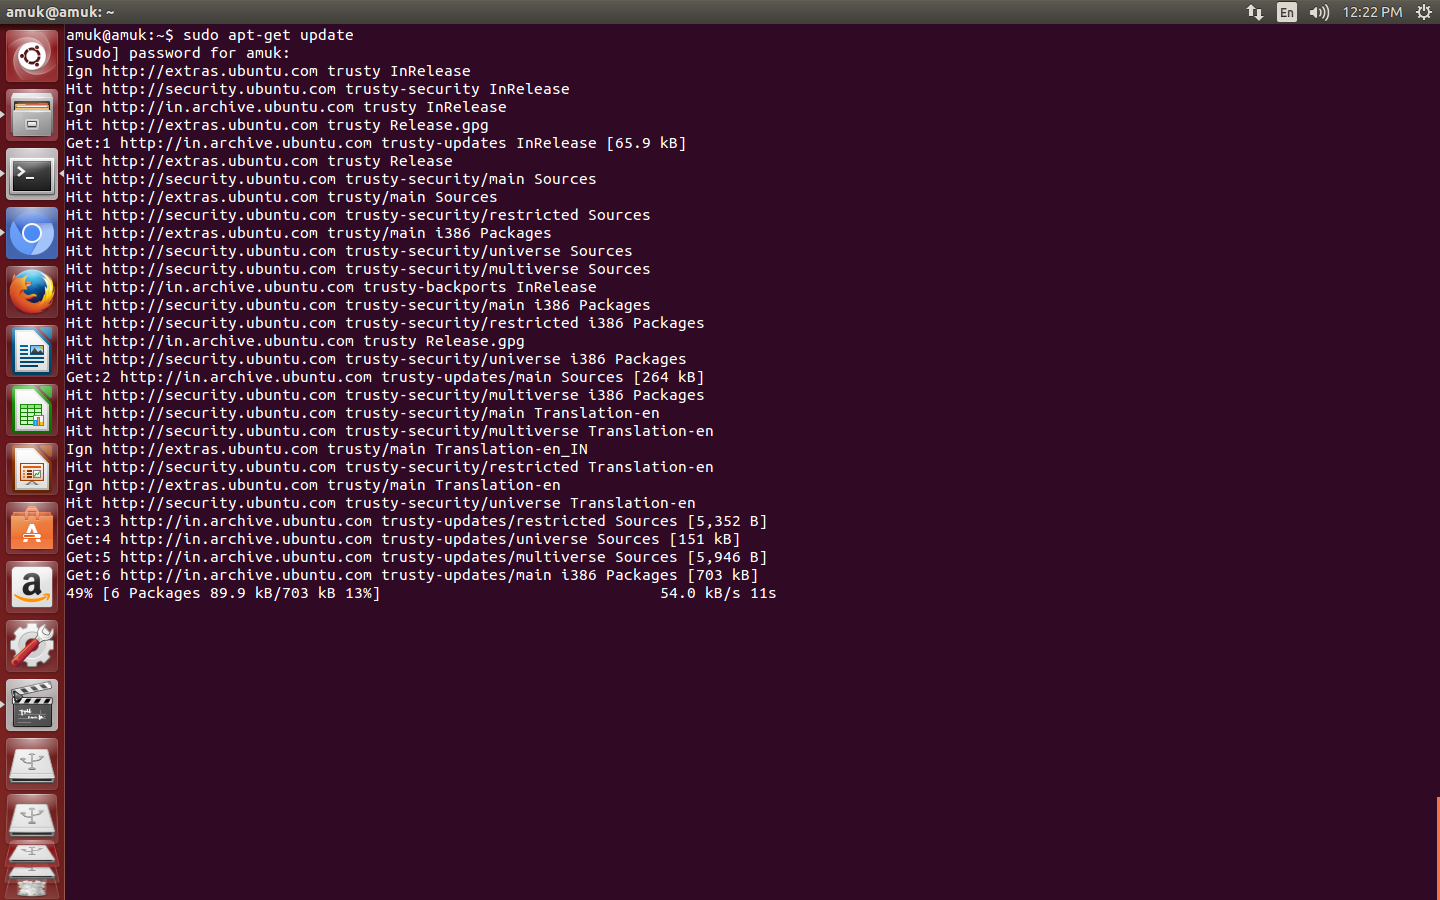
Now write this command to install phpMyAdmin:
$ sudo apt-get install phpmyadmin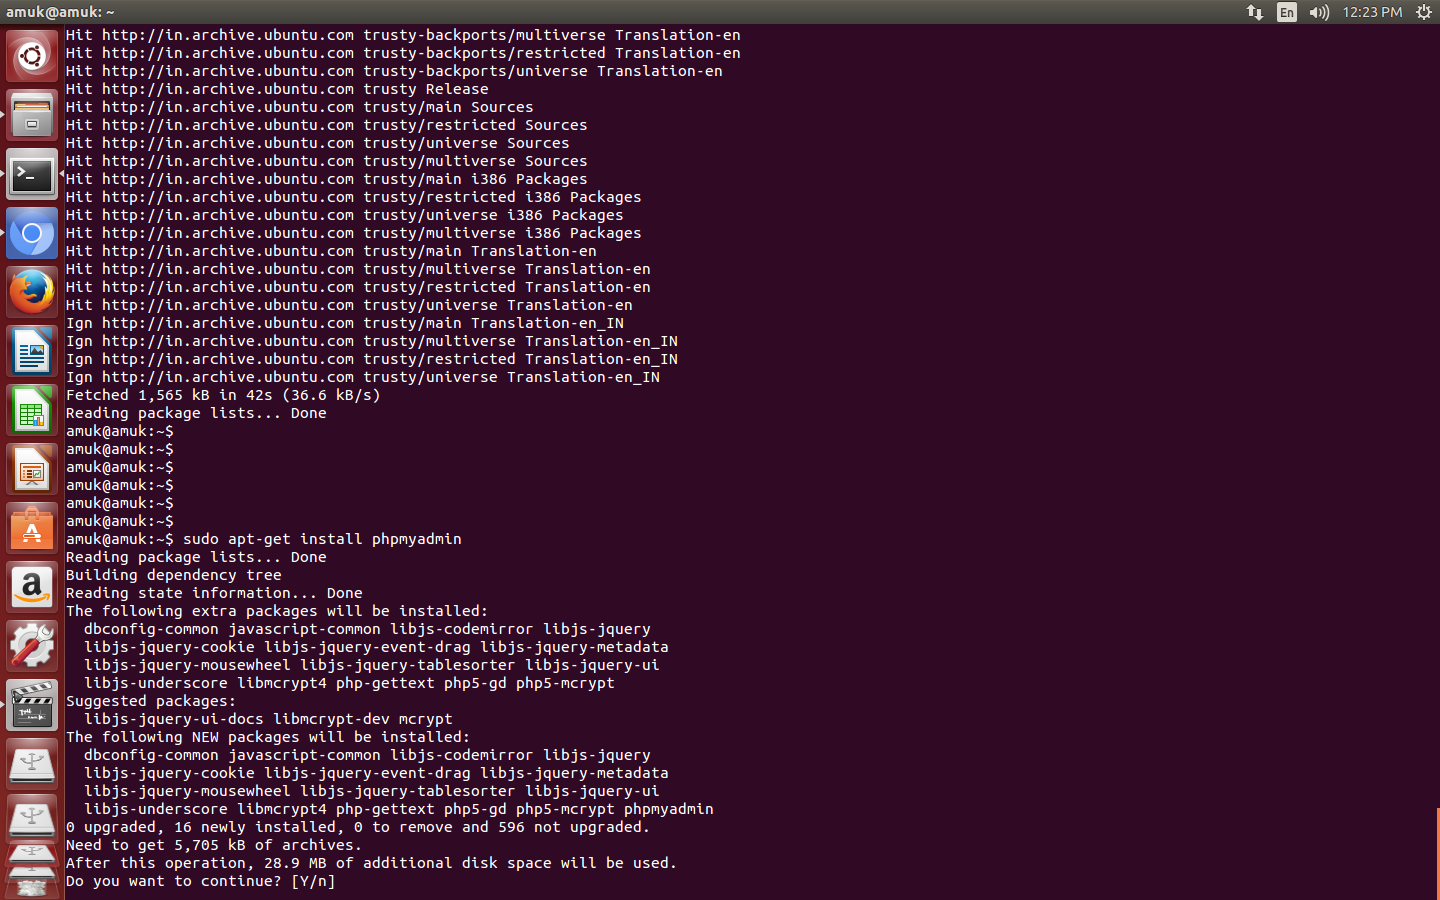
Now Press Y to continue installation
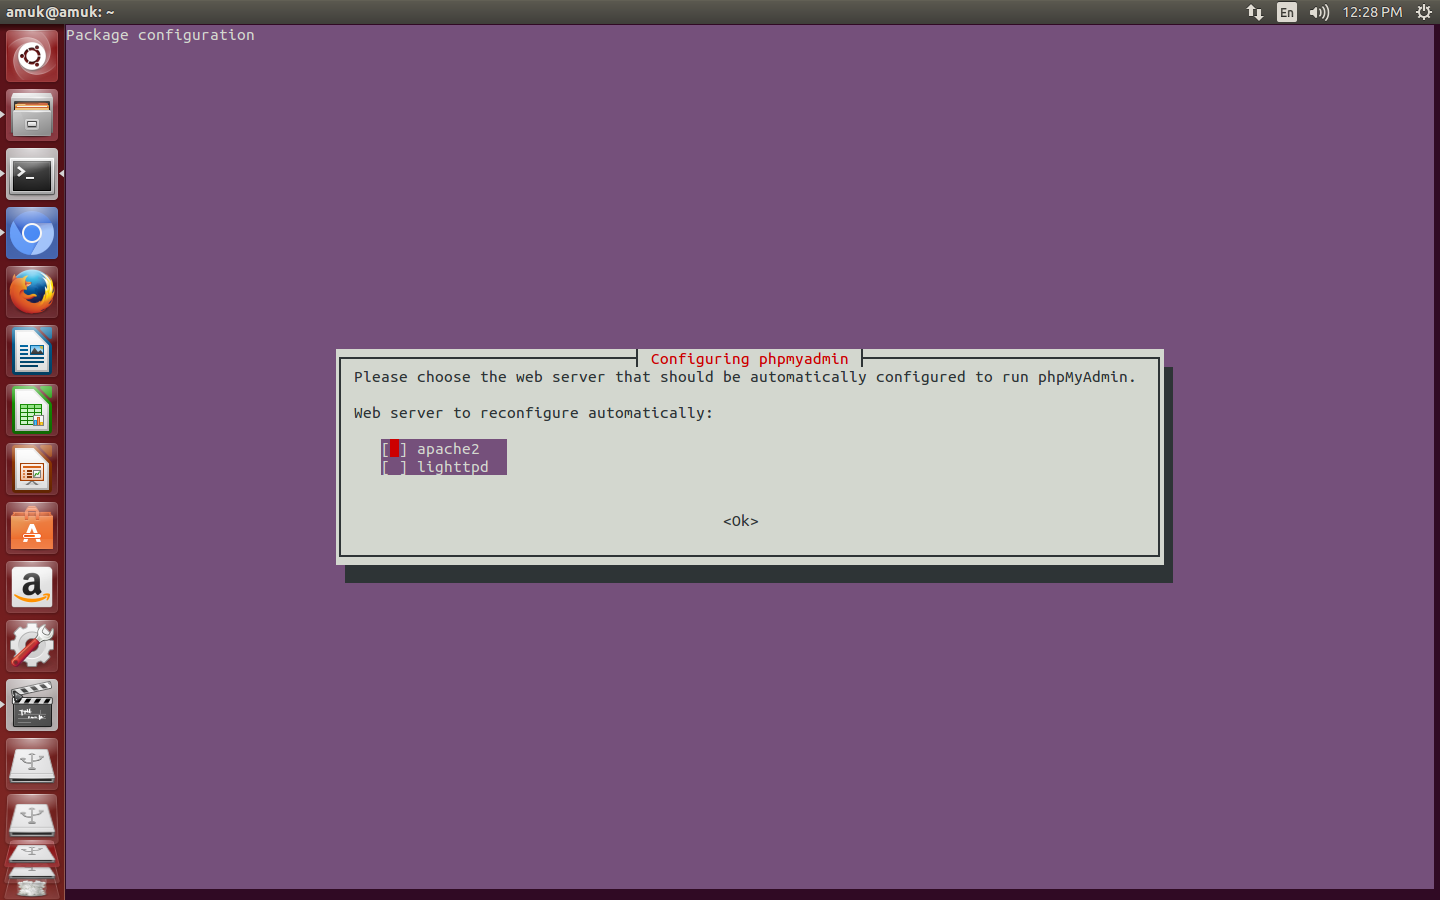
- For the server selection, choose apache2.
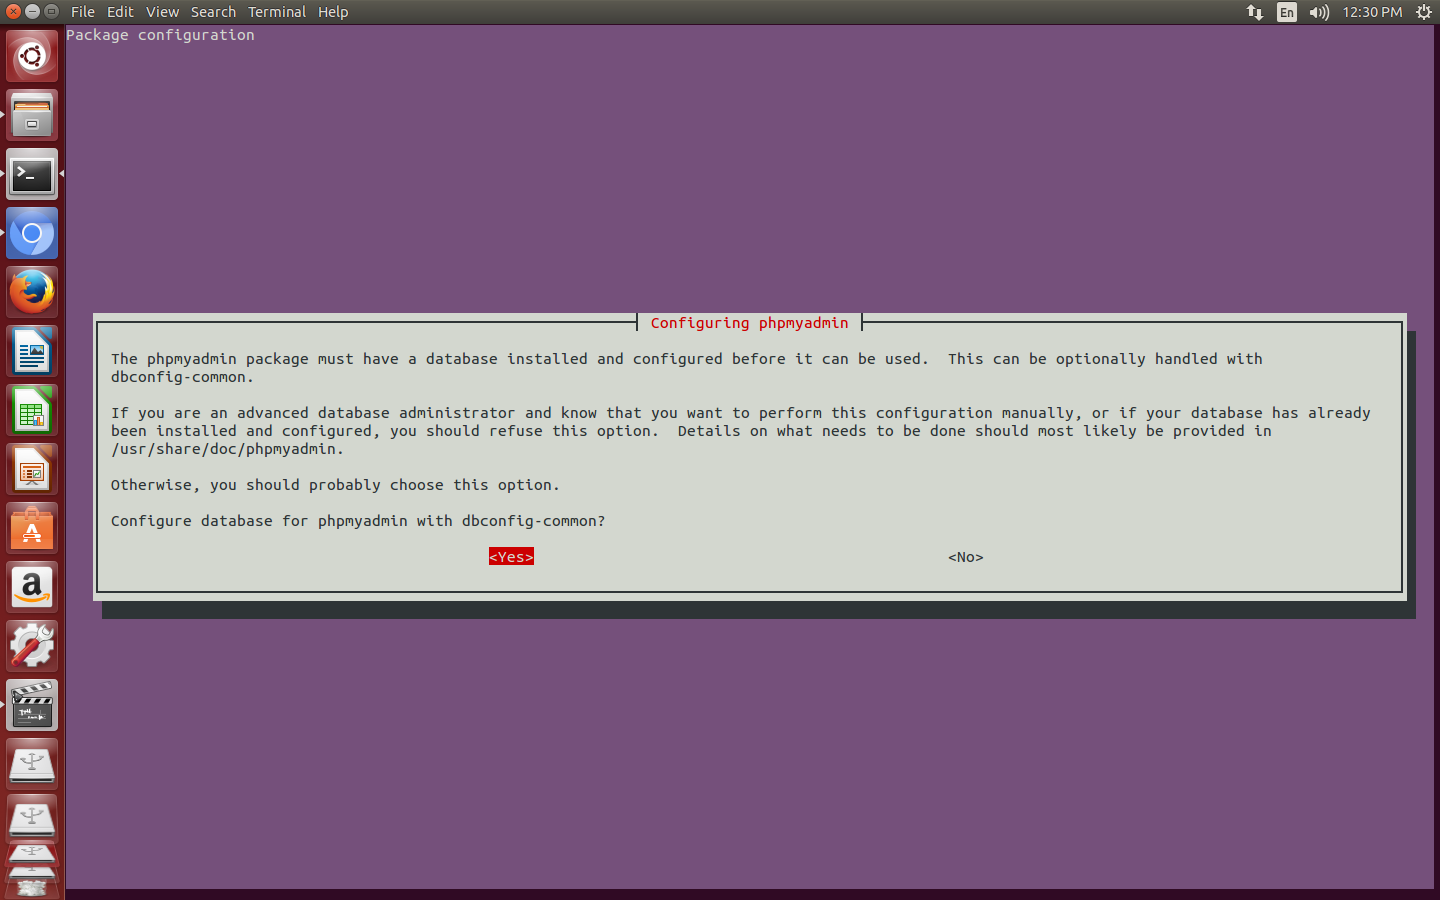
- Select yes when asked whether to use
dbconfig-commonto set up the database
- You will be prompted for your database administrator's password
- You will then be asked to choose and confirm a password for the
phpMyAdminapplication itself
After installation is complete, now we need to do is explicitly enable the
php5-mcryptextension by writing this command:$ sudo php5enmod mcryptNow please restart Apache for your changes to be recognized:
$ sudo service apache2 restartNow access the web interface by typing localhost/phpmyadmin. You will see error "Page Not Found". This error comes because phpmyadmin is not included in
apache2.conf. Write the following commands:$ sudo nano /etc/apache2/apache2.confNow add this line somewhere:
Include /etc/phpmyadmin/apache.confNow restart apache again.
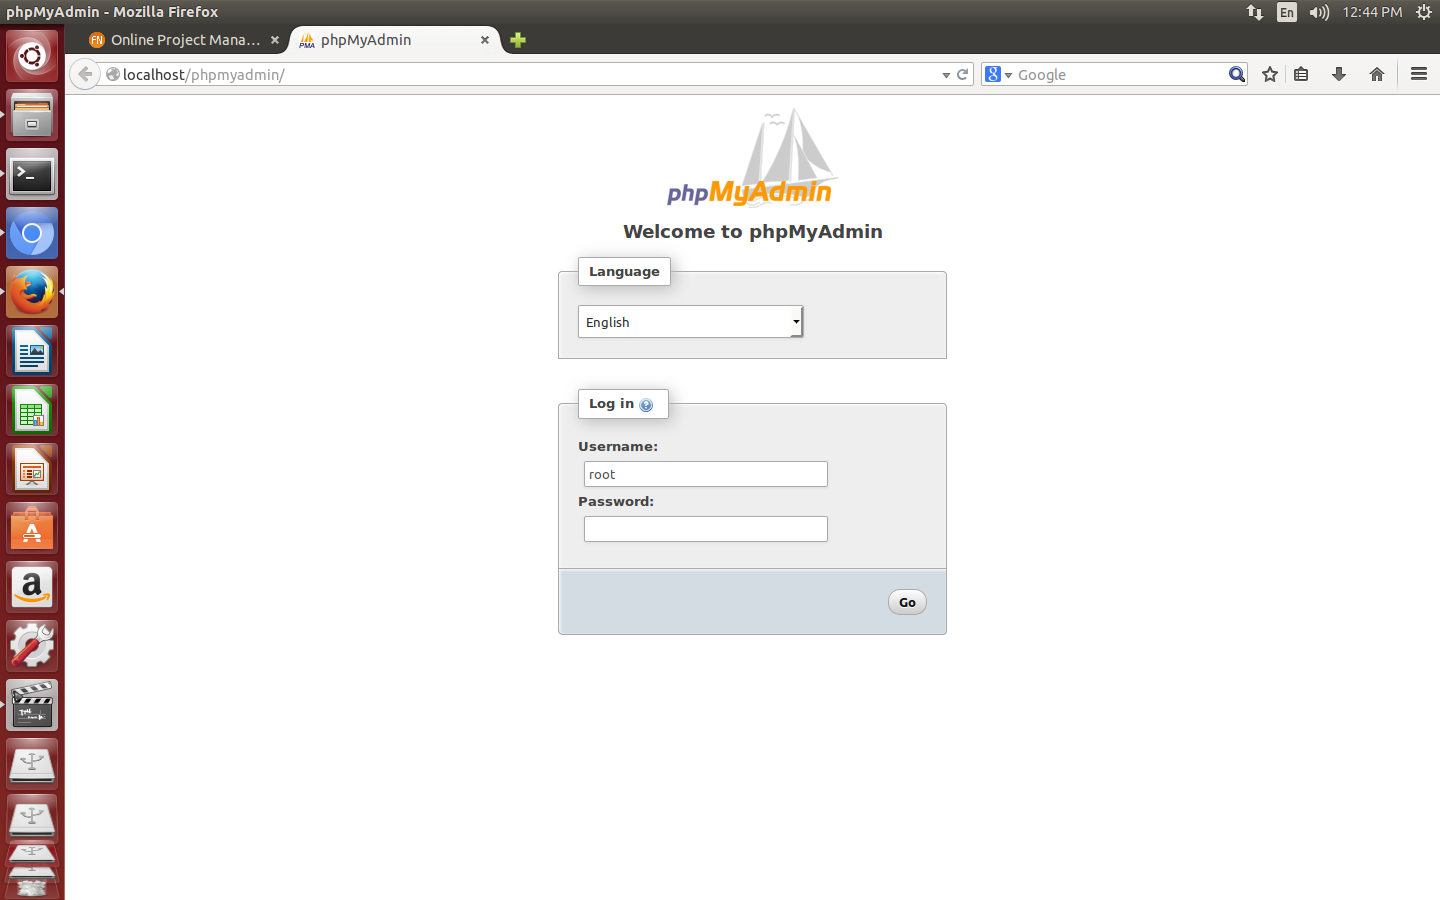
$ sudo service apache2 restartAll done! Now access the web interface: localhost/phpmyadmin or server-ip-address/phpmyadmin and you will see the following page:
Thanks for reading the blog


0 Comment(s)