-
Necessary Steps to Add In-App Purchase Feature In Your iOS Application
about 9 years ago
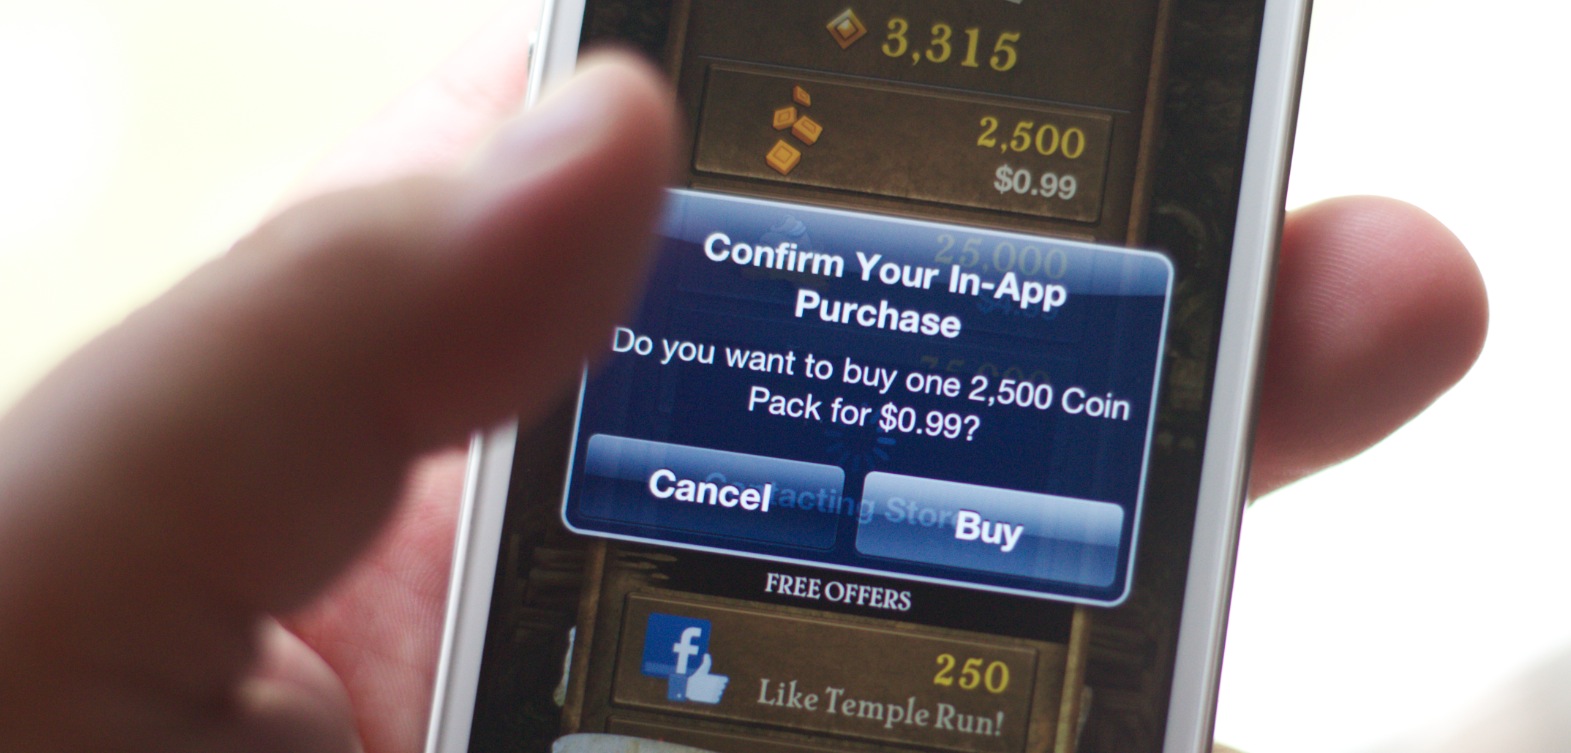
The purchases made by a user to get accessiblity of special features of an app such as add free app, confined levels or full game unlock, boosts etc and these feature can be acquired within a mobile app are known as In-App Purchases.
In this tutorial, I will explain you the necessary steps required for adding In-App Purchase feature that user will subscribe or purchase.
Steps Required for Adding In app purchase in iOS App
Step 1: Creating an App ID
First we have to create an App ID .This will link together your app in Xcode, to iTunes Connect, to your in-app purchasable products .
- Login to https://developer.apple.com/ and go to Certificate, ID’s & Profiles .
- Now select identifiers -> App ids and click + in uppper right corner to create a new App id.
- Fill all the information required to create a new AppID.
- Name:YOUR_APP_NAME app_id_prefix: TEAM_ID_PREFIX
- Choose Explicit App ID and now enter a Unique Bundle ID. it can be com.YOURAPPNAME.com
- Now see the app services section . And you will find out that InAppPurchase and gaemcenter are enabled by default.
- Once all the above steps are done, you will have successfully created an app-id for your app.
Step 2- Now create an App in iTunes connect
Fill all the information about your app.
- Platform: Name : YOUR_APP_NAME
- PrimaryLanguage: LANGUAGE_OF_YOUR_APP
- Bundle ID: YOUR_APP_BUNDLE_ID (You created in previous step i.e. 1-e)
- SKU: A unique ID for your app that is not visible on the App Store.
Step 3: Creating In-App Purchase Products
- Consumable: If a product is used once you have to buy that product again. You can not use the same product in future.
- Non-Consumable: A product that is purchased once and does not expire or decrease with use.
- Non- Renewing Subscription : This type of purchase allow user to use the service for limited period of time. It will not renew automatically.
- Auto-Renwing Subscription : This type of purchase allow user to use the service for a specific duration of time, this service renew automatically after the set duration unless user cancelled the subscription.
Step 4: Click on features tab and select In-App Purchases.
Following information from apple developer link: https://developer.apple.com/library/content/documentation/LanguagesUtilities/Conceptual/iTunesConnectInAppPurchase_Guide/Chapters/CreatingInAppPurchaseProducts.html#//apple_ref/doc/uid/TP40013727-CH3-SW1
- Under In-App Purchases, click the Add button (+)
- In the section In the section for the type of in-app purchase you want to create, click Create.
- In app purchase type can not be changed after purchase has been created.
- In the Reference Name field, Please enter an internal name for your product.
- In the Product ID field, enter an alphanumeric identifier for the product.
- To identify the in app purchase product in iTunes we use a string called product identifier. For example, com.company.app_name.productid. When your app uses Store Kit to communicate with the App Store, it uses product identifiers to retrieve the configuration data you provided for the products. Later, when a user wants to purchase a product, your app identifies the product to be purchased using its product identifier.
- Note that product identifiers are unique to the app. For example, you have to create the separate identifiers for the mac version of an app and diffrent identifier for iOS version of an app.
- For auto-renewable subscriptions, create a New Subscription Group, or add it to an existing group. All auto-renewable subscriptions must be part of a group. You can learn more in Understanding Subscription Groups and Durations.
- After you have tested with sandbox mode Specify whether the product is cleared for sale.
You can come back to this item at any time to release the product for sale.
- Select a price for your app : You have to set your price tier for your app.
- And final price will be calculated on the basis of taxes , where applicable, have been taken out. Auto-renewable subscriptions have some unique pricing options, you can learn more in Setting up your Auto-Renewable Subscriptions Pricing .
- Set your product display text for at least one language, as described in Displaying Products in More Than One Language.
- In the Review Notes section, enter information that can help Apple review the product.
- Upload a screenshot of the product as it appears on the device.
- This screenshot is used for Apple’s review only and is not displayed on the App Store.
- Screenshot requirements can be found in the Product Properties table.
- Click Save.
Step 5: Project Configuration
Open your project . Select your project and again in target select the general tab. Select your current development team. Enter the bundleID you created earlier.
- Now go to Capabilities and enable in app purchase.
- Now Writ the below code in your view controller where you want to implement the IAP feature.
- Code For IAPViewController.
class IAPViewController: UIViewController,SKProductsRequestDelegate,UITableViewDelegate,UITableViewDataSource,SKPaymentTransactionObserver {
    var productIDs: Array<String?> = []

    var productsArray: Array<SKProduct?> = []
    var transactionInProgress = false
    var selectedProductIndex:Int? = nil
    @IBOutlet weak var productListTableView: UITableView!

    override func viewDidLoad() {
        super.viewDidLoad()
        productIDs.append("YOUR_IN_APP_PURCHASE_IDENTIFIER1")
        productIDs.append("YOUR_IN_APP_PURCHASE_IDENTIFIER2")
        productIDs.append("YOUR_IN_APP_PURCHASE_IDENTIFIER3")
        SKPaymentQueue.default().add(self)
        productListTableView.estimatedRowHeight = 100
        productListTableView.rowHeight = UITableViewAutomaticDimension
		requestProductInfo()
        // Do any additional setup after loading the view.
    }

    override func didReceiveMemoryWarning() {
        super.didReceiveMemoryWarning()
        // Dispose of any resources that can be recreated.
    }


    func requestProductInfo() {
        if SKPaymentQueue.canMakePayments() {
            let productIdentifiers = NSSet(array: productIDs)
            let productRequest = SKProductsRequest(productIdentifiers: productIdentifiers as Set<NSObject> as! Set<String>)
            productRequest.delegate = self
            productRequest.start()
        }
        else {
            print("Cannot perform In App Purchases.")
        }
    }

    func productsRequest(_ request: SKProductsRequest, didReceive response: SKProductsResponse) {
        if response.products.count != 0 {
            for product in response.products {
                productsArray.append(product )
            }
            productListTableView.reloadData()
        }
        else {
            print("There are no products.")
        }

        if response.invalidProductIdentifiers.count != 0 {
            print("In app product fetch error===="+response.invalidProductIdentifiers.description)
        }
    }

    func tableView(_ tableView: UITableView, numberOfRowsInSection section: Int) -> Int {
        return productsArray.count
    }
    func tableView(_ tableView: UITableView, cellForRowAt indexPath: IndexPath) -> UITableViewCell {
        let cell = tableView.dequeueReusableCell(withIdentifier: "ProductCellID", for: indexPath)  as! ProductCell
        if  let product = productsArray[indexPath.row] {
        cell.lblCost.text =  String(describing:product.price)
        cell.lblProductDetail.text = product.localizedDescription
        }
        return cell
    }
    func tableView(_ tableView: UITableView, didSelectRowAt indexPath: IndexPath) {
        selectedProductIndex = indexPath.row
        showActions()
    }

    func showActions() {
        if transactionInProgress {
            return
        }
        let actionSheetController = UIAlertController(title: "My IAP Demo", message: "What do you want to do?", preferredStyle: UIAlertControllerStyle.actionSheet)
        let buyAction = UIAlertAction(title: "Buy", style: UIAlertActionStyle.default) { (action) -> Void in
            let payment = SKPayment(product:self.productsArray[self.selectedProductIndex!]!)
            SKPaymentQueue.default().add(payment)
            self.transactionInProgress = true
        }
        let cancelAction = UIAlertAction(title: "Cancel", style: UIAlertActionStyle.cancel) { (action) -> Void in
        }
        actionSheetController.addAction(buyAction)
        actionSheetController.addAction(cancelAction)
        present(actionSheetController, animated: true, completion: nil)
    }

    func paymentQueue(_ queue: SKPaymentQueue, updatedTransactions transactions: [SKPaymentTransaction]) {
        for transaction in transactions {
            switch transaction.transactionState {
            case SKPaymentTransactionState.purchased:
                print("Transaction completed successfully.")
                SKPaymentQueue.default().finishTransaction(transaction)
                transactionInProgress = false
            case SKPaymentTransactionState.failed:
                print("Transaction Failed");
                SKPaymentQueue.default().finishTransaction(transaction)
                transactionInProgress = false
            default:
                print(transaction.transactionState.rawValue)
            }
        }
   }
  }


0 Comment(s)