-
How to Implement Login Using AnuglarJS in Ionic PhoneGap App in 4 Simple Steps
almost 9 years ago
Ionic is a Phone Gap which is driven by AngularJs and has a common code for both Iphone and Andorid devices, it is free open-sources mobile SDK used for developing hybrid/native apps. Today in this tutorial, we will learn how to make a simple login in Ionic.

So lets get started by following steps:-
Step 1: We need a login page so will generate this page by terminal.
Ionic provide a command which will generate a page automaticallyionic generate page Login
Now this page will be shown in src/pages/login
Step 2: Now open this file login.html and its code will go like this:-
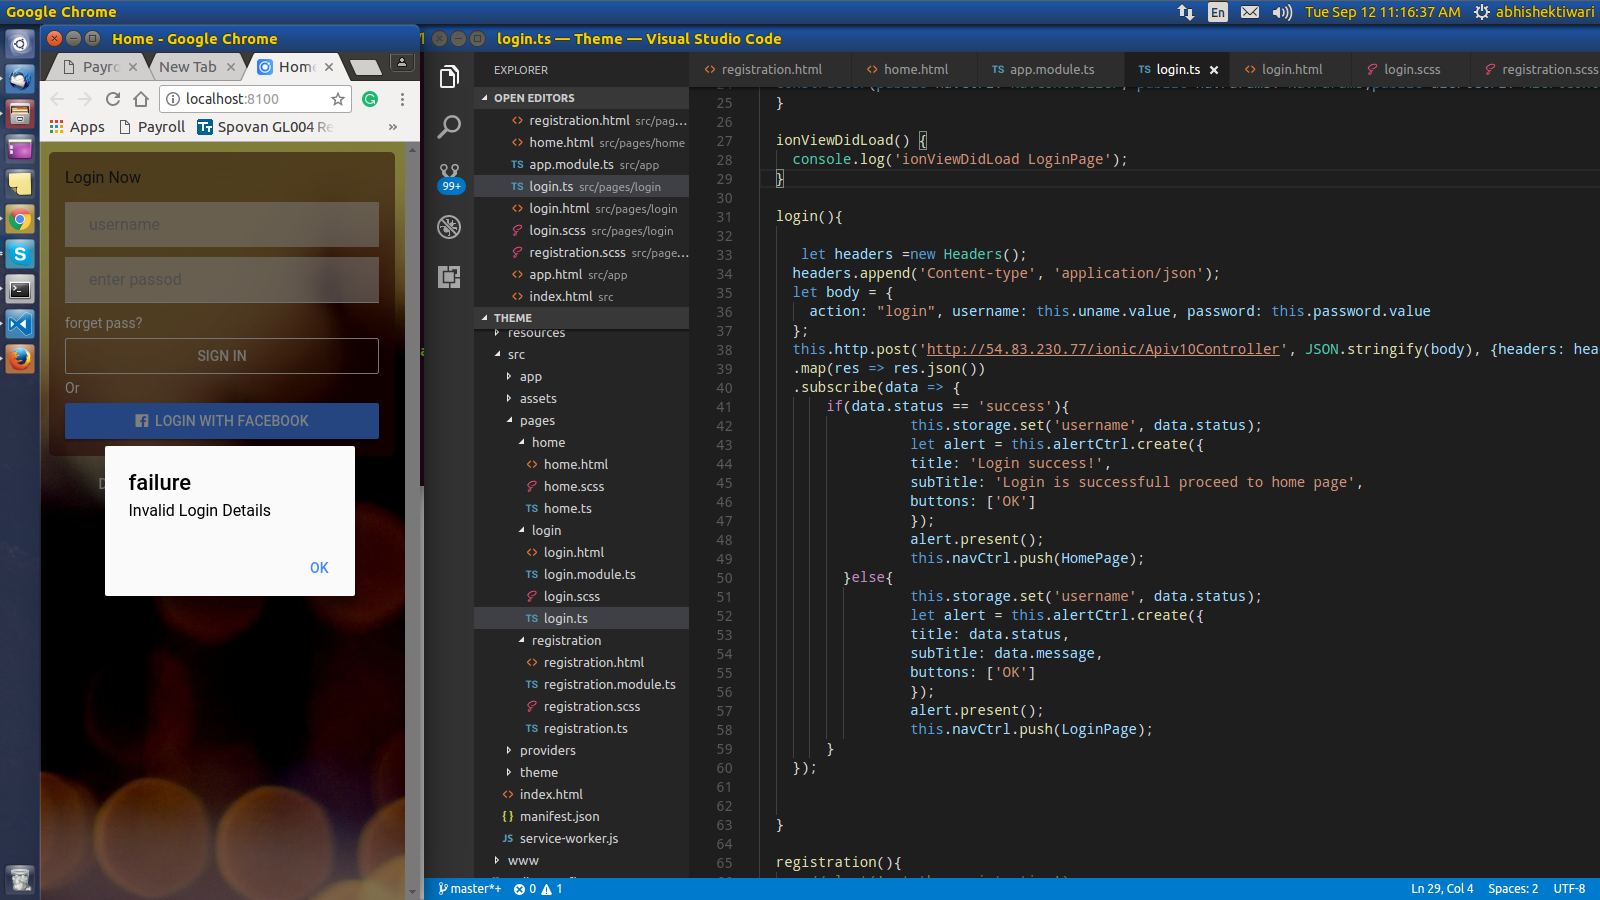
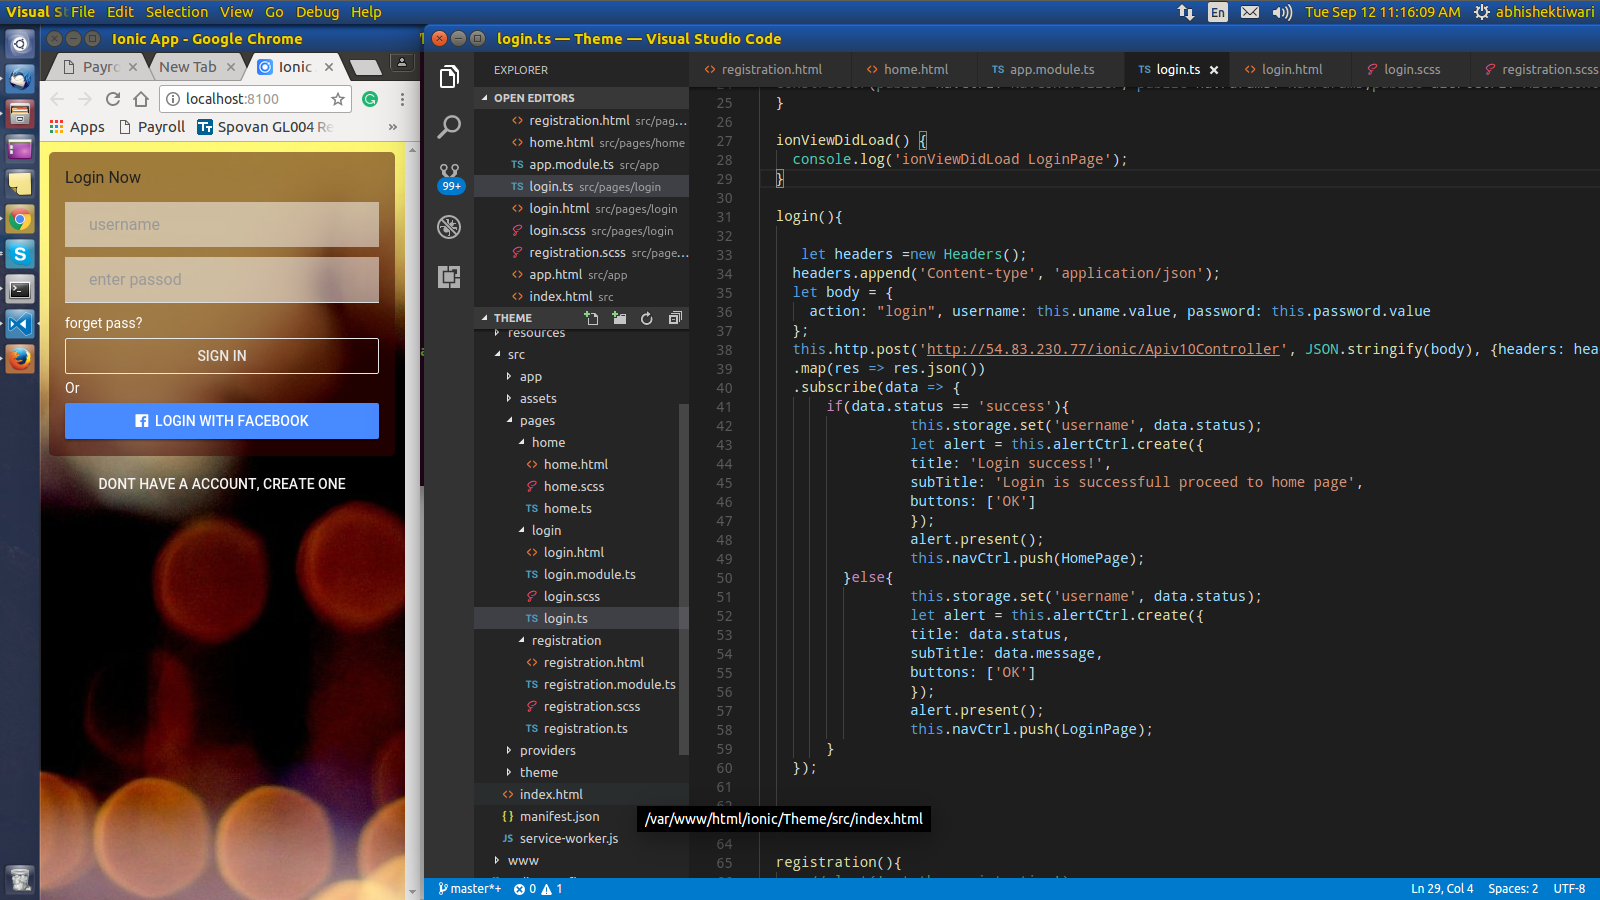
<ion-content class="backgound">
  <ion-card>
   <ion-card-header>
    Login Now
   </ion-card-header>
   <ion-card-content>
    <form (ngSubmit)="logForm()">
      <ion-list no-line>
       <ion-item>
        <ion-input type = "text" placeholder ="username" #username ></ion-input>
       </ion-item>

       <ion-item>
        <ion-input type = "password" placeholder ="enter passod" #password></ion-input>
       </ion-item>
      </ion-list>
     </form>
     <a>forget pass?</a>
     <button ion-button block outline color="light" (click)="login()" >Sign In</button>

   </ion-card-content>
  </ion-card>
<button ion-button clear full color ="light" (click)="registration()">Dont have a account, Create one</button>
</ion-content>
Step 3: After using the HTML we have to use the JS code which will send the POST. This code is to be written in login.ts file. This file is also will be in same directory.
Open this file and its code will be go like this:-import { Component, ViewChild } from '@angular/core'; import { IonicPage, NavController, NavParams , AlertController} from 'ionic-angular'; import { RegistrationPage } from '../registration/registration'; import { HomePage } from "../home/home"; import { Http, Headers } from "@angular/http"; import { Storage } from '@ionic/storage'; /** * Generated class for the LoginPage page. * * See http://ionicframework.com/docs/components/#navigation for more info * on Ionic pages and navigation. */ @IonicPage() @Component({ selector: 'page-login', templateUrl: 'login.html', }) export class LoginPage { @ViewChild('username') uname; @ViewChild('password') password; constructor(public navCtrl: NavController, public navParams: NavParams,public alertCtrl: AlertController, private http: Http, private storage: Storage) { } ionViewDidLoad() { console.log('ionViewDidLoad LoginPage'); } login(){ let headers =new Headers(); headers.append('Content-type', 'application/json'); let body = { action: "login", username: this.uname.value, password: this.password.value }; this.http.post('http://yourhost/ionic/Apiv10Controller', JSON.stringify(body), {headers: headers}) .map(res => res.json()) .subscribe(data => { if(data.status == 'success'){ this.storage.set('username', data.status); let alert = this.alertCtrl.create({ title: 'Login success!', subTitle: 'Login is successfull proceed to home page', buttons: ['OK'] }); alert.present(); this.navCtrl.push(HomePage); }else{ this.storage.set('username', data.status); let alert = this.alertCtrl.create({ title: data.status, subTitle: data.message, buttons: ['OK'] }); alert.present(); this.navCtrl.push(LoginPage); } }); } registration(){ //alert('get the registration'); this.navCtrl.push(RegistrationPage); } }In the code above, you will see the login() function is sending the form data to server. Also we have have to use the Header, Http and AlertController in this app. So you have to add these modules as written in the code above.
Step 4: This is the last step for redirecting user to home page once the login is correct.
So we have use the page redirect to home in the login true case and its code is as below:-this.navCtrl.push(HomePage);Similarly if login is failed then you will get data.status = 'fail'. In this case you can redirect user to again login page:-
this.navCtrl.push(LoginPage);The output of the code above is as in screen shots below:


0 Comment(s)