-
How to Make Pixel Explosion Effect in Photoshop
over 8 years ago
In this blog we will learn how we can make pixel explosion effect using Photoshop. This is not a very typical blog and would be suitable for both advance and beginners.
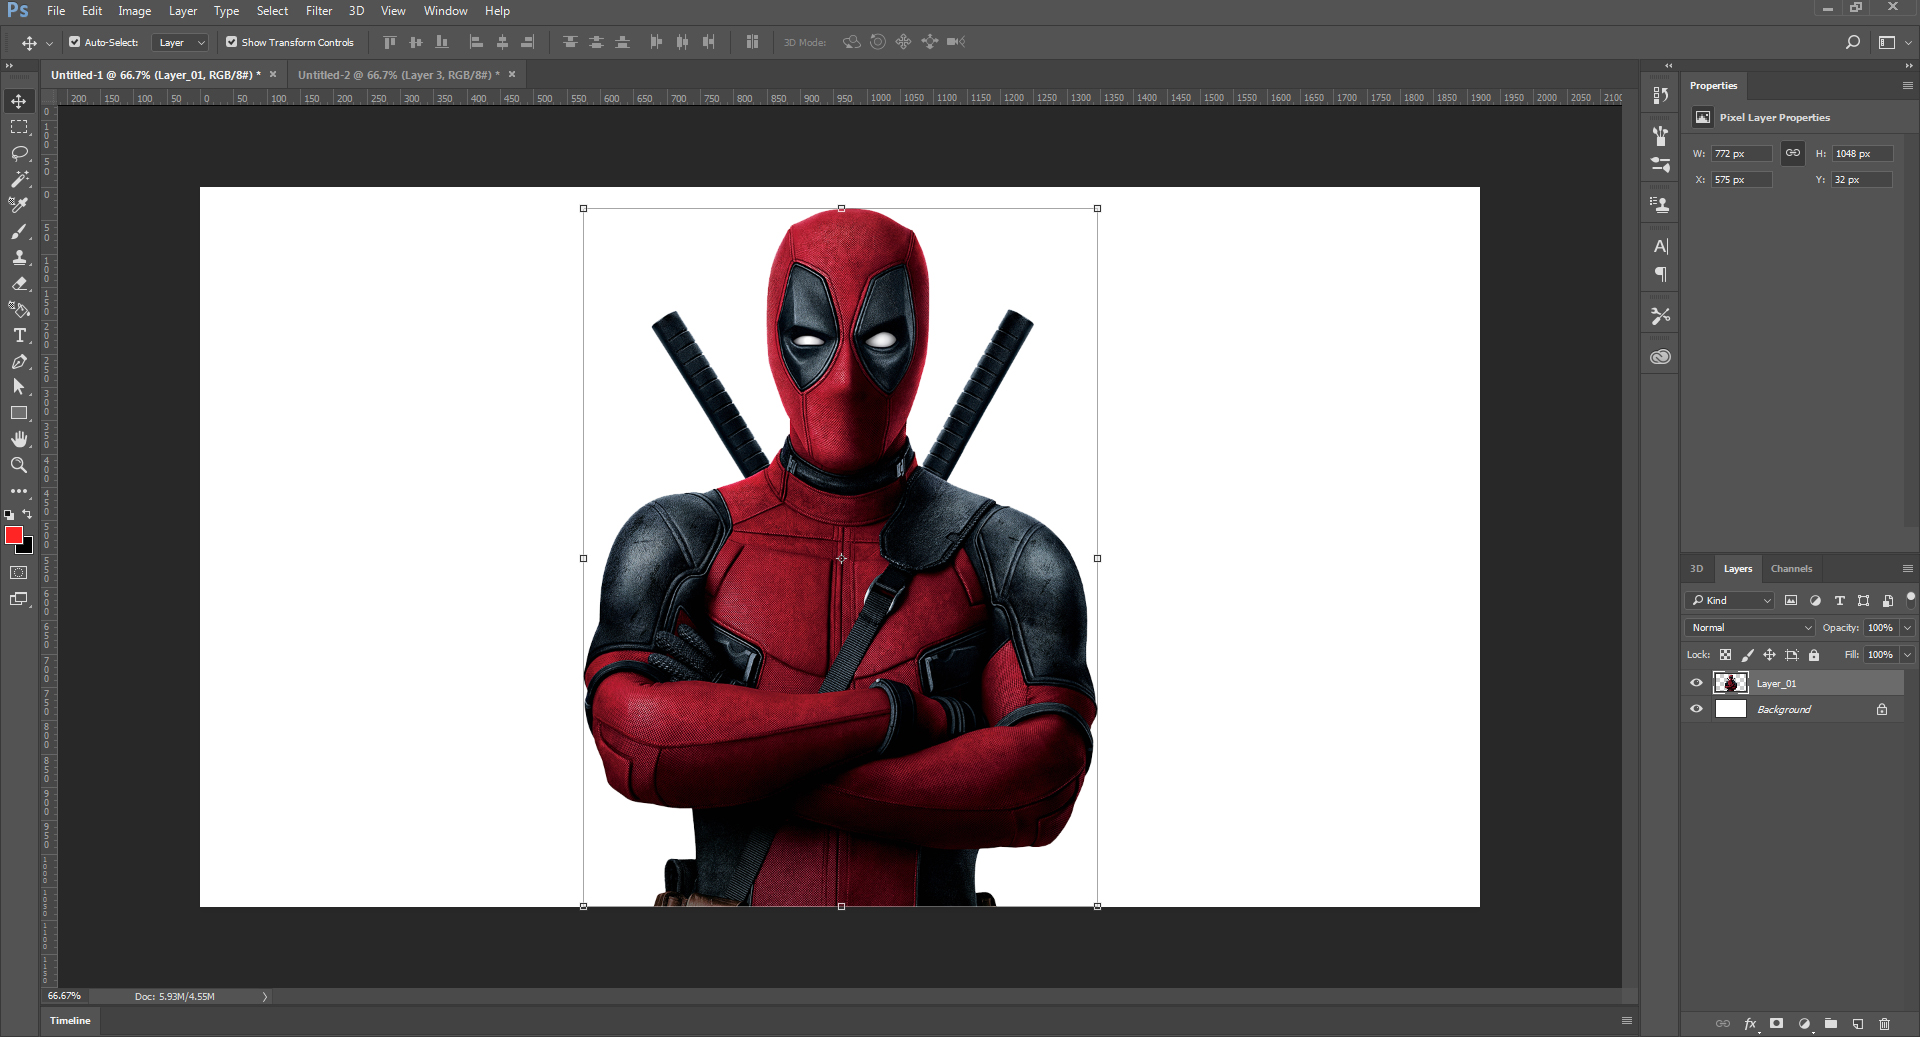
Step 01- Open an image in photoshop and cut its background to get a white color background and name it "Layer_01"
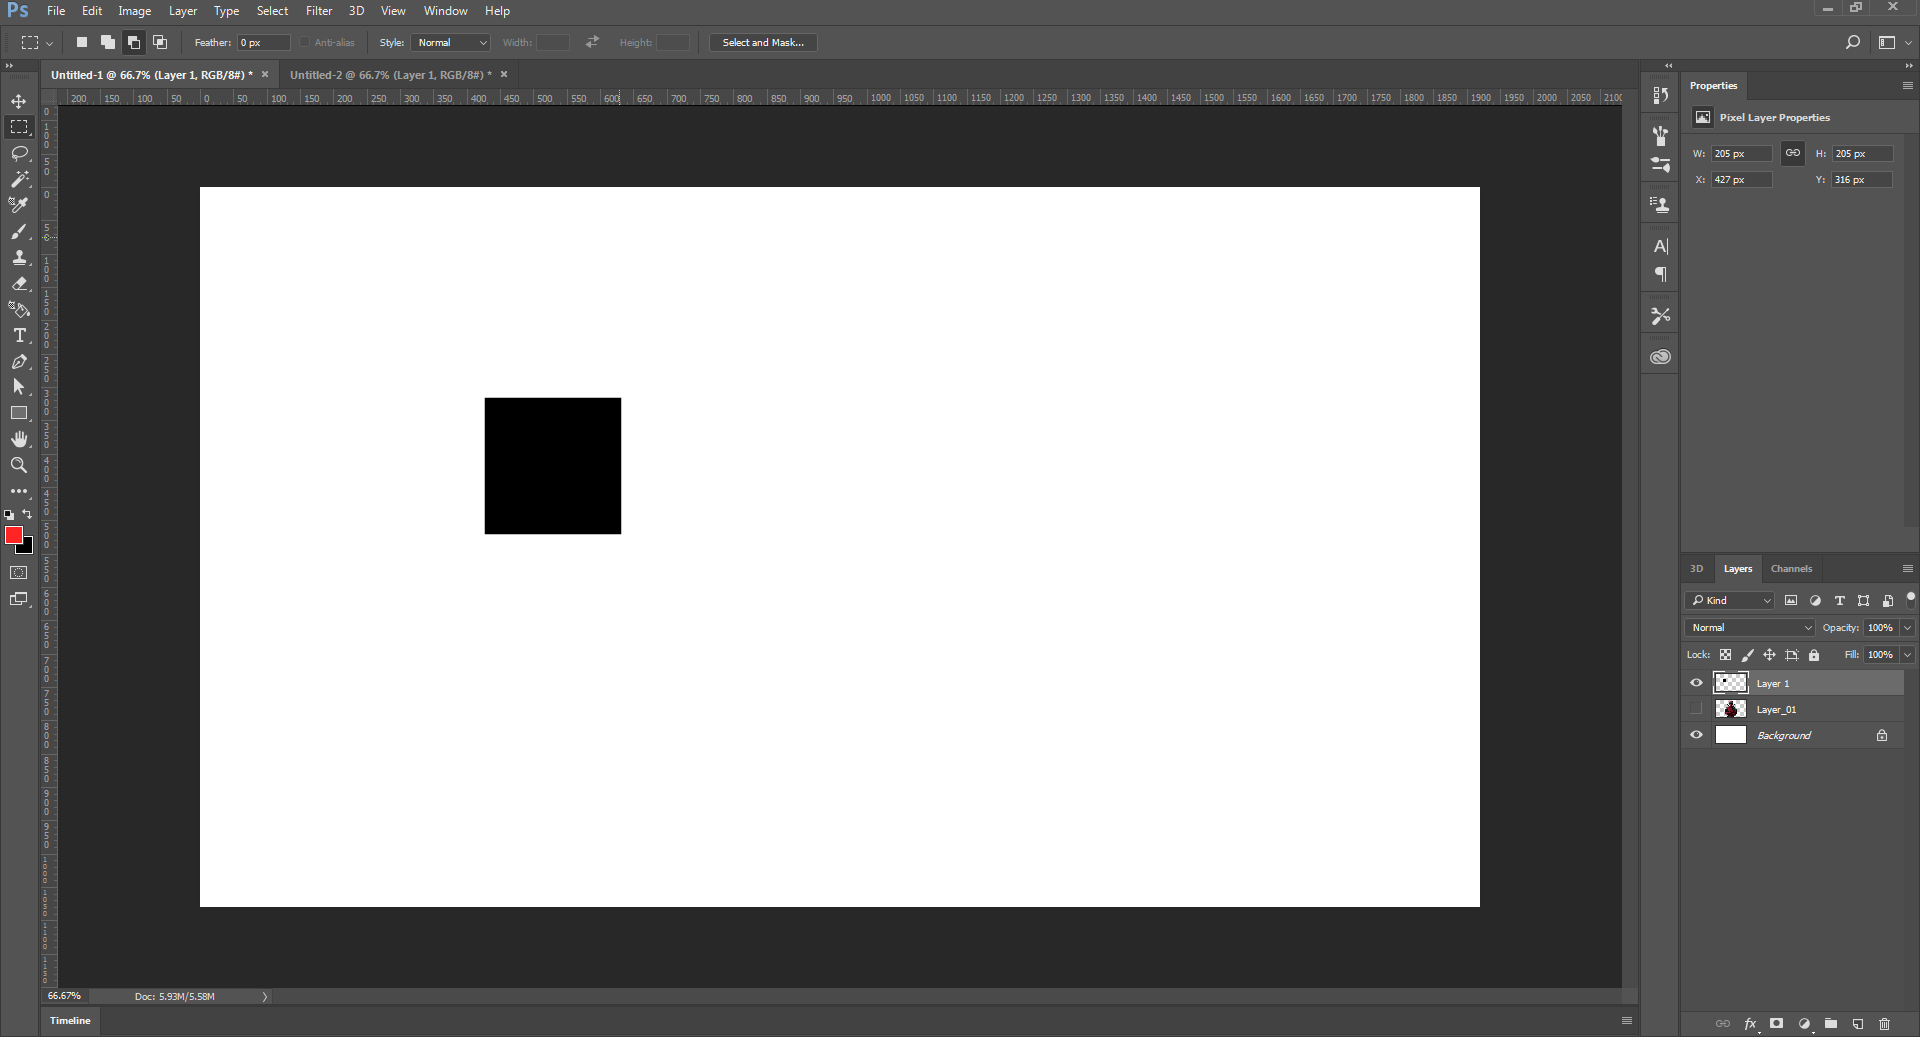
Step 02- now create a new layer and hide Layer_01. we will create our own custom brush. for that make a perfect square selection by Rectangular Marquee Tool and fill the selection
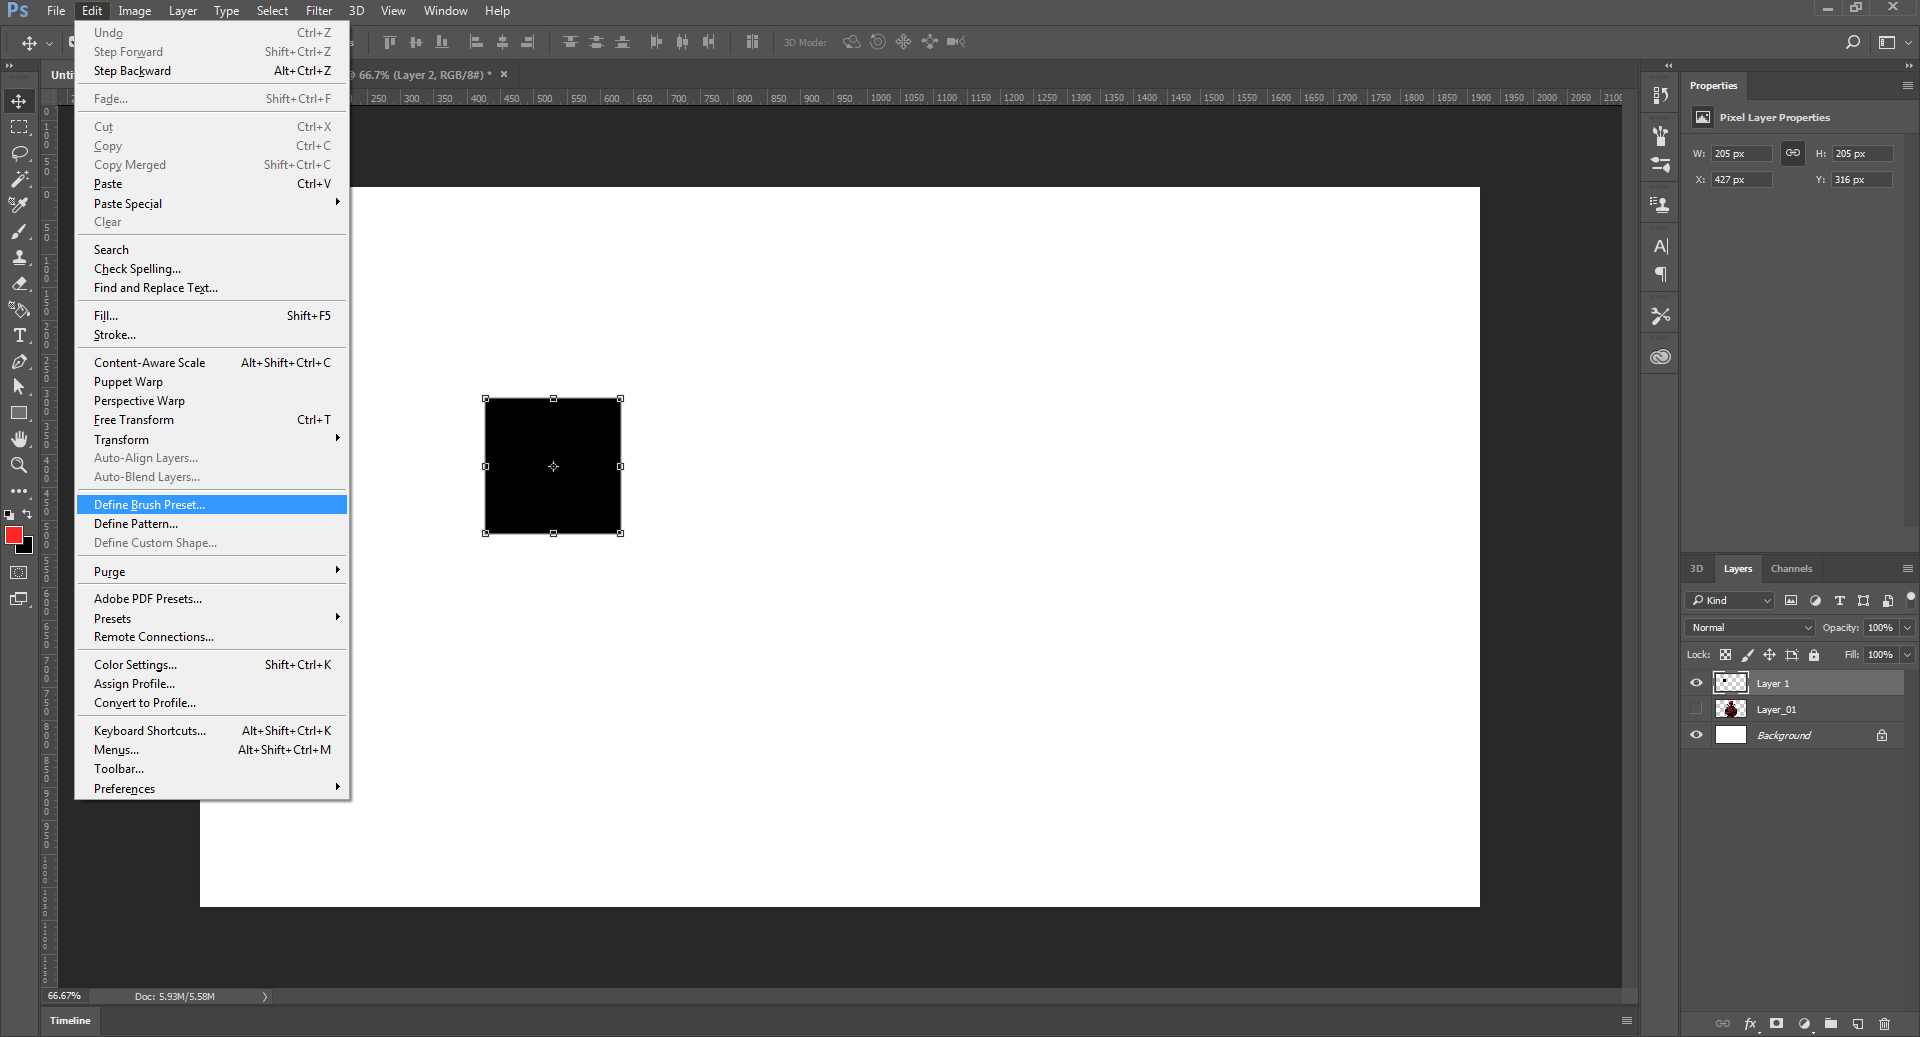
Step 03- Go to Edit and select Define Brush Preset
Step 04- Delete this layer and make visible Layer_01
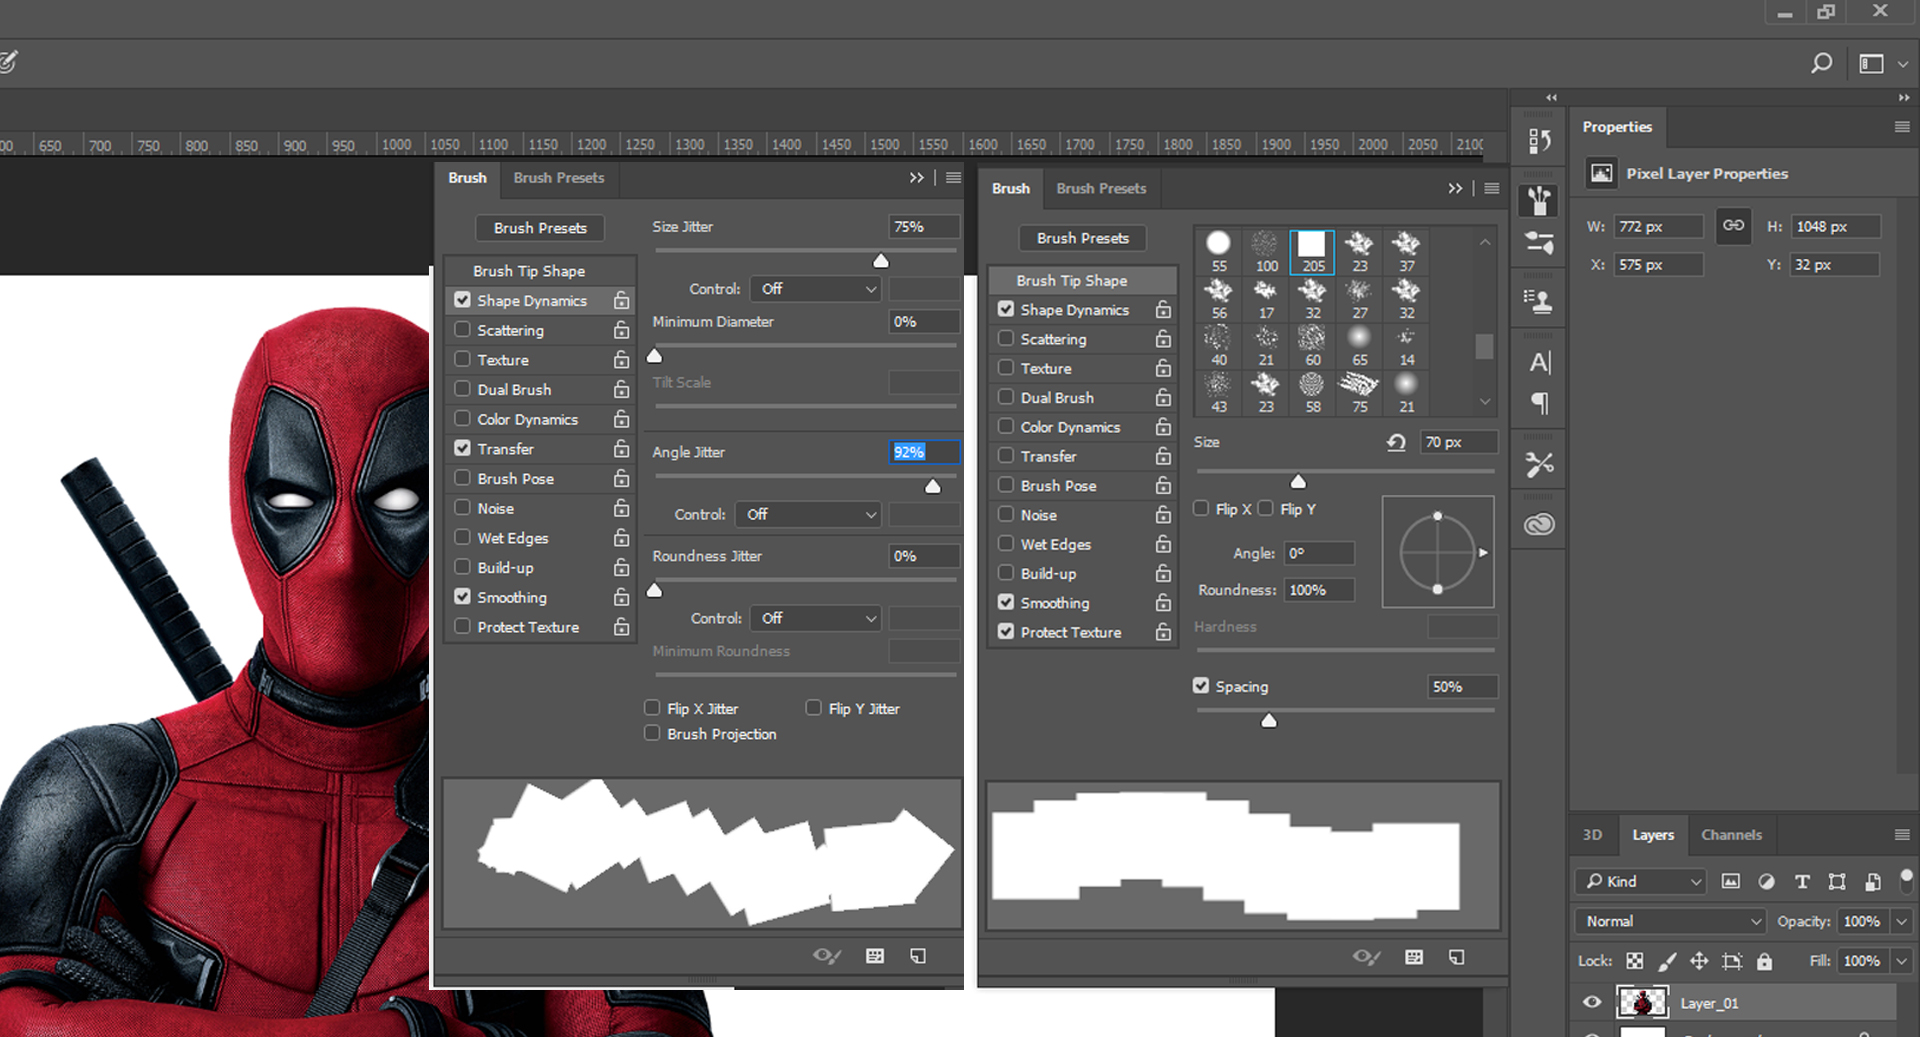
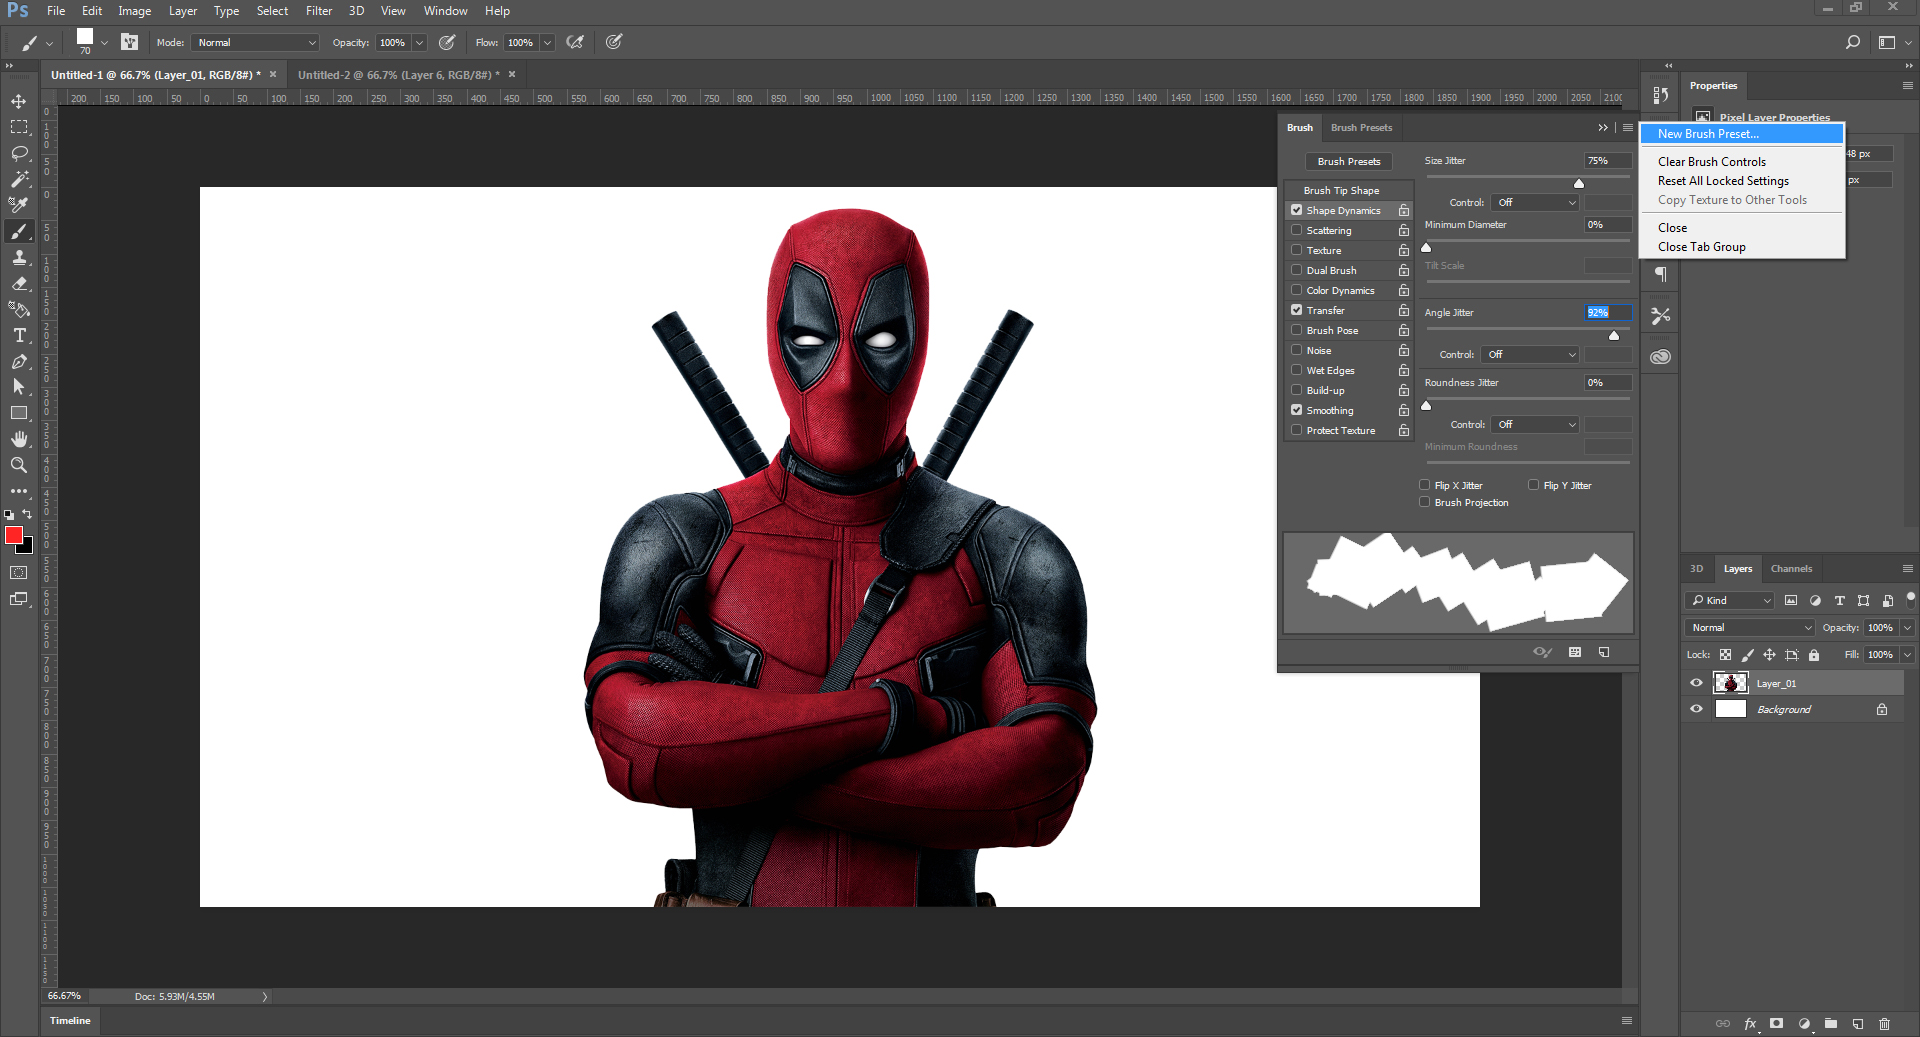
Step 05- Select brush tool and open brush palette(F5) select your new brush style select values as shown
Step 06- select new brush presets and give it a name
Step 07- now again create a new layer and name it Layer_02
Step 08 -now on Layer_02 select clone stamp tool, set its opacity to 100% sample option - current and below
and start cloning by alt+right click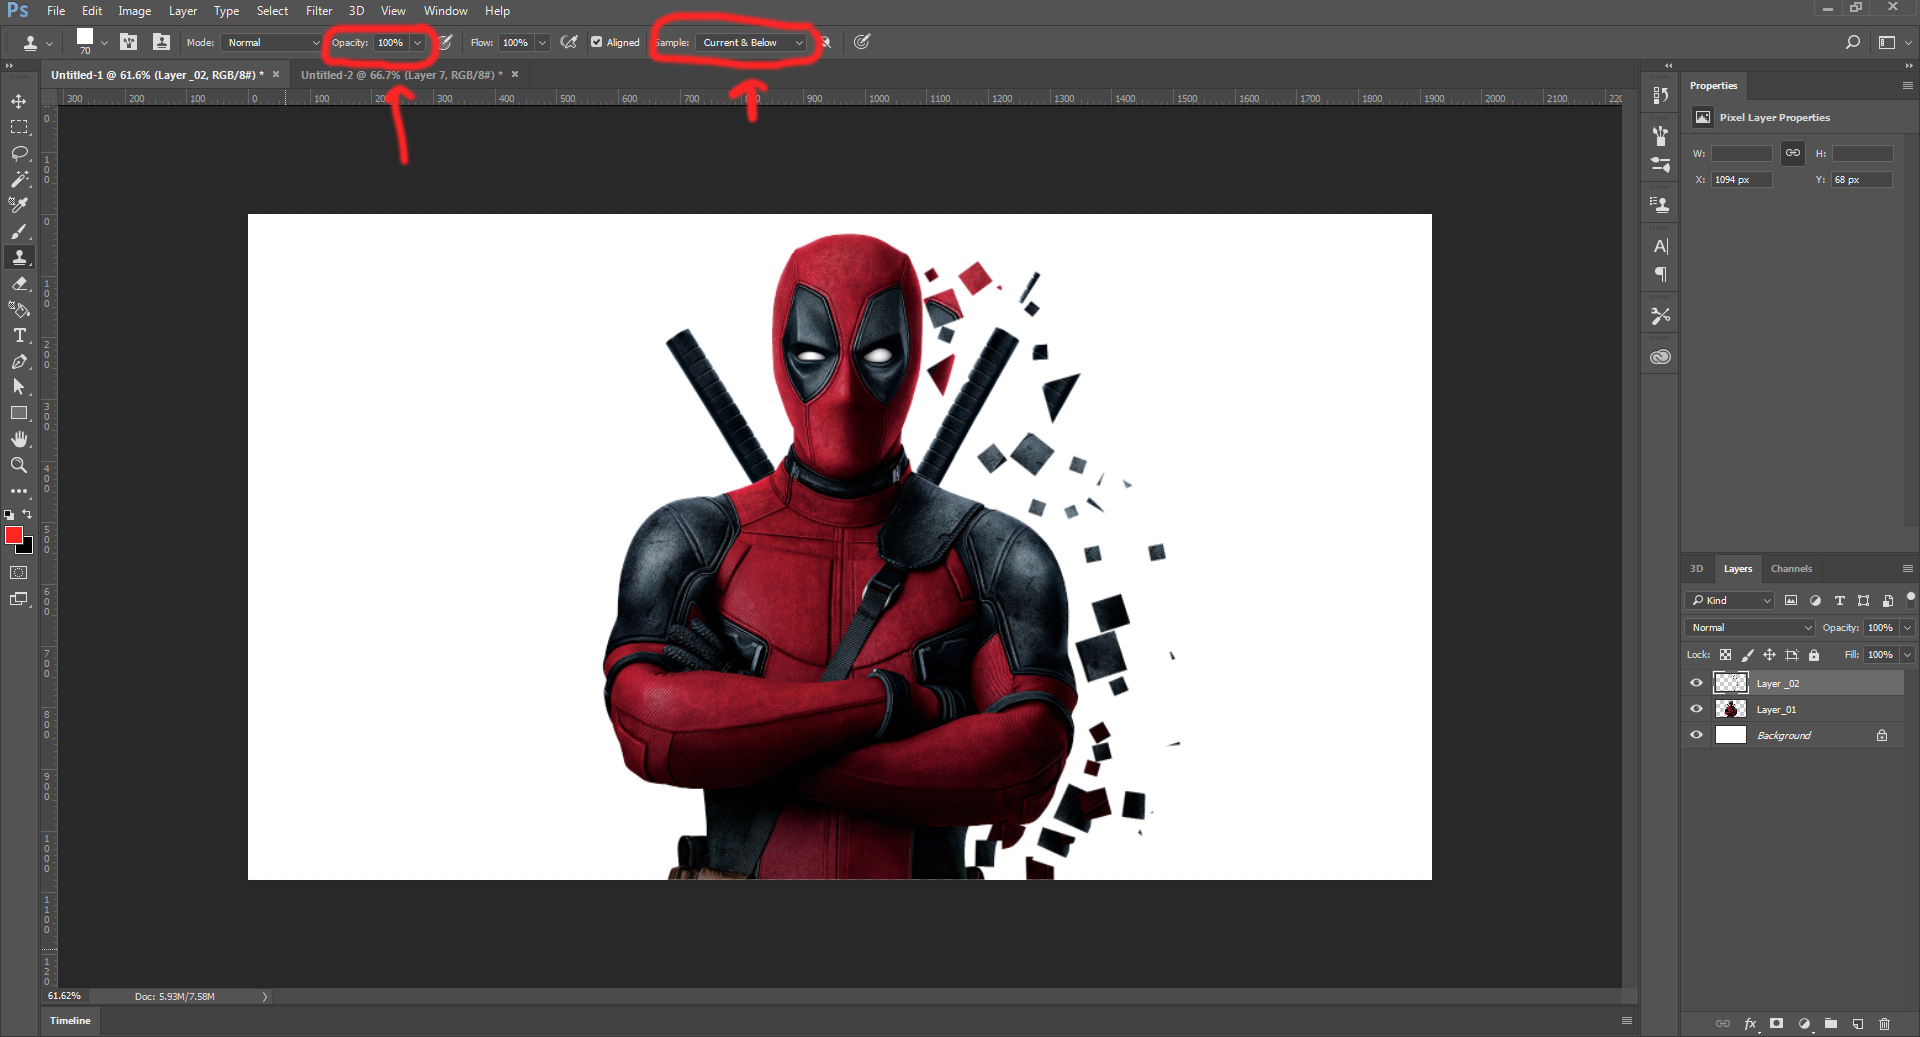
Step 09- you can increase or decrease the brush size
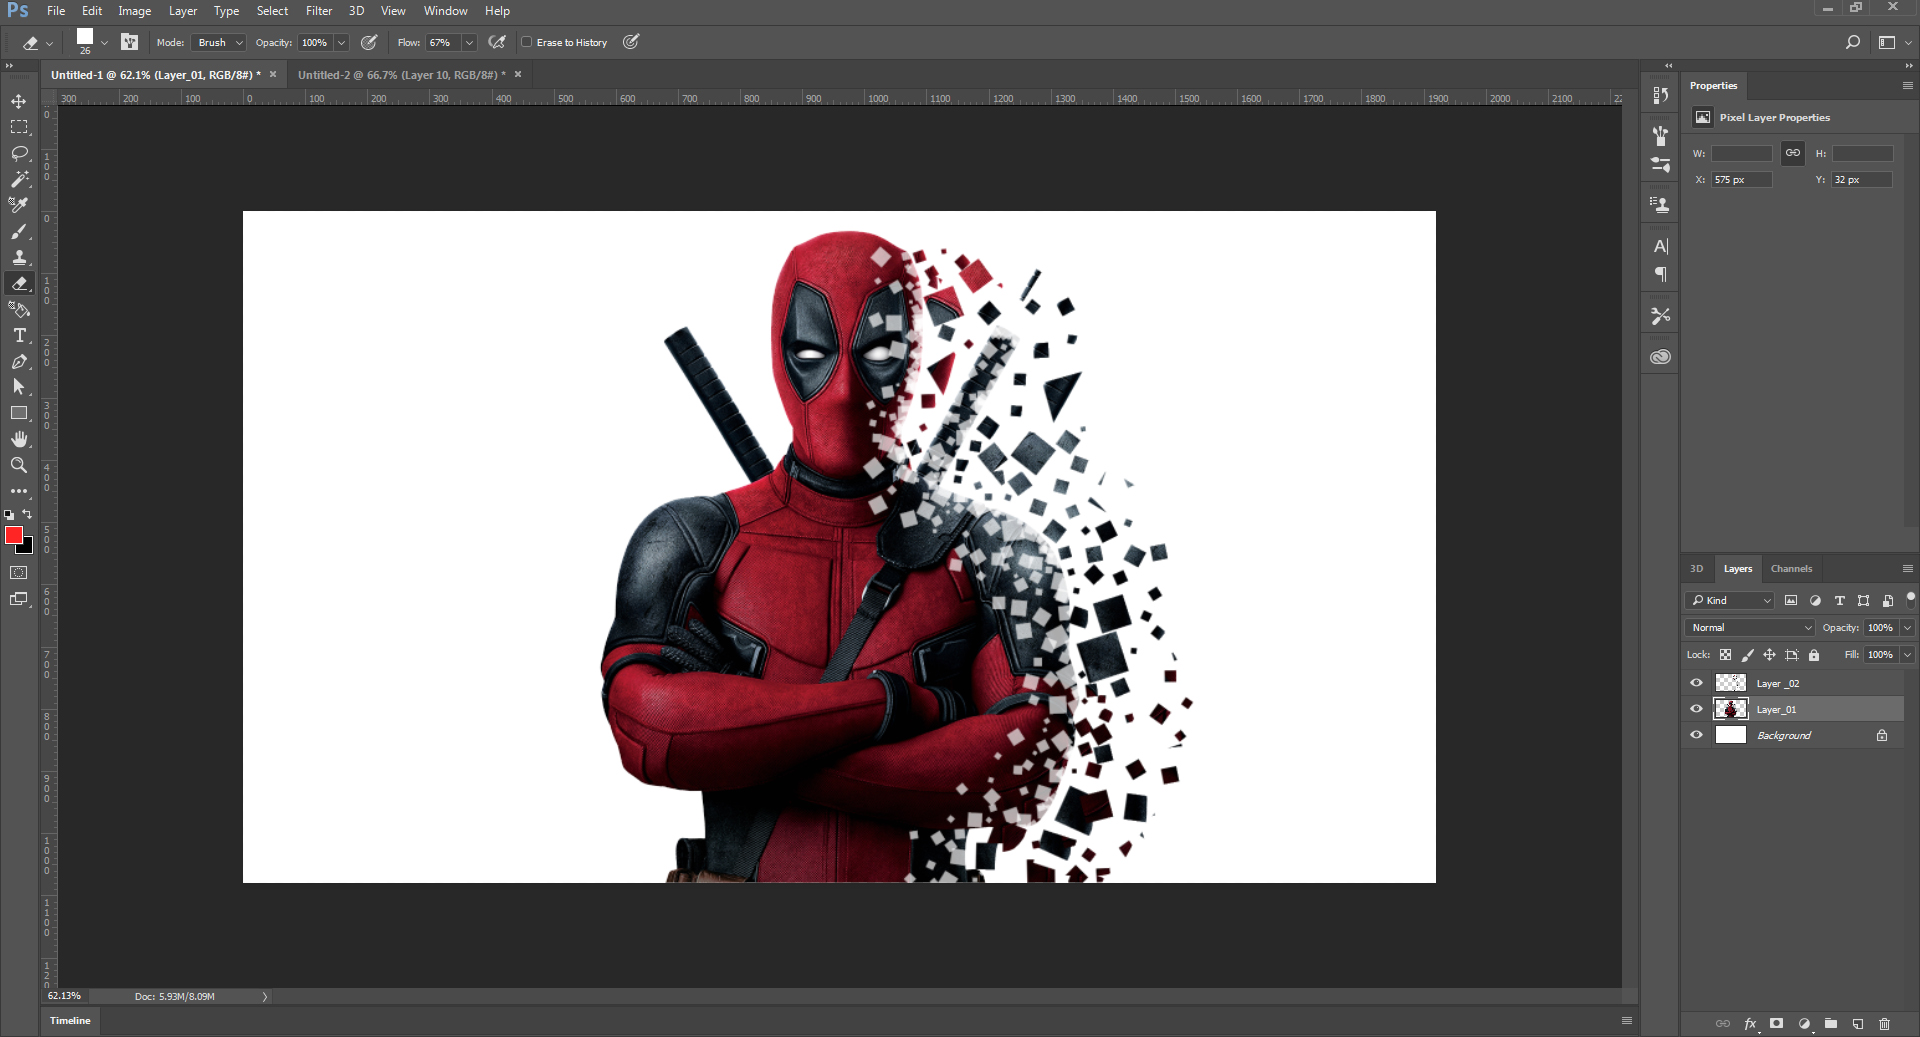
Step 10- select eraser tool(E) and erase right corners of the image , you can also use diffrent brush sizes
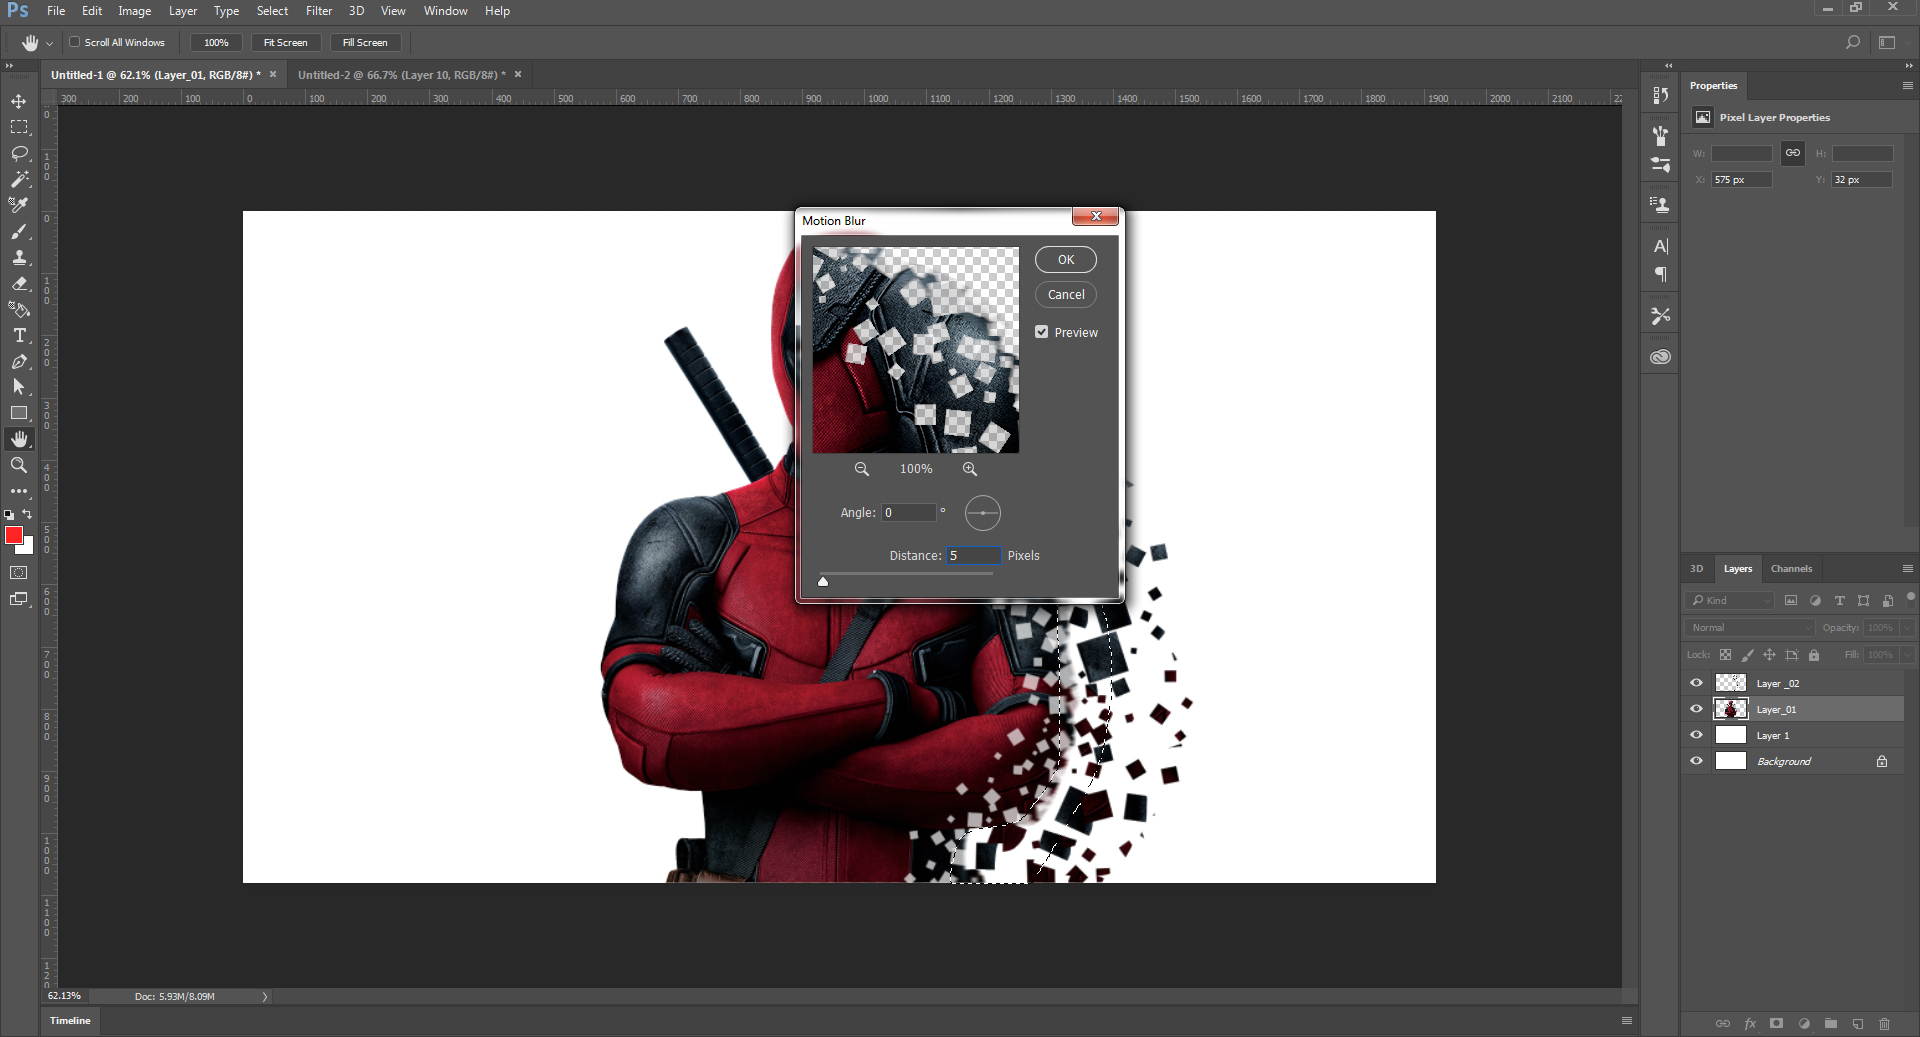
Step 11- create a new layer below Layer_01 with white fill
Step 12- now seletct lasso tool (L) and select the corners of the image
use filter - Blur _ Motion Blur
Step 13- now we will merge both Layer_01 and white color background, by selection both layers and then right click to merge layers
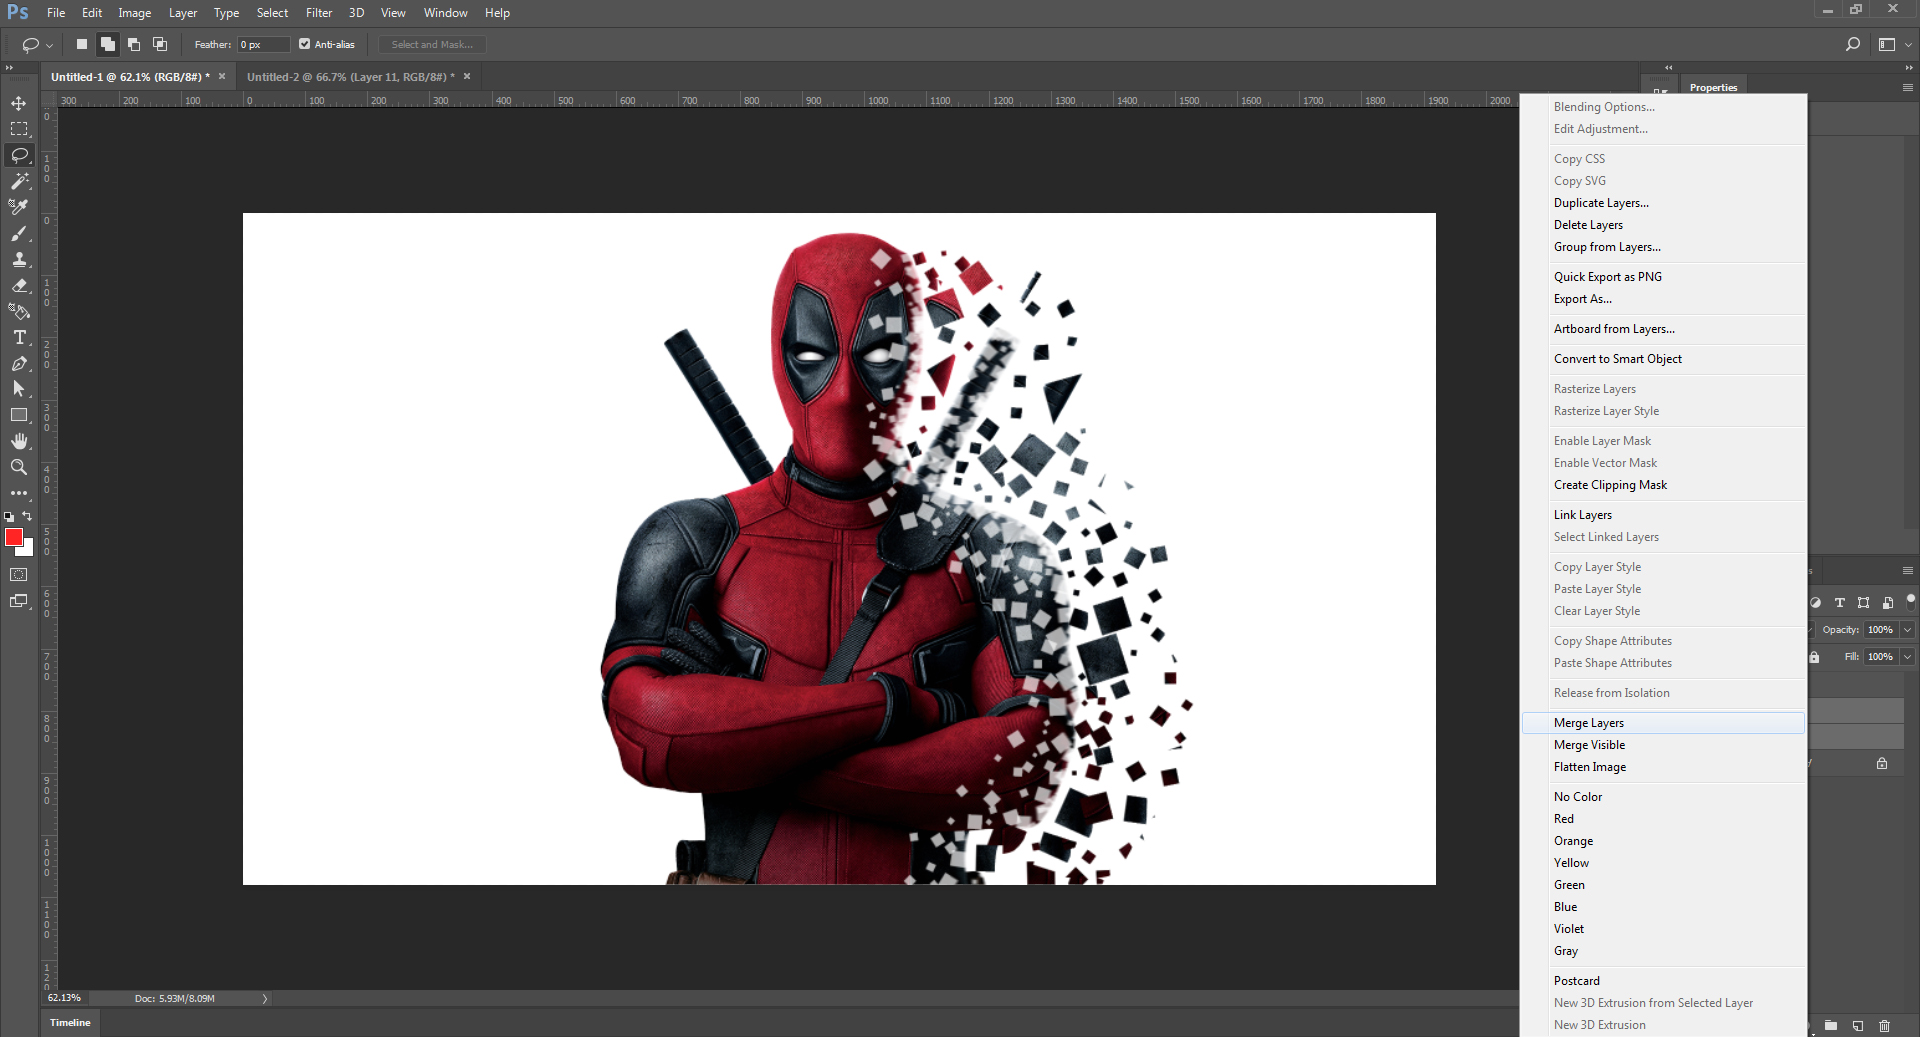
Step 14- now select filter and and choose lens correction and set all values as shown
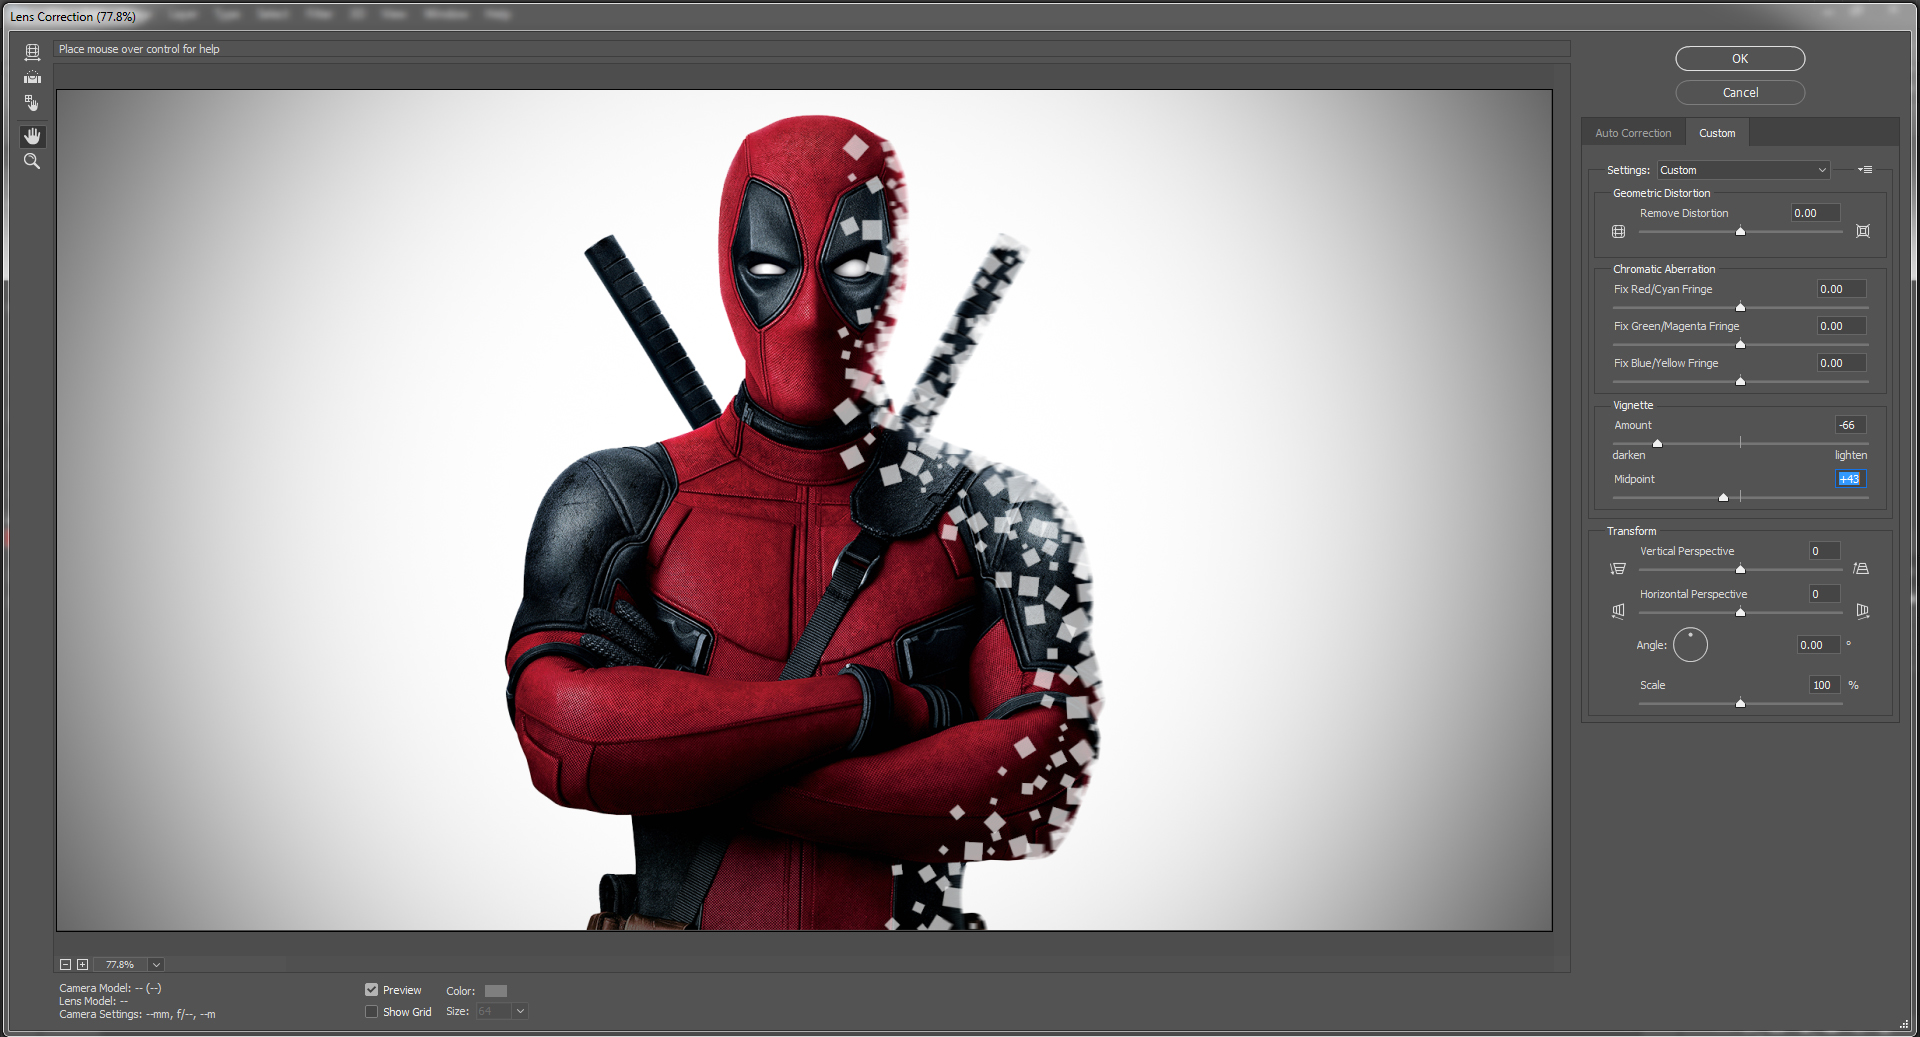
ALL DONE: The Output will be as shown below. Ig you have any questions, please feel free to write in comments.


0 Comment(s)