-
How to play video online using .Net
almost 11 years ago
"How to play video online"
For cutting a frame from a video, please refer to my following blog:
Cut frame from a video In this article we will take a overview on cutting a frame using ffmpeg.exe file and then will discuss how to play the video online using jwplayer.js.
To download the ffmpeg.exe file and jwplayer.js please go to the following links respectively:
ffmpeg download jwplayer download Getting Started:
Step 1: Create your .Net application and add ffmpeg.exe and jwplayer.js in your project.
Step 2: Write the following code in your aspx page:
<div id="showVideo">// Area to play video </div> <div> <asp:FileUpload ID="FileUpload1" runat="server" /> <asp:Button ID="Button1" runat="server" Text="Button" OnClick="Button1_Click" /> </div> <asp:ImageButton ImageUrl="./Images/thumb1.jpg" style="height:100px;width:100px;" ID="holdVideo" runat="server" ClientIDMode="Static" OnClientClick="return ShowVideo(this);"> </asp:ImageButton> <asp:hiddenfield runat="server" ID="holdVideo"></asp:hiddenfield>Note:-> In the above code we have a div tag with id = "showVideo", this represents the area where the video will be played. The FileUpload control will be used to upload the video and the Button will be used to submit the video. The hiddenfield is used to hold the uploaded video. The ImageButton will hold the frame that we will cut from the uploaded video, and on click of the ImageButton the video will be played.
Step 3: Now write the following code in Button1_Click event in code behind:
protected void Button1_Click(object sender, EventArgs e)
{
 if(FileUpload1.HasFile)
 {
  exec("http://localhost:52137/"+FileUpload1.FileName, Server.MapPath("~/Images/thumb1.jpg")

       , null);
  holdVideo.Value = FileUpload1.FileName;
 }
}
Note:-> In the above code we can see the exec() method, this method is responcible for cutting the frame from the video (Please refer to the above blog link for more information). The line holdVideo.Value = FileUpload1.FileName signifies that the hiddenvalue will hold the name of the uploaded video, which we will use later for playing it.
Step 4: Now add the following exec() method in the code behind for cutting the frame :
public void exec(string input, string output, string parametri)
 {
   Process ffmpeg = new Process();
   ffmpeg.StartInfo.Arguments = " -i " + input + (parametri != null ? " " + parametri : "")+   " " + output;
   ffmpeg.StartInfo.FileName = Server.MapPath("~/ffmpeg.exe");
   ffmpeg.StartInfo.UseShellExecute = false;
   ffmpeg.StartInfo.RedirectStandardOutput = true;
   ffmpeg.StartInfo.RedirectStandardError = true;
   ffmpeg.StartInfo.CreateNoWindow = true;
   ffmpeg.Start();
   ffmpeg.WaitForExit();
   ffmpeg.Close();
 }
Step 5: Now go back to your aspx page and add the following scripts, for playing the video:
<script src='https://ajax.googleapis.com/ajax/libs/jquery/1.3/jquery.js'type="text/javascript"> </script> <script src="http://jwpsrv.com/library/dEyPip1CEeSN_hJtO5t17w.js"type="text/javascript"> </script> <script type="text/javascript"> function ShowVideo(element) { var fileName = $("#<%= holdVideo.ClientID %>").attr('value'); jwplayer("showVideo").setup({ file: 'http://localhost:52137/' + fileName, image: thumbImage, width: 640, autostart: false, height: 370 }); return false; } $(document).ready(function () { thumbImage = $(this).attr('value'); }); </script>Note:-> Replace http://localhost:52137/ with your own server URL.
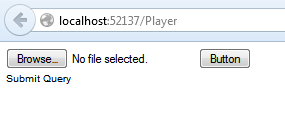
Step 6: Now run the application you will get the following output:
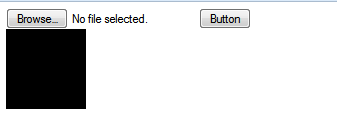
Once the Video is uploaded, the frame will be taken off from it as jpg image and that image will be displayed by the ImageButton:
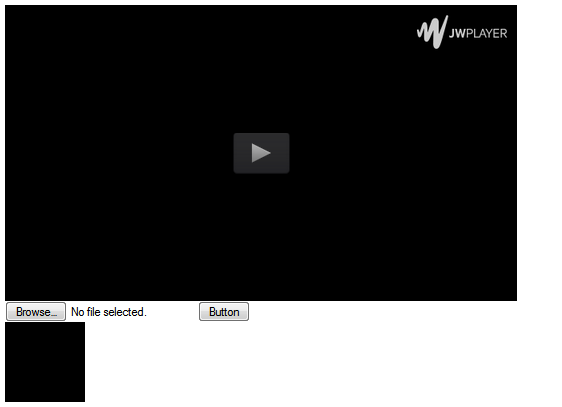
Then On click of that ImageButton the video will be played:
Hope it helps..... Happy Coding !


0 Comment(s)