Launching a new instance on amazon ec2
Hi Friends,
Today I am going to tell you step by step how to setup amazon ec2 server. After completing sign-up in to amazon from
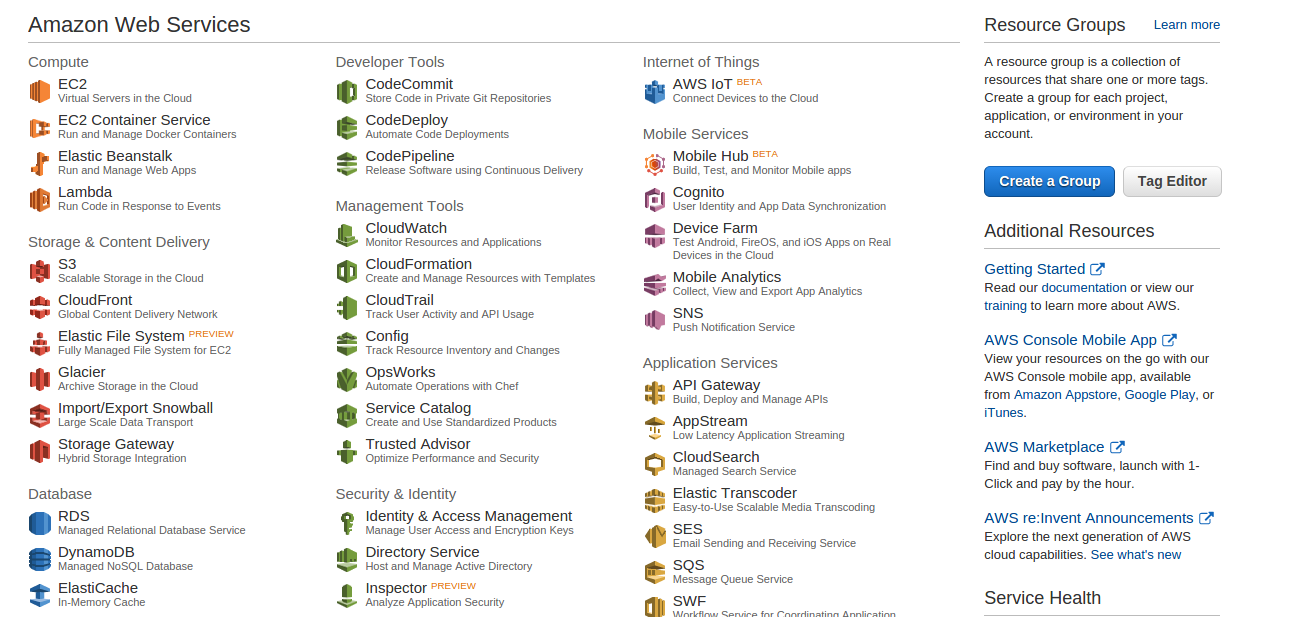
http://aws.amazon.com. You will be redirected to a home screen of the amazon that lists various services provided by the amazon.
STEP 1:
Simply Select EC2 in these options
 STEP 2:
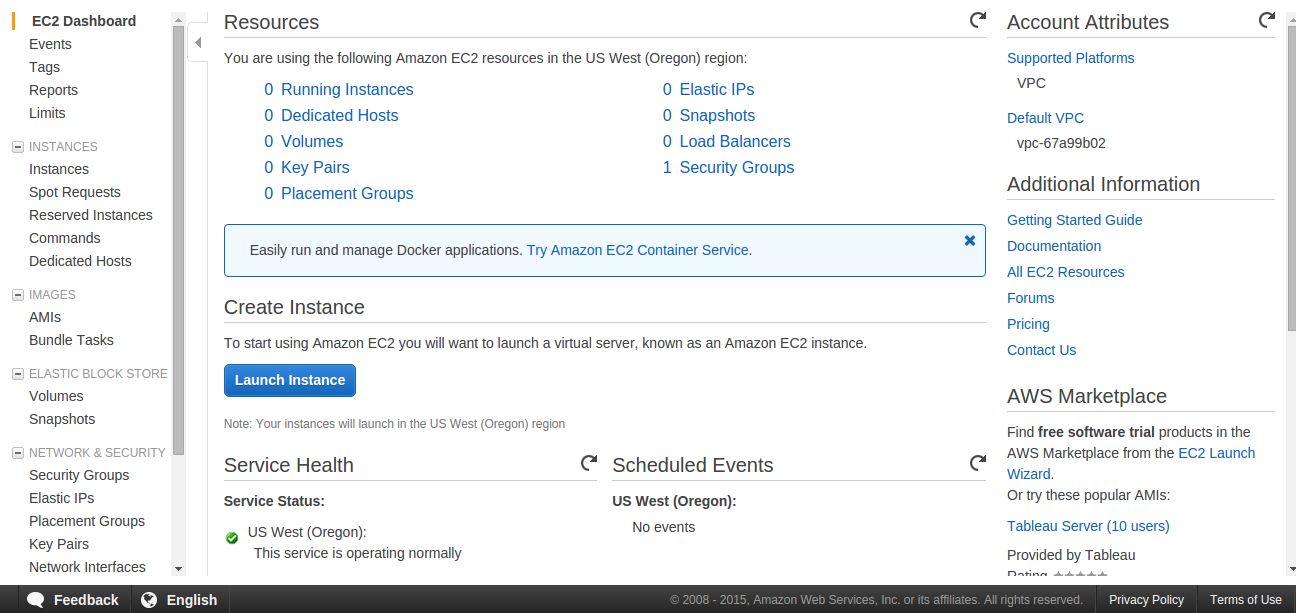
Here the next screen will be as given below, as we are here to launch a new instance of amazon, we will click over the Running instances
 STEP 3:
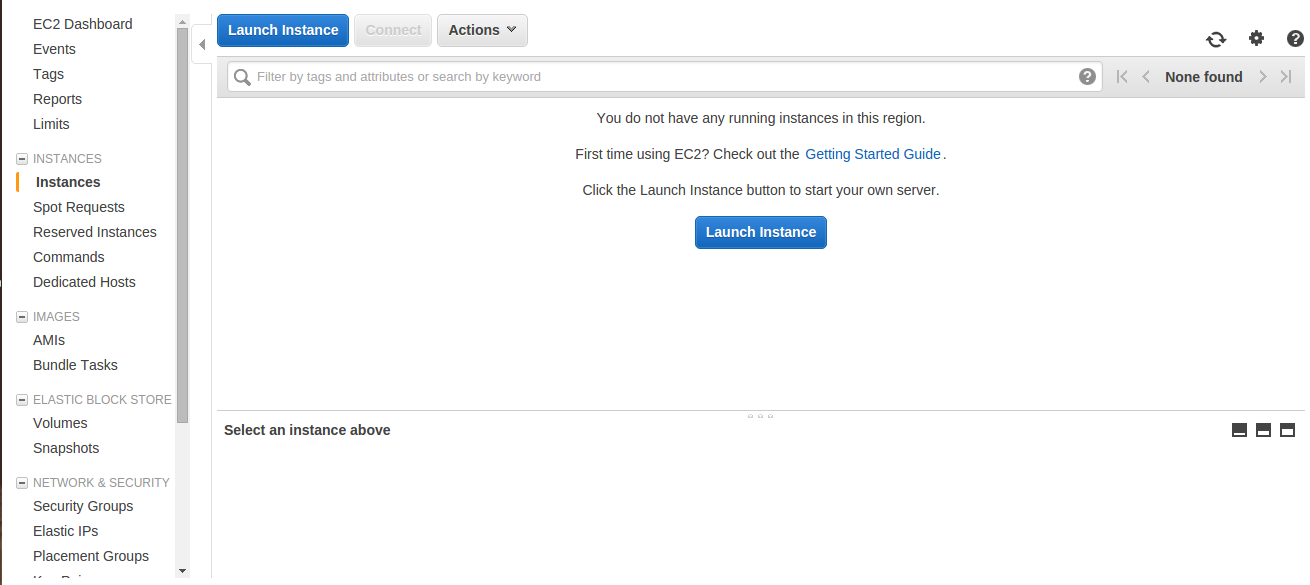
Now the next screen will open where the running instances are listed, if there are no instances, there will be none Click on the
Launch Instance button
 STEP 4:
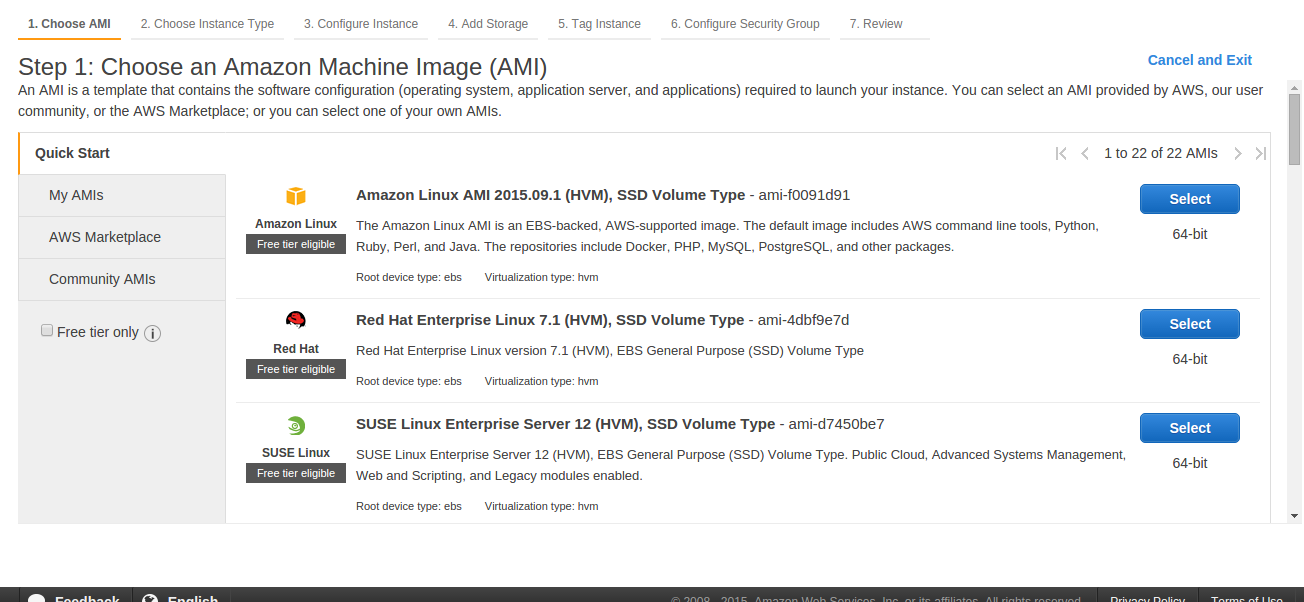
In this screen select instance image of your wish. For our case I am installing ubuntu14.04 LTS 64bit
 STEP 5:
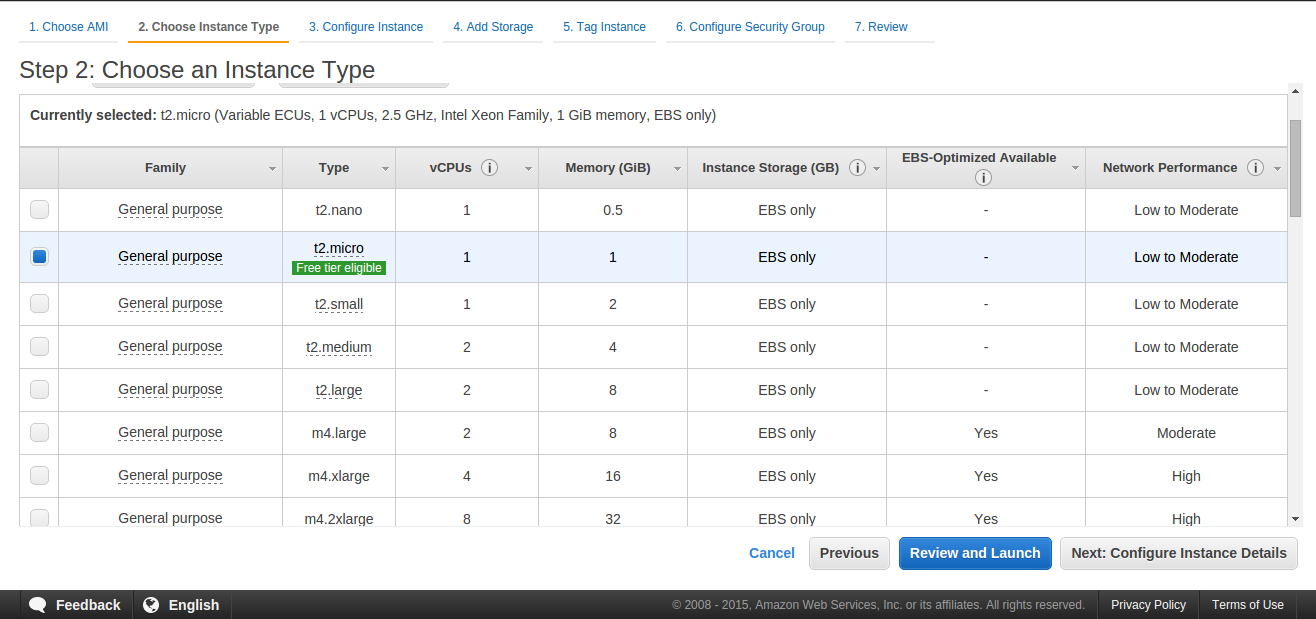
From here onwards the configuration will start, depending upon our usage, we will select micro small medium or large instance. After selecting instance you want, click on the
Next: Configure Instance Details given in the bottom right corner.
 STEP 6:
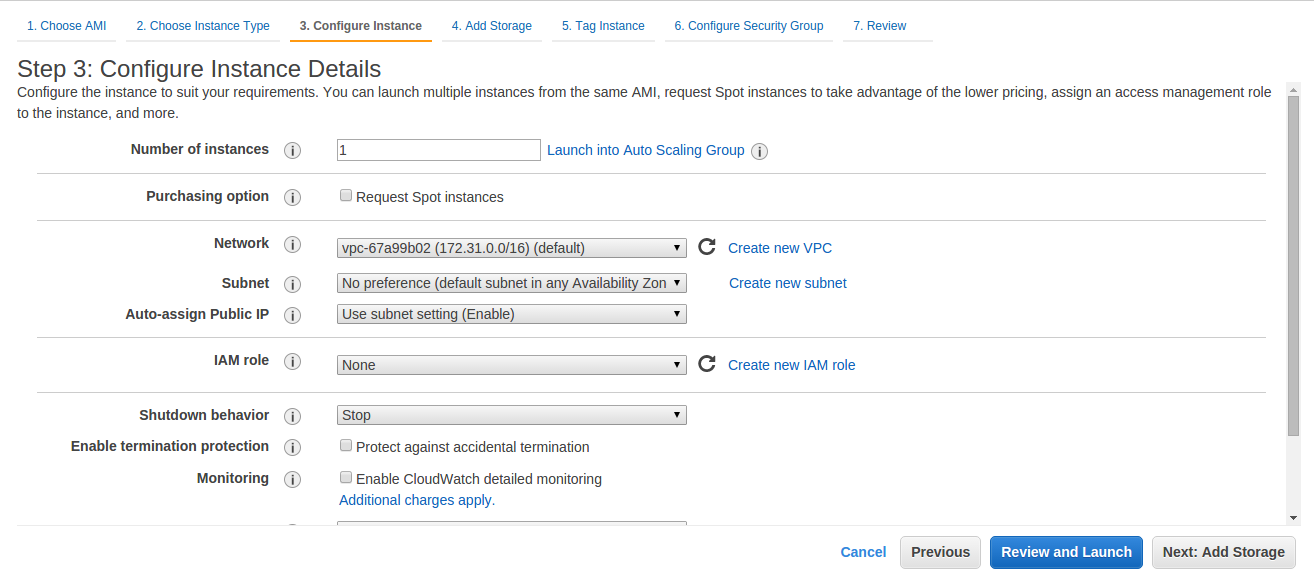
Just change one option here as
Auto-assign Public IP to enable and then click on
Next: Add Storage If you want to add EBS volume you can add here or simply click on
Next: Tag Instance
 STEP 7:
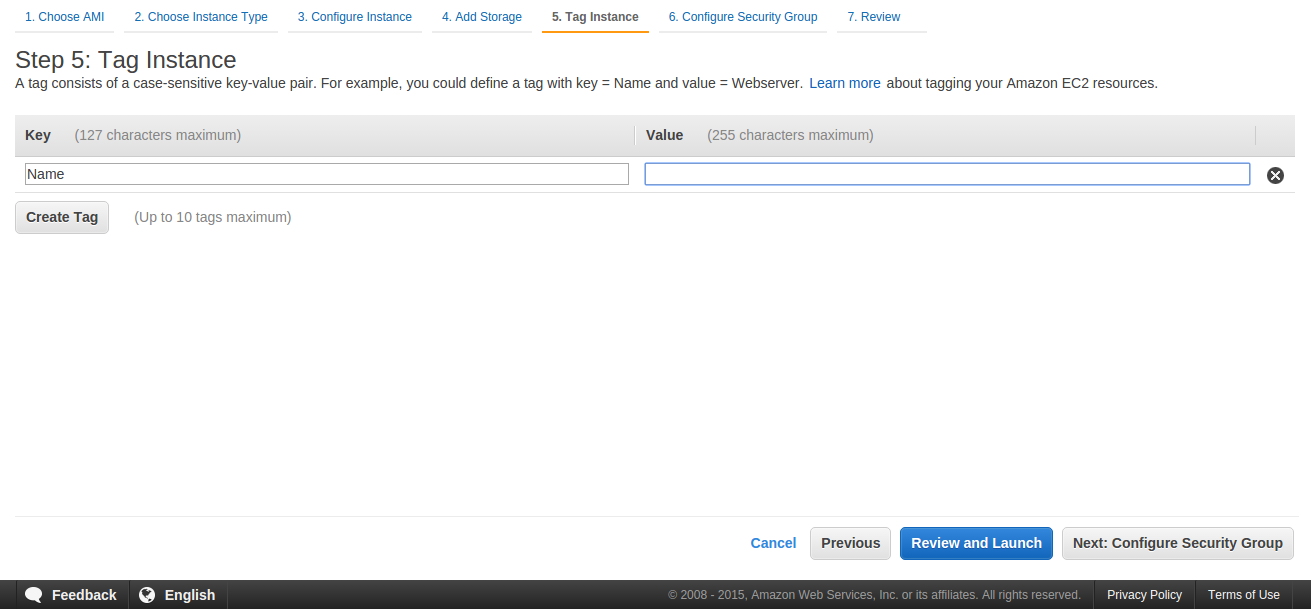
Leave this screen as it is and click on
Next: Configure Security Group
STEP 8:
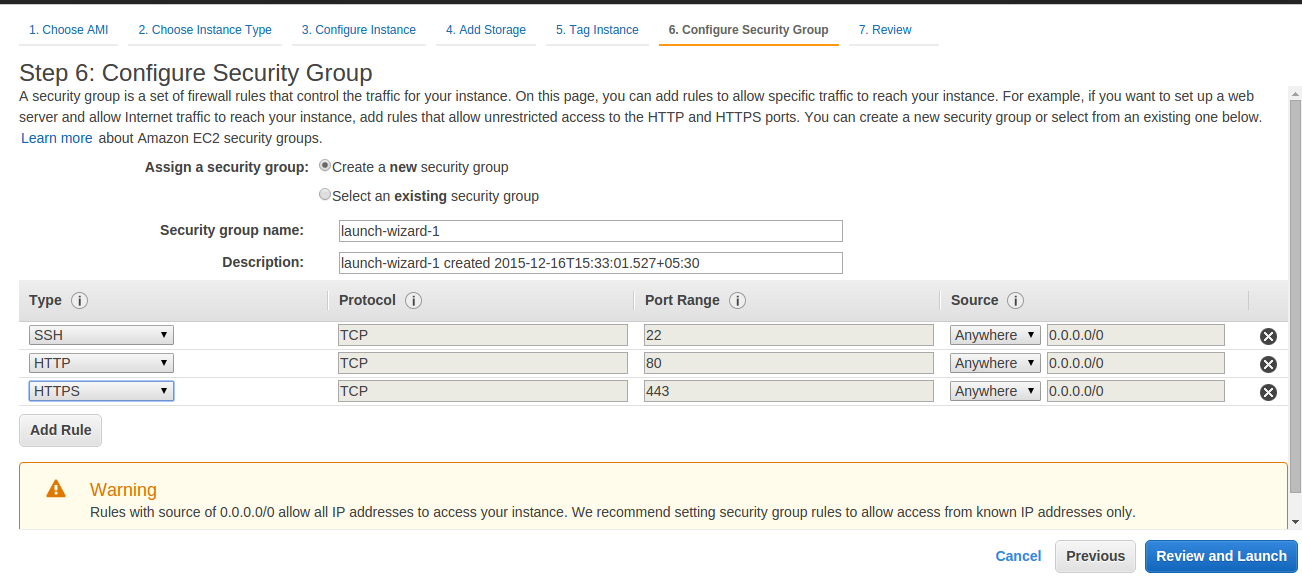
In this screen you can create a security group to accept different type of requests. In this case we have accepted HTTP, HTTPS and SSH type of requests. Now just click on Review and Launch
STEP 9:
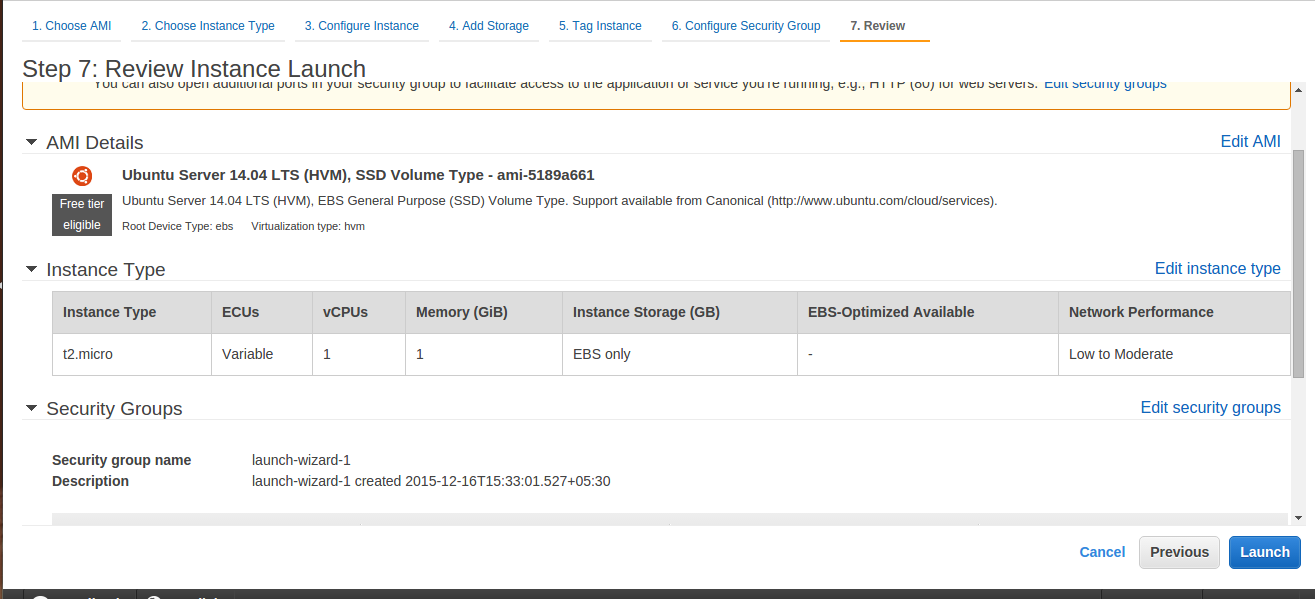
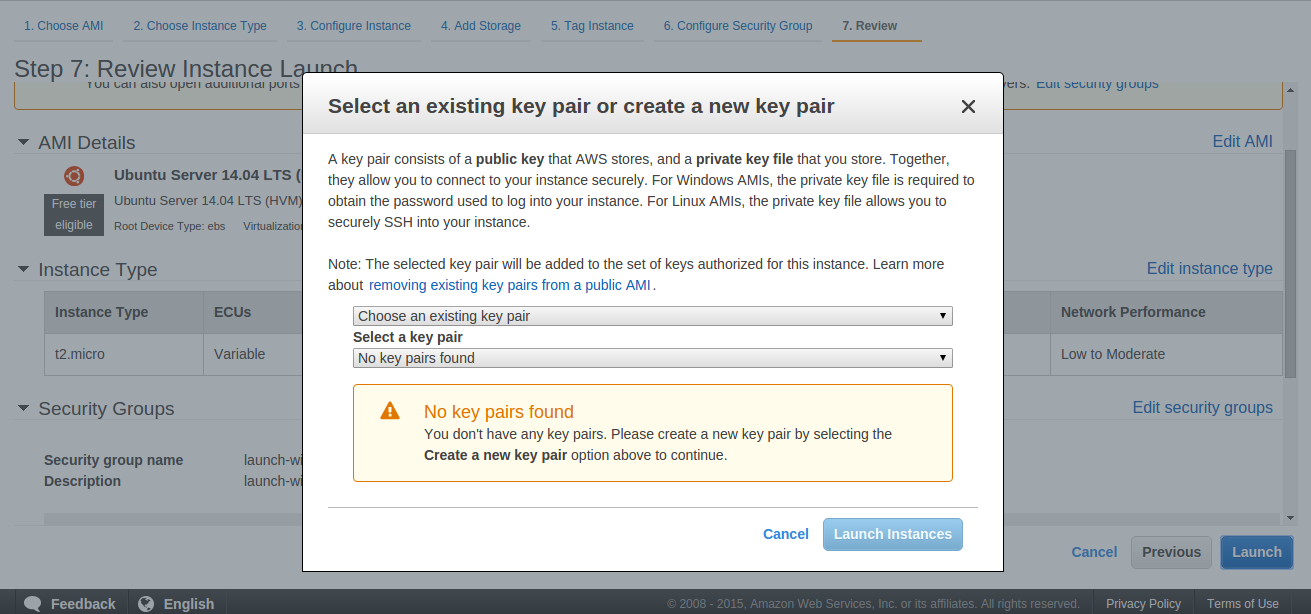
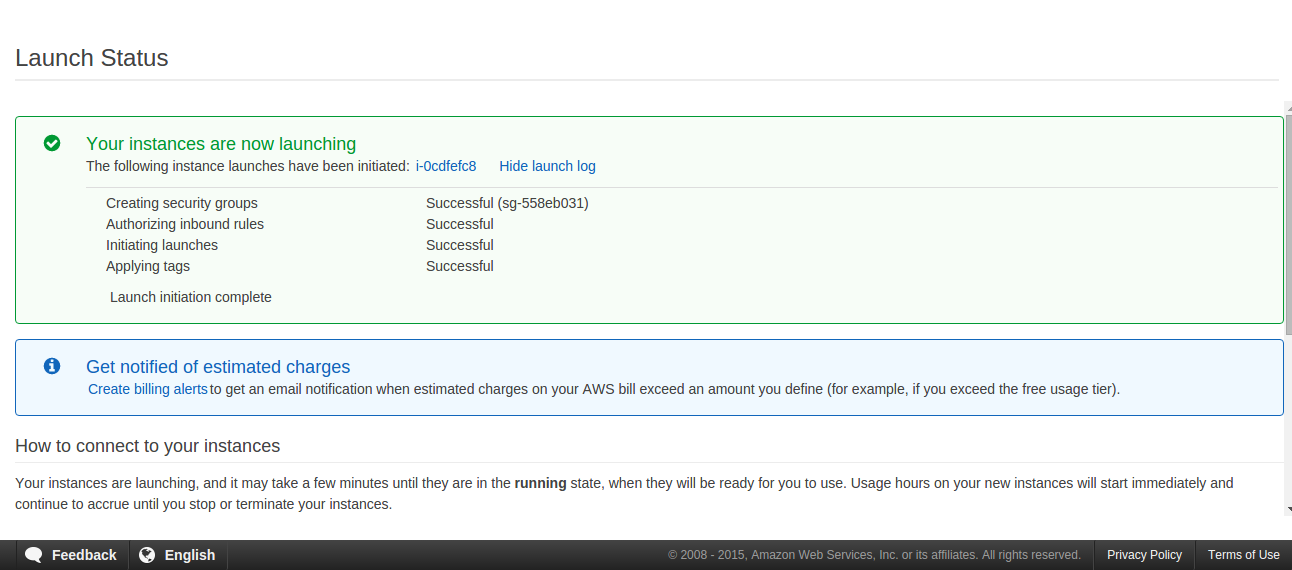
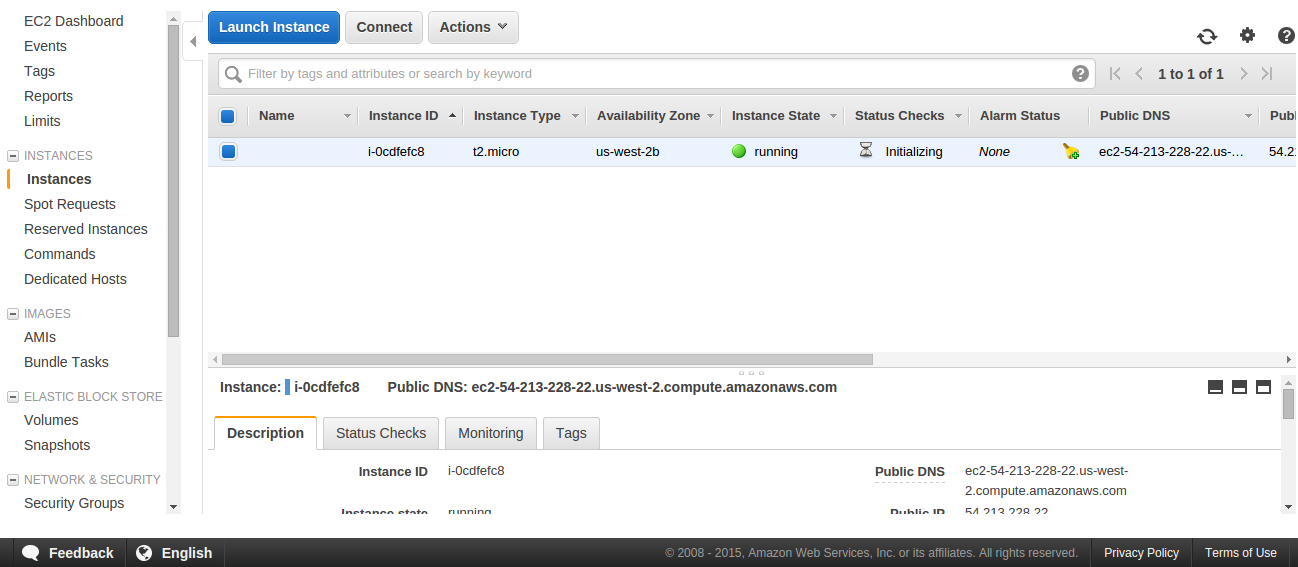
Click on Launch and then it asks for the key pair, if you already have a key pair you can select that otherwise you should create a new key pair to connect to the server via SSH. You will not be able to download the key again so keep it safe with you. After this, click on launch again you instance will start launching and you will get Success message. you can now see your instance in the ec2 instance list. All the screen shots are given below for the final step.
0 Comment(s)