Google webmaster account is a very important tool for a Company website. Using this tool we can check website performance and maintain it according to google guidelines. Google provide this tool and it is absolutely free for everyone. As well as Google provide many features in the webmaster tool related to SEO. So WMT is a very important part of SEO.
Now I am going to explain how to create google webmaster account step by step . Follow all step given below.
Step 1- First of all we need a google account for creating a webmaster. If you have a gmail account then go to http://google.com/webmasters. After opening it, you will see the below page and click on "Sign in Search Console" button
 Step 2-
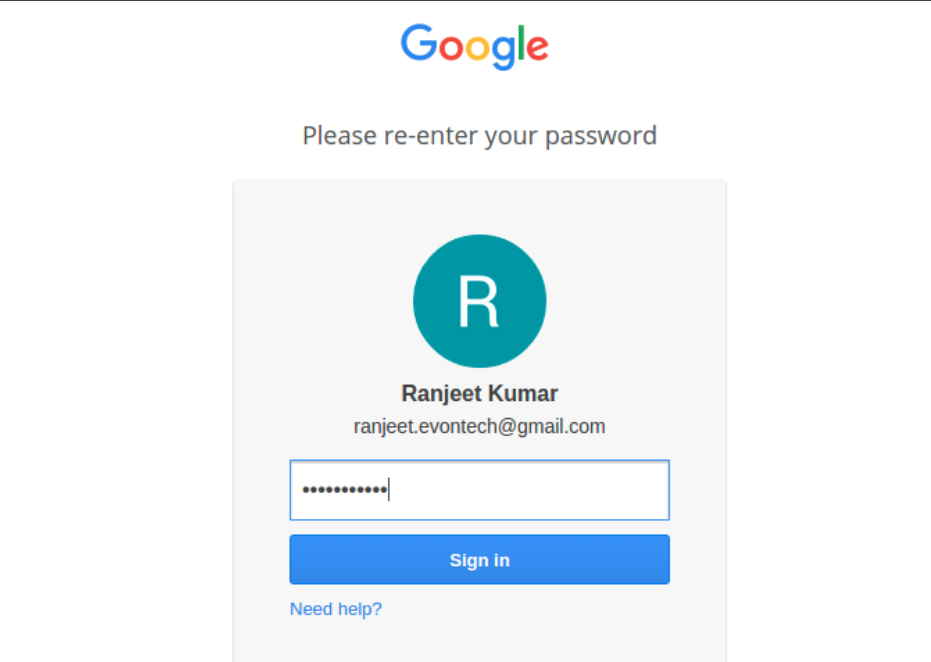
 After clicking the button you'll go to the below page (Sign Page). This is the google webmaster sign-in page for which you need a gmail account(Email-ID) and password for login.

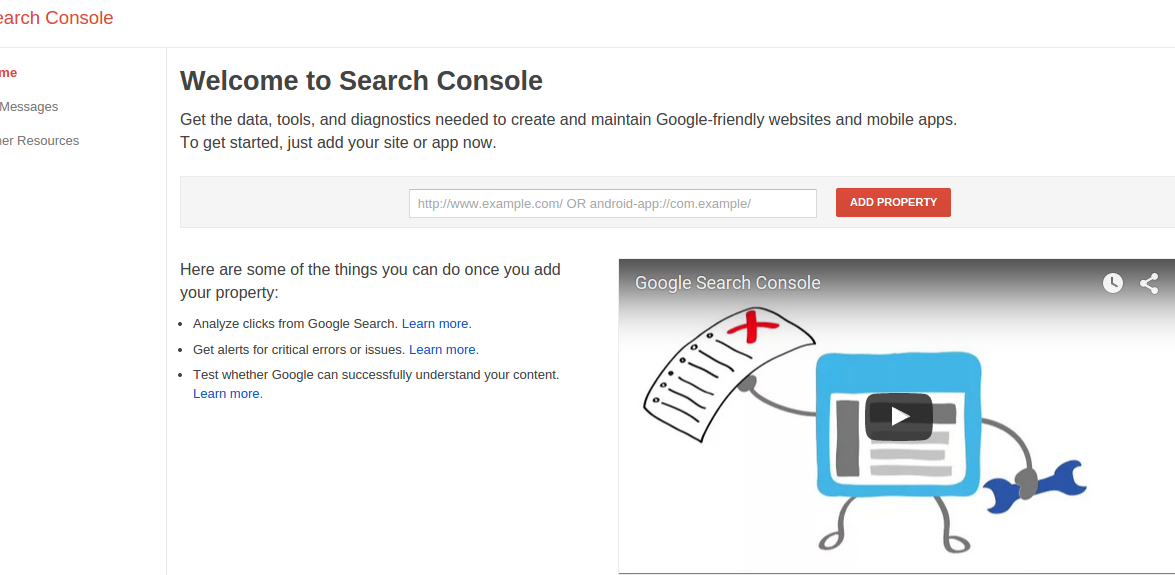
Step 3- After login, go to the 3rd step where youll add your website. See the below image put the your website url in the text box and then click on Add Property Button

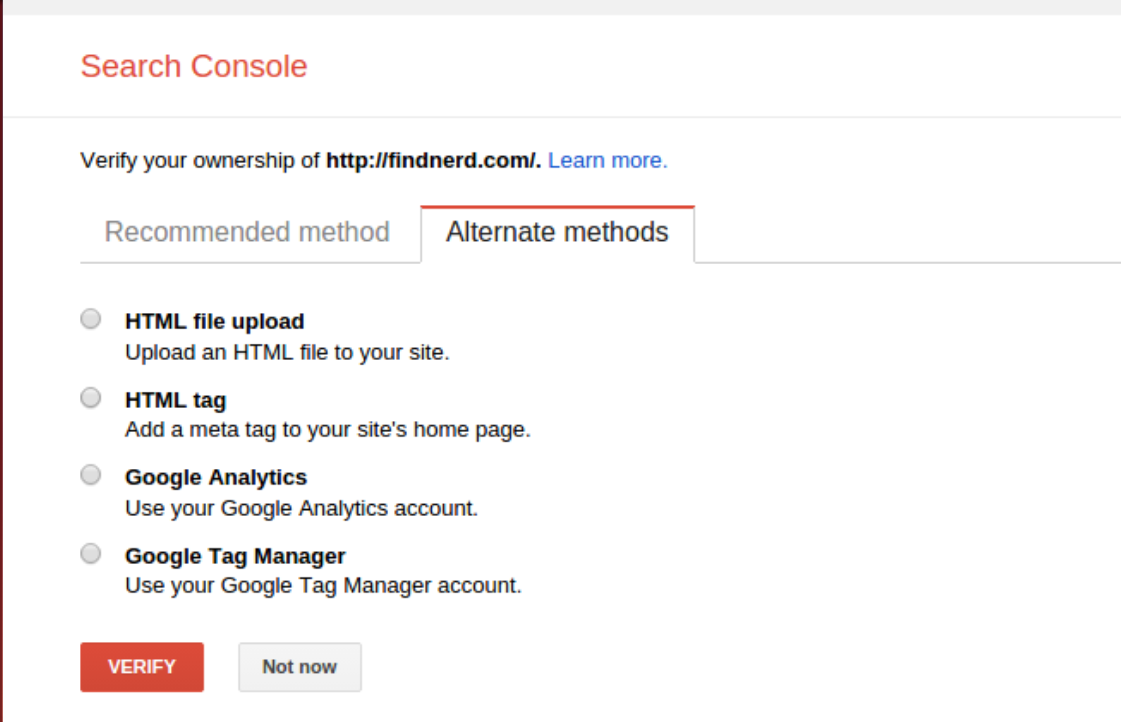
Step 4- After click clicking the Add Property Button,Youll reach the below page . This is the verify ownership page. Webmaster account will not work until the account is verified. Next, youll need to verify that the site is yours. You'll be given a number of options, but the easiest way is to verify via your GA account.

Well go to the first option HTML file upload. Select the Html file option and click on the file download link. After downloading the file upload in the root folder, completing the upload process click on the verify button.

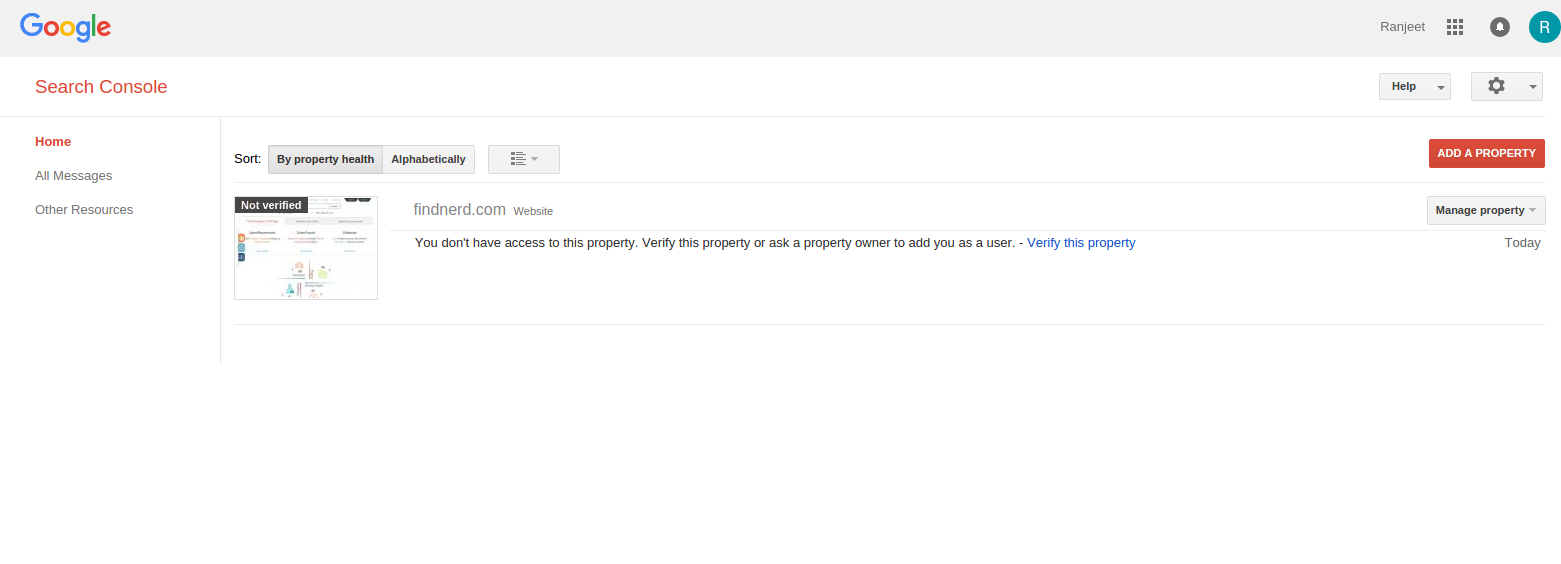
Now your webmaster account is ready.
If you have a sitemap then you can add a sitemap easily using WMT account. If you dont have a sitemap first create it. You can easily learn it through my previous blog How to Create sitemap, in which I have explained all the steps one by one.
0 Comment(s)