iOS devices are widely used by the people across the world speaking different languages. Making an application supporting multiple languages will make it user friendly and acceptable by large number of users. To support this, apple has introduced Localization in iOS. Localization is the process in which app is made to support multiple languages.

So in this tutorial, we will see the step-by-step process on how to localize your app
Step 1) Click on your project on project navigator and select your project in the project and targets list, under Localization section check the “Use Base Internationalization” checkbox.
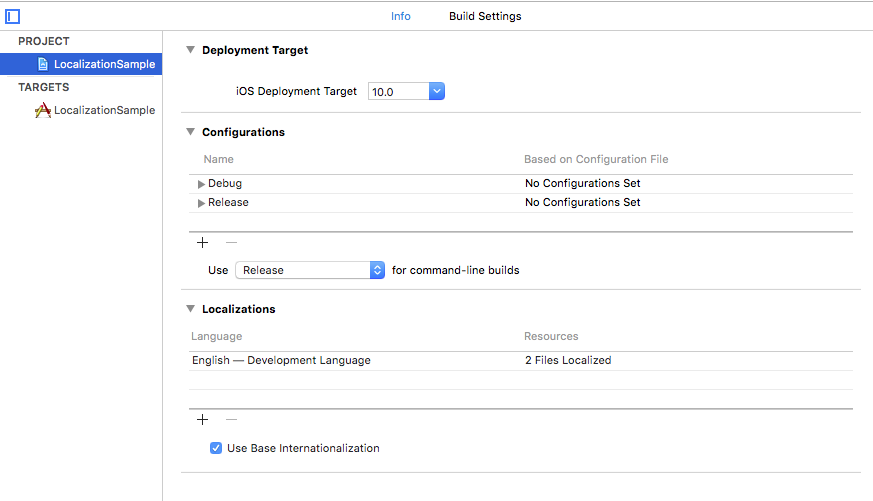
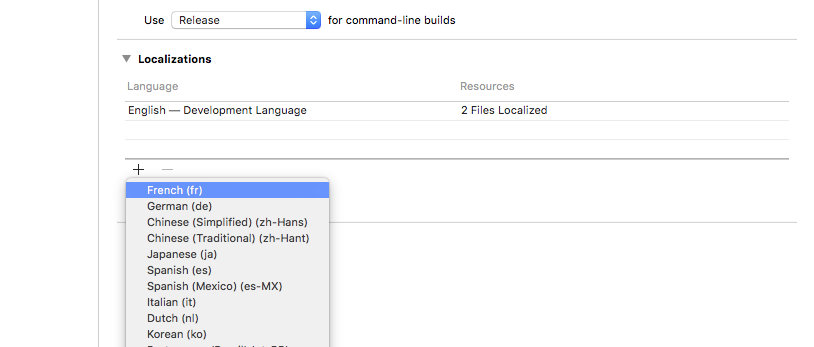
Step 2) Tap on + button under Localization and select a language you want to support, here we are using French.
Step 3) Create Localizable.strings file, goto File -> New -> File -> Strings File and name it Localizable.
Step 4) Select Localizable.strings, click on localize and select French
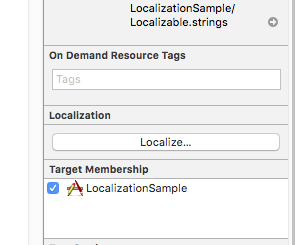
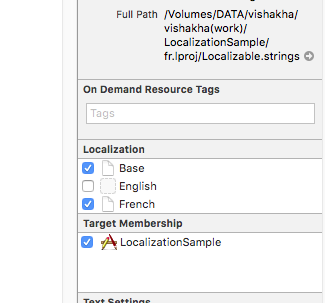
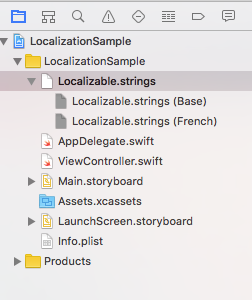
Step 5) Expand Localization.strings, you will find french and base string file over there.
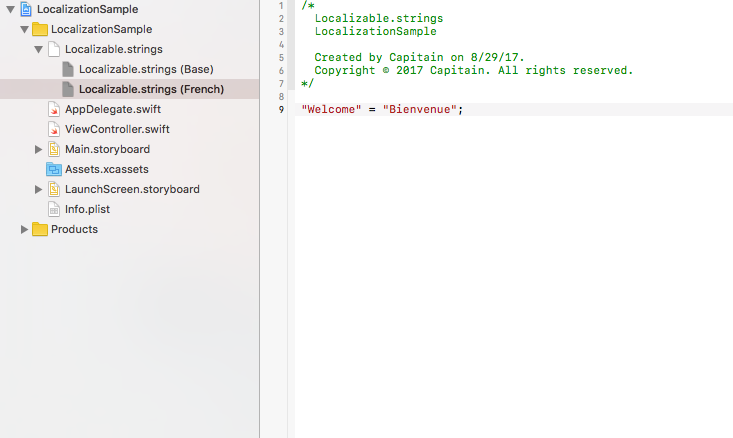
Step 6) Select the french string file and add translated text as a key-value pair e.g "Welcome" = "Bienvenue"
Step 7) To fetch a localized string from the Localizable.strings file for the current localization add these line of code:
let translatedText =  NSLocalizedString("Welcome", comment: "")
 print("translatedText is",translatedText)  // translatedText is Bienvenue
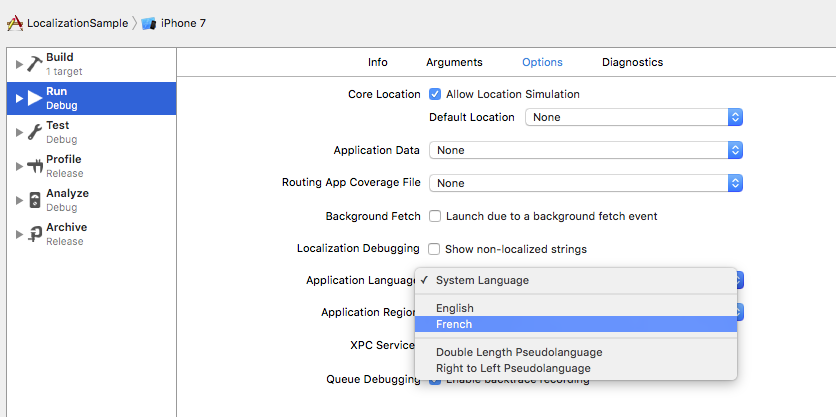
Step 8) Goto edit scheme, select french as your application language and run the app
0 Comment(s)