Photoshop has evolved a lot than it used to be in early phase, now Features like Content aware, 3d and Puppet tool have boosted its awesomeness.
3d is one of the feature that i love to use in photoshop CS6. as its Handy and can give you amazing results in seconds.
I would like to share some cool techniques of 3d tool in photoshop that will cover almost everything (modeling, texturing , lighting and rendering) and some of your precious time ;)
But yeah you can always use any 3d application to achieve more realistic results, this tutorial is just to make you aware of the potential of this tool.
So please have some patience and attention if you want to know how to achieve amazing 3d renders in photoshop. I am sure at the end of this tutorial you'll be able to create something awesome. ;)
Enough talks lets get started.
You must have Adobe photoshop CS6 extended installed in your PC.
I am gonna share example of creating and rendering a 3d text.
So Lets get started
First Create any Text by tapping 'T', You can change your text later too as this whole process is Editable.
Then Go to 3d and select New 3D Extrusion from selected layer.
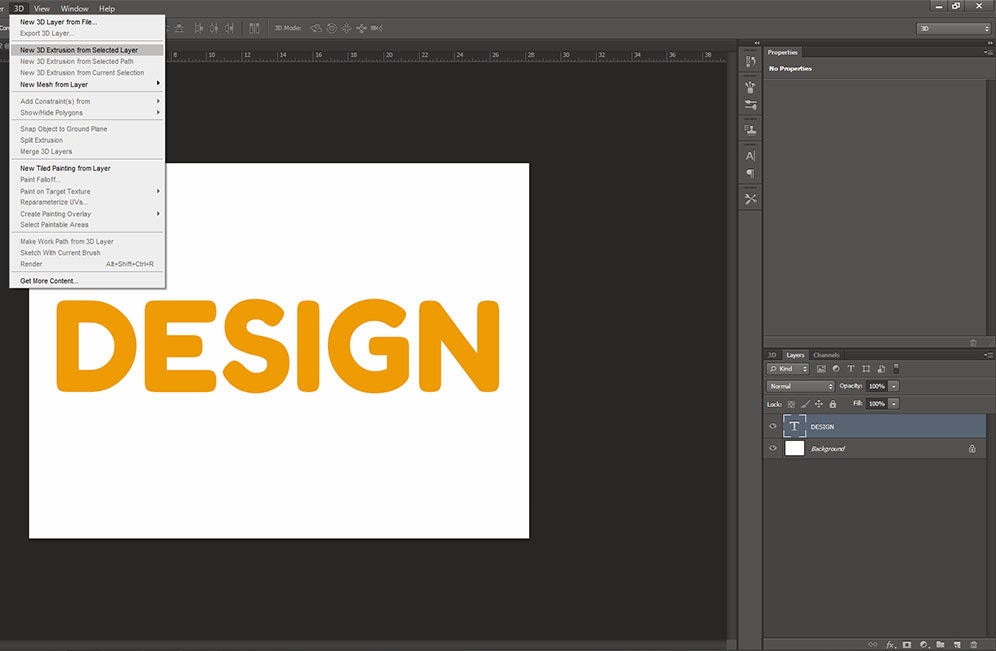
And here you have got a 3d Text right in your Photoshop. Just hold Left Click and you can navigate your scene . You can alter the look of the 3d extuded Text by adjusting extrusion depth and shape presets.

In the sample image I have set value of extrusion 75 and used the round edge shape for the Text.
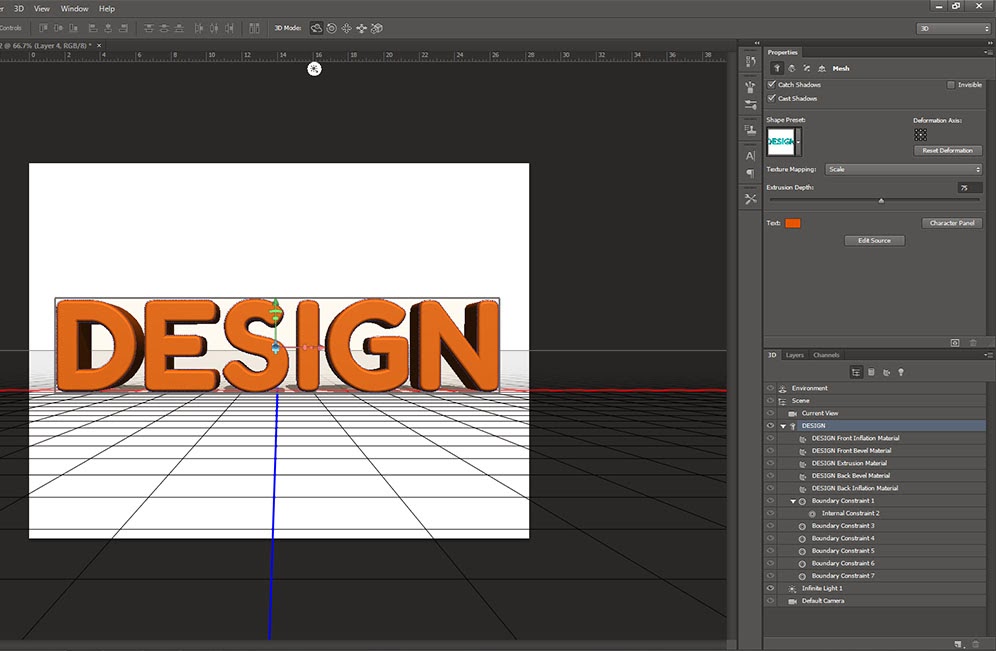
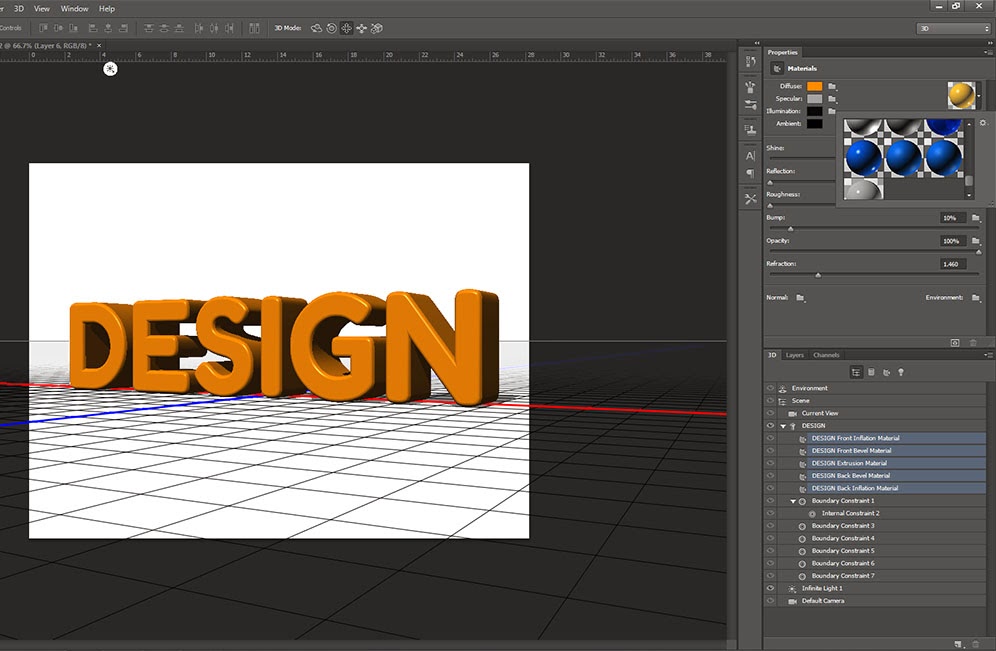
Now You Can Move to texturing and set materials, In 3d tab under 2 star icon there are layers which can be selected to change material of the 3d Text. make sure that you have loaded raytraced materials in the material section, as they can give much better results than normal materials. you can either select a preset material or adjust values to create your own.
Go to Environment Tab, You'll find a IBL (image based Lighting) option there check that and now load a HDR image there, Adjust intensity(color) of IBL according to your scene. You can lower the intensity of the infinite light as a IBL is providing enough lighting to the scene. you should see something like the sample image Below.
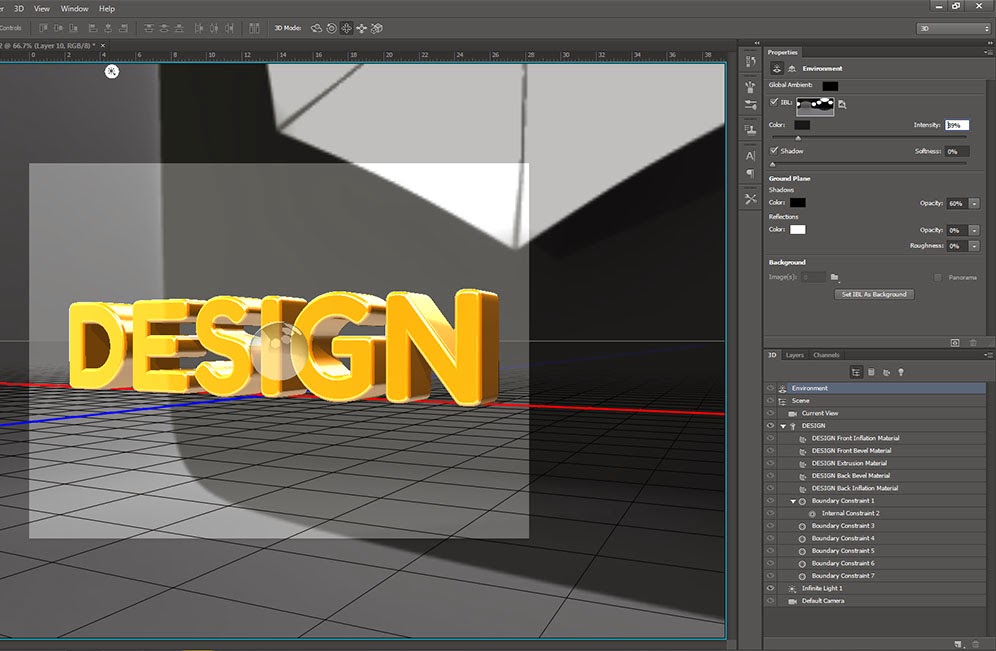
you can adjust HDR map in Environment tab according to your scene requirement and Light Directions.
Now we are on finishing line.

Here we are on the last step of this tutorial, Rendering.
press Alt+Shift+Ctrl+R to render your scene. and Voila! You'll get amazing 3d image in photoshop.
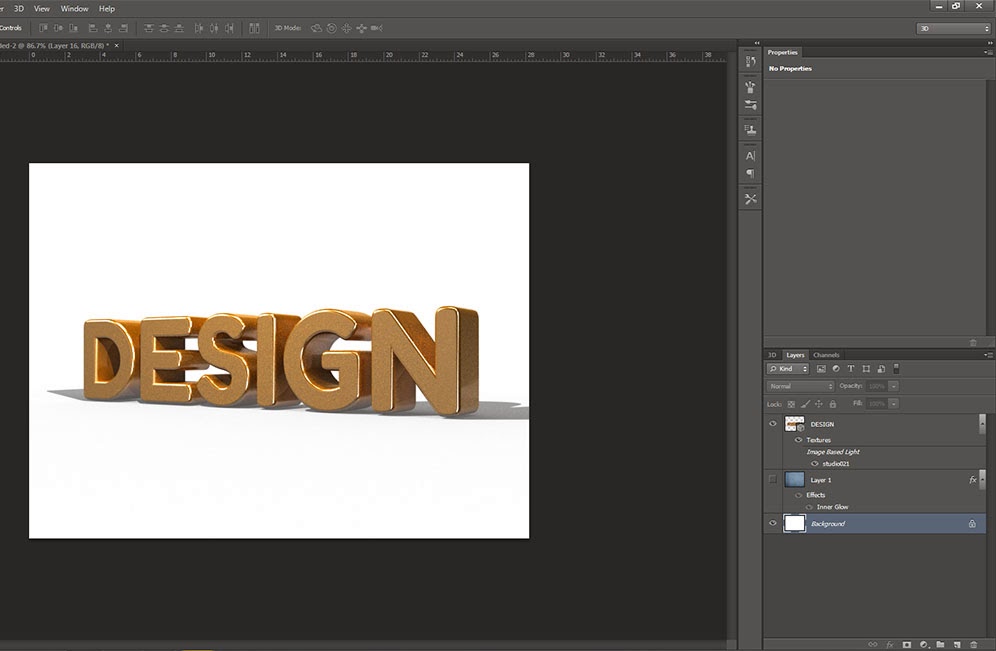
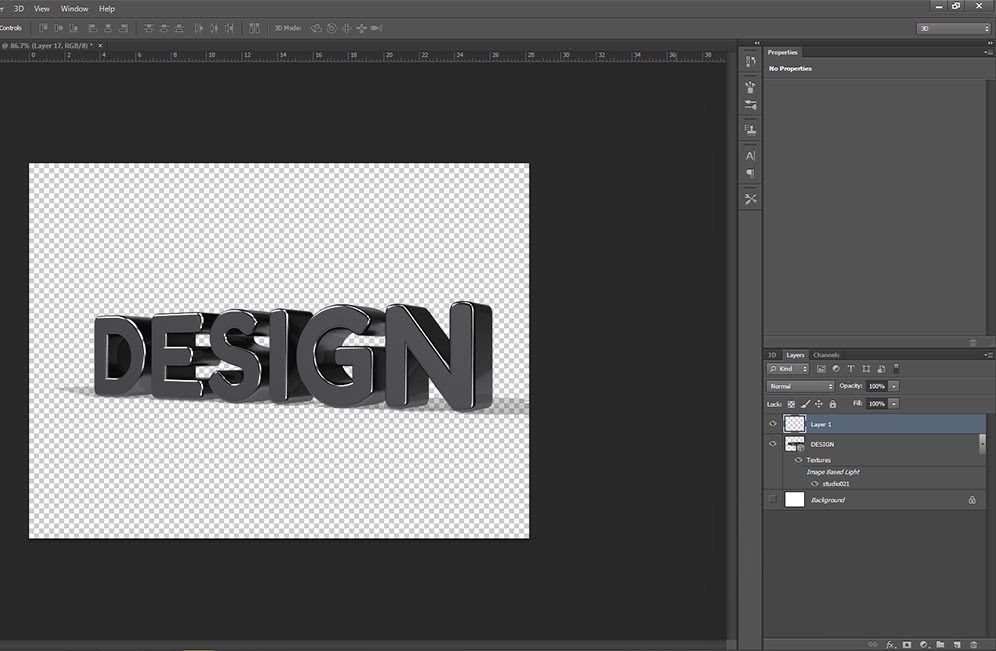
you can change color and other properties like glossiness and reflection anytime to enhance the look of your 3d object. Here is another image of the same text in metallic black color.
Please feel free to leave your queries and comments in the comment section below and Please do like and share this Blog.
1 Comment(s)