Node.js is a very interesting cross-platform, open source, a runtime environment for server-side and networking applications. It enables you to unleash the internal hacker within you and offers a chance to work and join hands with one of the leading developer's communities across the globe. Earlier the node.js was available for Mac and Linux. However, with significant contribution from Microsoft to the project, Windows environment is also supported in a better way.
To setup node.js, download v6.10.3 LTS installer. This version has a long-term support and will display following web page.

After the download is complete, start the installation by following these steps:
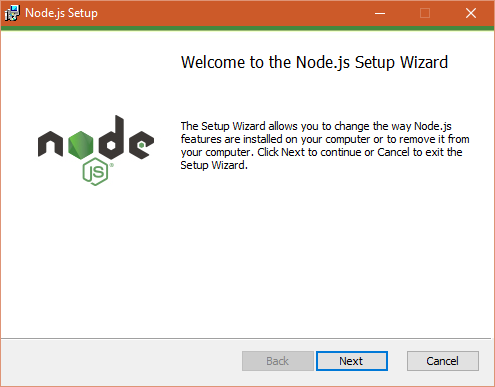
Step 1 : Open node.js setup Wizard

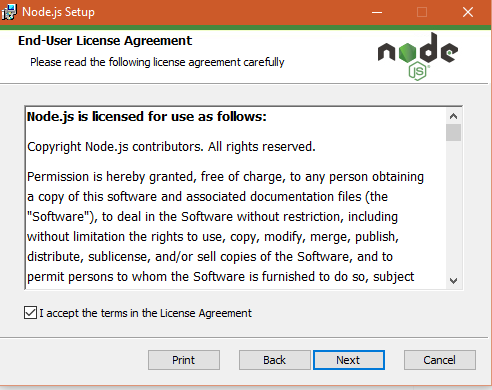
Step 2: Click ‘Next’ tab and then check the ‘I accept terms in the License Agreement’ check box and again click the Next tab

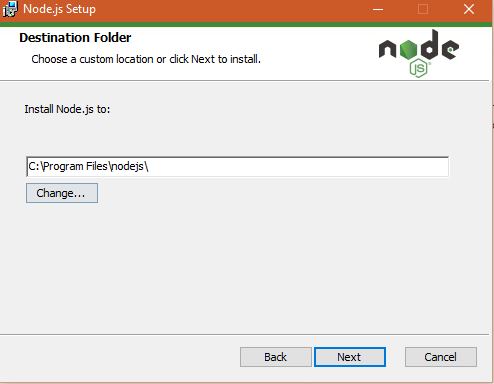
Step 3: Choose location to install node js (c:\program Files (86) \node js )default

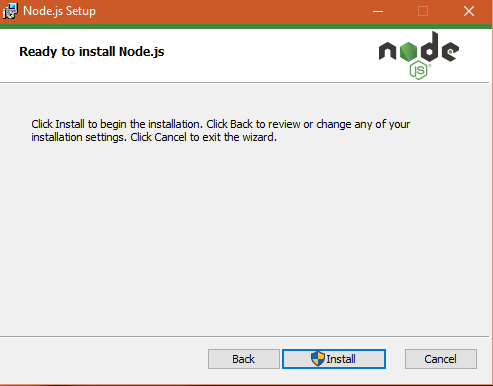
Step 4: Click on ‘Install’ tab to begin the installation

Step 5: To ensure that Node.js has been installed, run the following command in terminal
node -v
How did you find the article? Feel free to share your thoughts in the comments section below.
1 Comment(s)