STEP 1
Choose File > New. Once the new document window appears name the document then add width and height.
STEP 2
Make a square. Apply bright radial gradient to square then rasterize the square choose Object > Rasterize.
NOTE: Do not change the settings of rasterize palette.

STEP 3
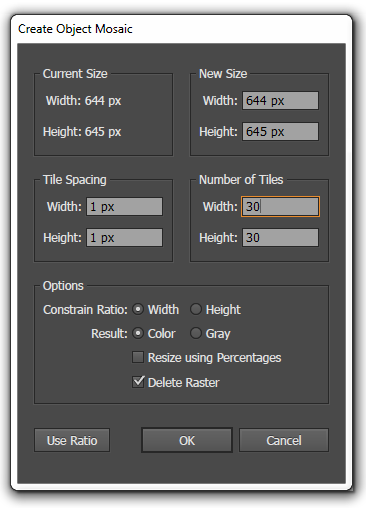
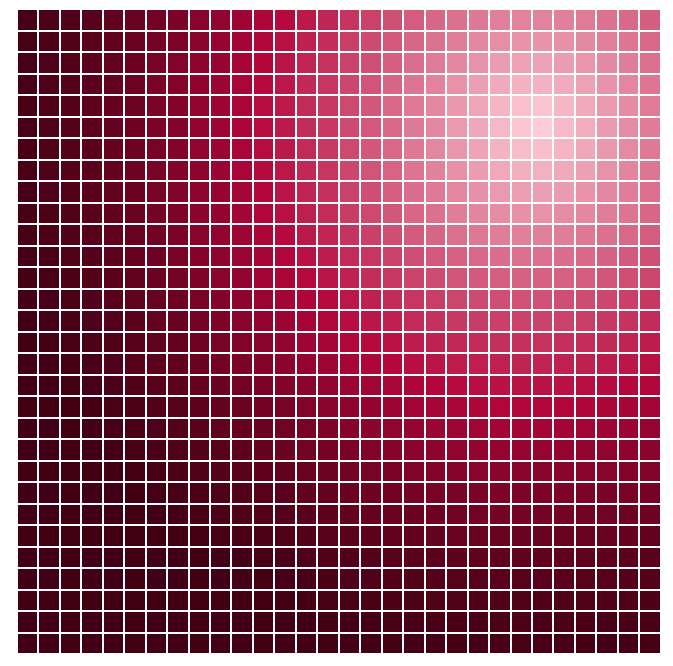
Go to Object choose Create object mosaic and adjust the setting according to your need you can also see the below image for object mosaic setting.
STEP 4
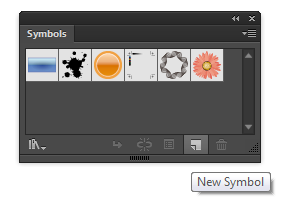
Select the object open symbol palette from Window > Symbol then click on new symbol icon in the symbol palette. with this your object is saved in symbol palette as a symbol now delete out the object from artboard.
STEP 5
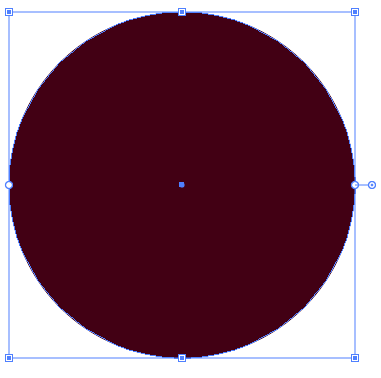
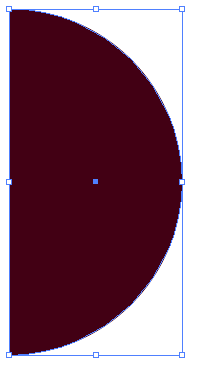
Create ellipse on art board with the help of direct selection tool delete the left anchor point of the ellipse.
STEP 6
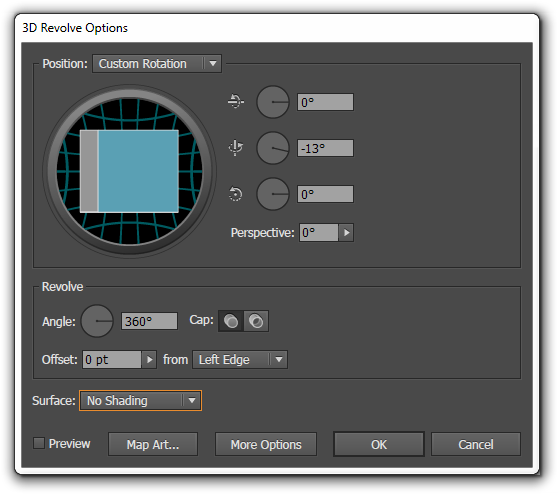
Select the semicircle go to Effect > 3D > Revolve. see the below image for 3D revolve settings.
STEP 7
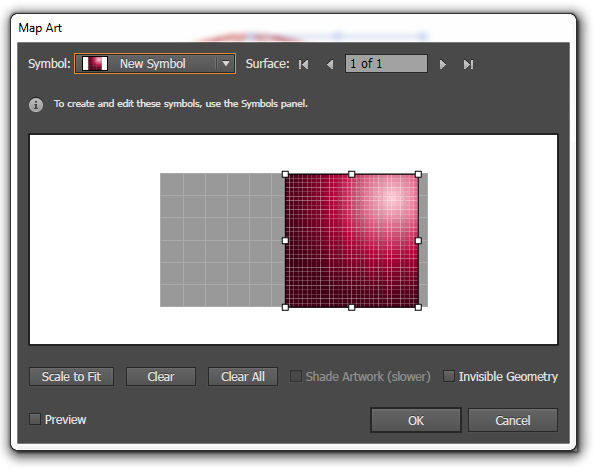
Click the map art button. select the symbol that we have created place the symbol at the left corner then resize the symbol if needed.
STEP 8
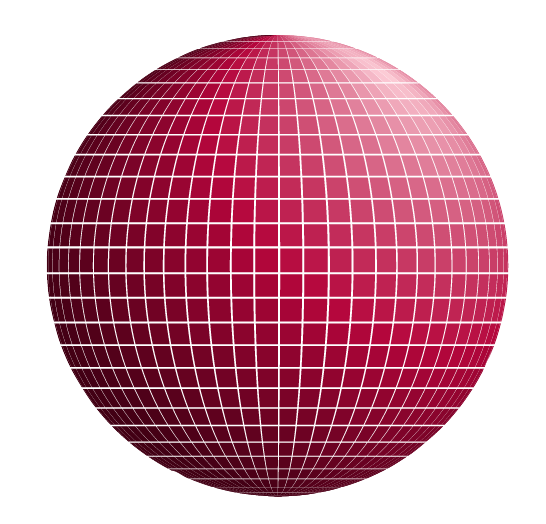
Now select the sphere choose Object > Expand appearance. its time to ungroup everything. select sphere and press three times ctrl+shift+g to ungroup.
STEP 9
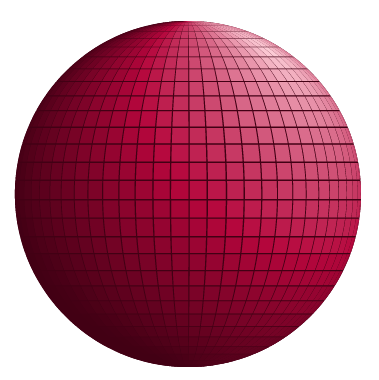
Make ellipse same as the size of sphere. Select and put it underneath the sphere. select the sphere then release clipping mask and ungroup the tiles of sphere.
STEP 10
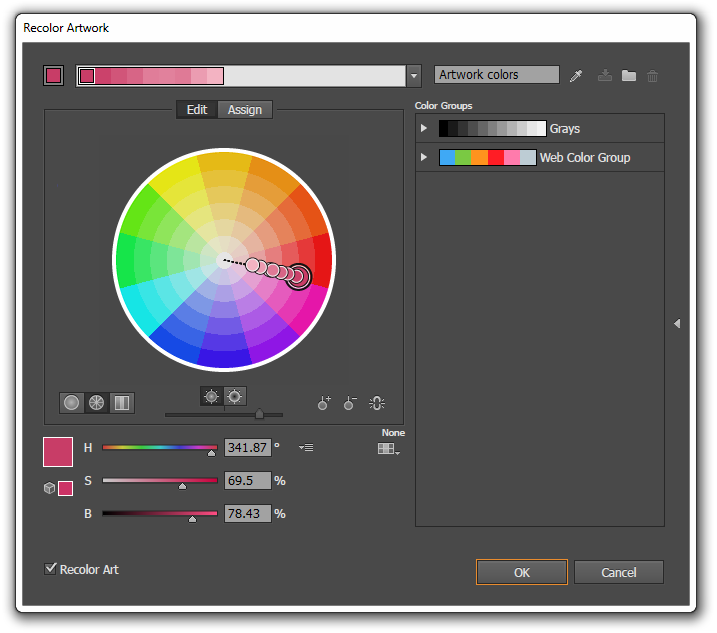
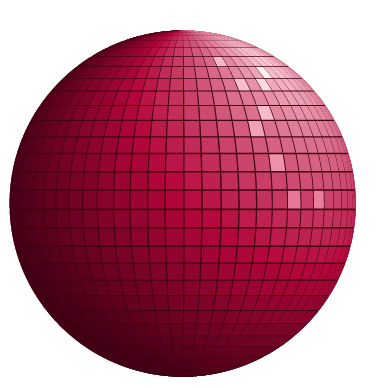
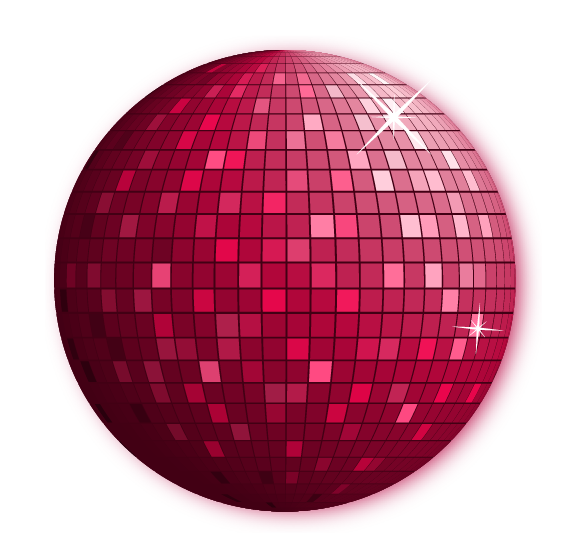
It's time to convert your sphere into a disco ball. we should make our sphere more shiny and glossy. select some tiles in the lightest area choose Edit > Edit colors > Recolor artwork than click on edit, than link harmony, than increase the brightness (B) and decrease the saturation (S).
STEP 11
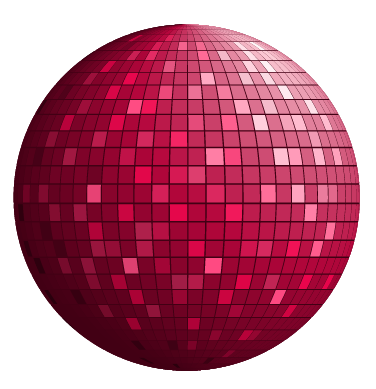
Select some other tiles repeat the same action but this time you have to use your imagination and creativity. Play with colors adjust brightness and saturation. repeat this action until you satisfied with your result.
STEP 12
To look your disco ball more realistic and attractive put some stars on it.
0 Comment(s)