In this tutorial, we'll learn to create a transparent battery in illustrator.
Step 1: Open up a new document and filled with black color.
Step 2: we'll start to make a metal cap of battery. So take a pen tool and draw a shape. Apply the gradient on it with grey shades.
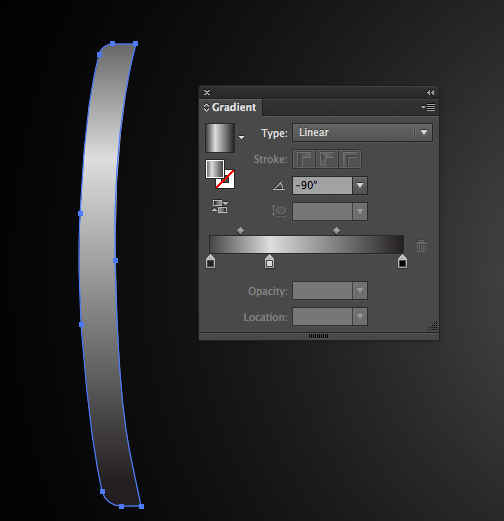
Step 3: Copy and paste the shape and drag it 1px to the right. Changed the gradient color with black shades.
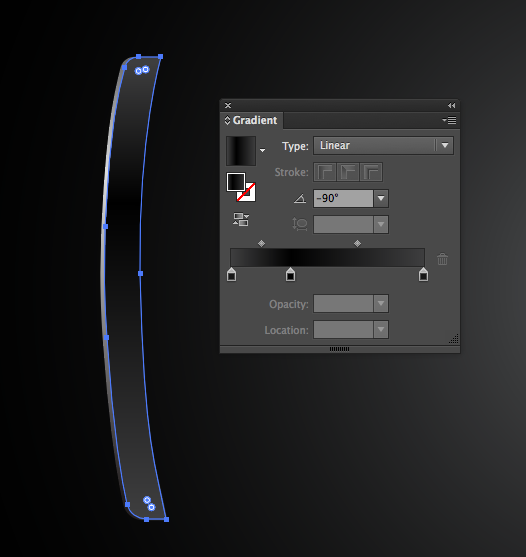
Step 4: Add some more shapes on top and bottom part of the cap. Take a pen tool and draw the shape. filed with white color. Goto effects > stylize > feather and click on it. Open a dialog box set the value of feather by 2px. Decrease the opacity by 60%. Copy that shape at the bottom as well.
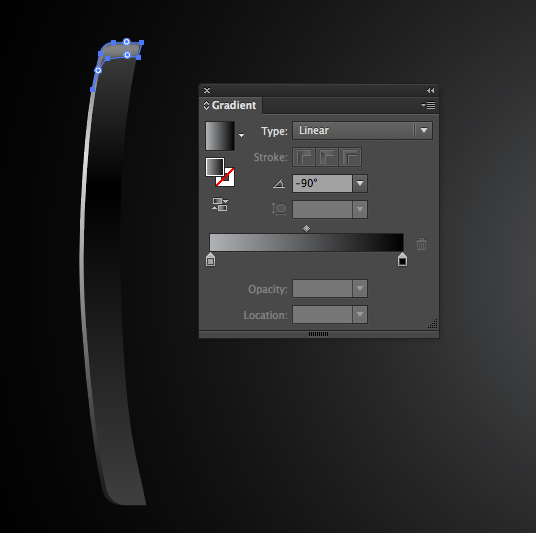
Step 5: Add reflection on the metal. Take a pen tool and draw the shape. filled with white and grey gradient.Give the shape a 1px Feather as well. decrease the opacity by 50%.
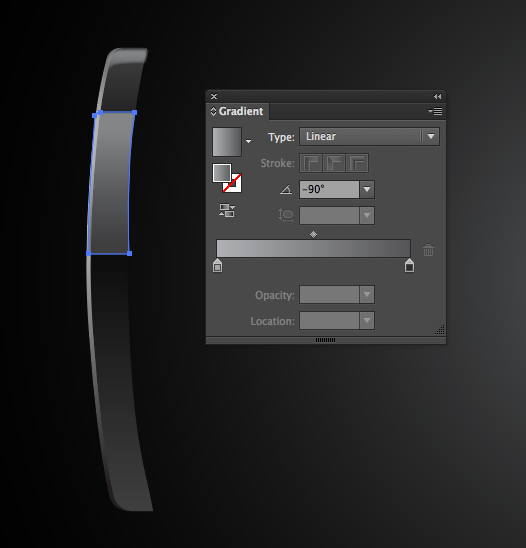

Step 6: Now create the transparency body. Draw the shape of body and fill the gradient with white and black.
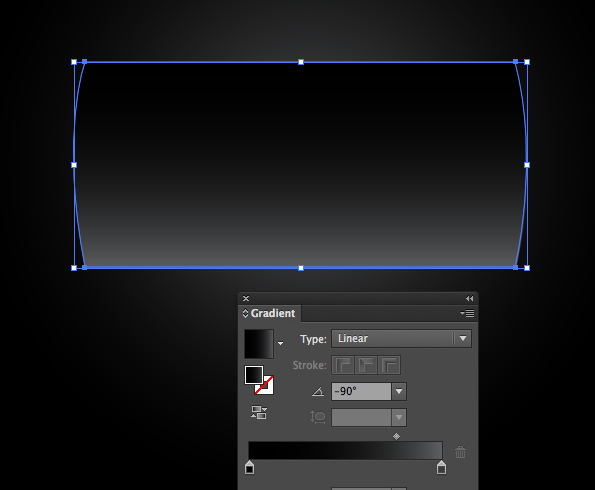
Step 7: We'll create the reflection on the glass to make looks transparent. draw two shapes and place at top and bottom of the glass. filled with gradient and decrease the opacity by 75%.

Step 8: Add more reflection on the glass. Draw a shape as shown below, and fill it with white color. make sure the feather must be 2px and opacity decrease to 50%.
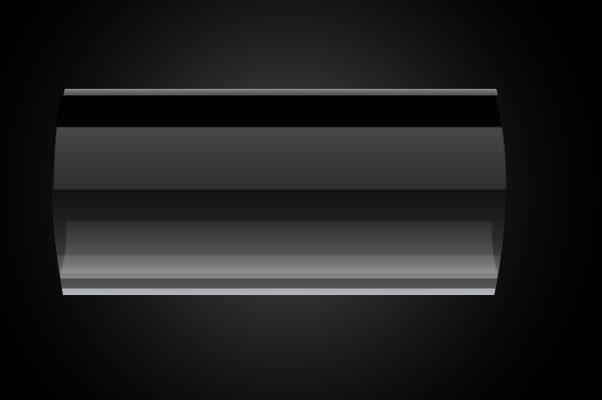
Step 9: Draw another shape for a reflection as shown below. Decrease the opacity to 40% and feather by 2px.
Step 10: Copy the metal cap and paste at right side. Go to Object > Transform > Reflect and click on it.
Step 11: Create the positive panel of the battery. select the metal cap and copy it. resize the metal cap and place behind the metal cap.
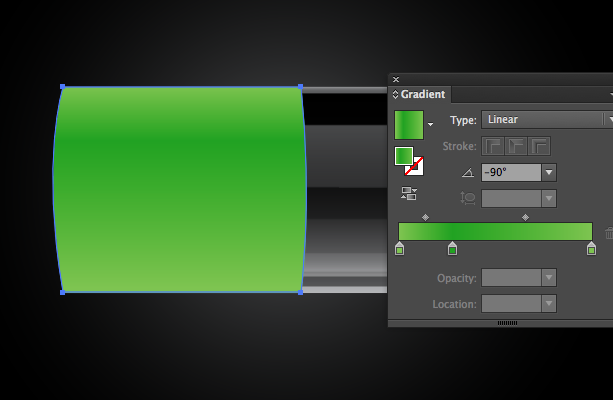
Step 12: Time to work on battery energy. Draw a shape with the Pen Tool and filled with green color. place behind the reflection.
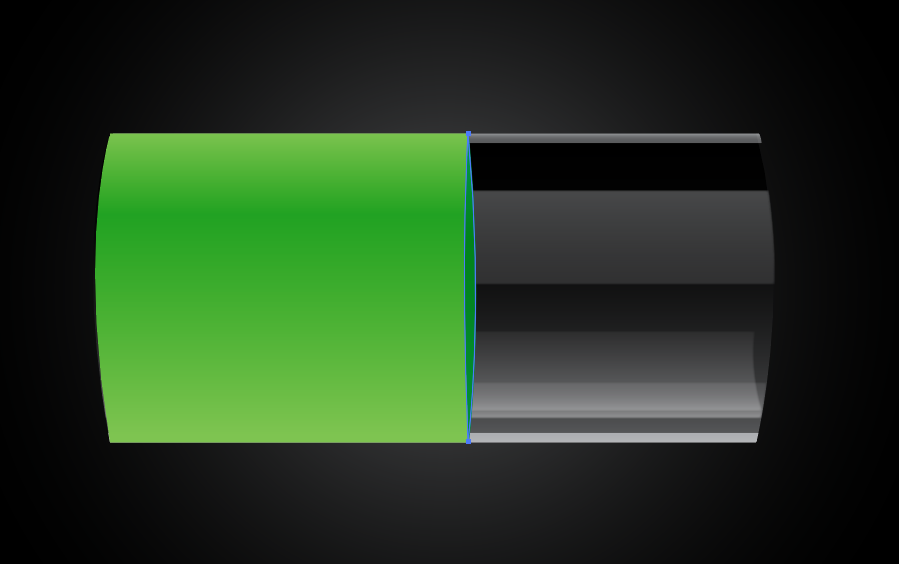
Step 13: Add some light on the metal. draw a circle and filled with black and white gradient. change the blending mode to screen.
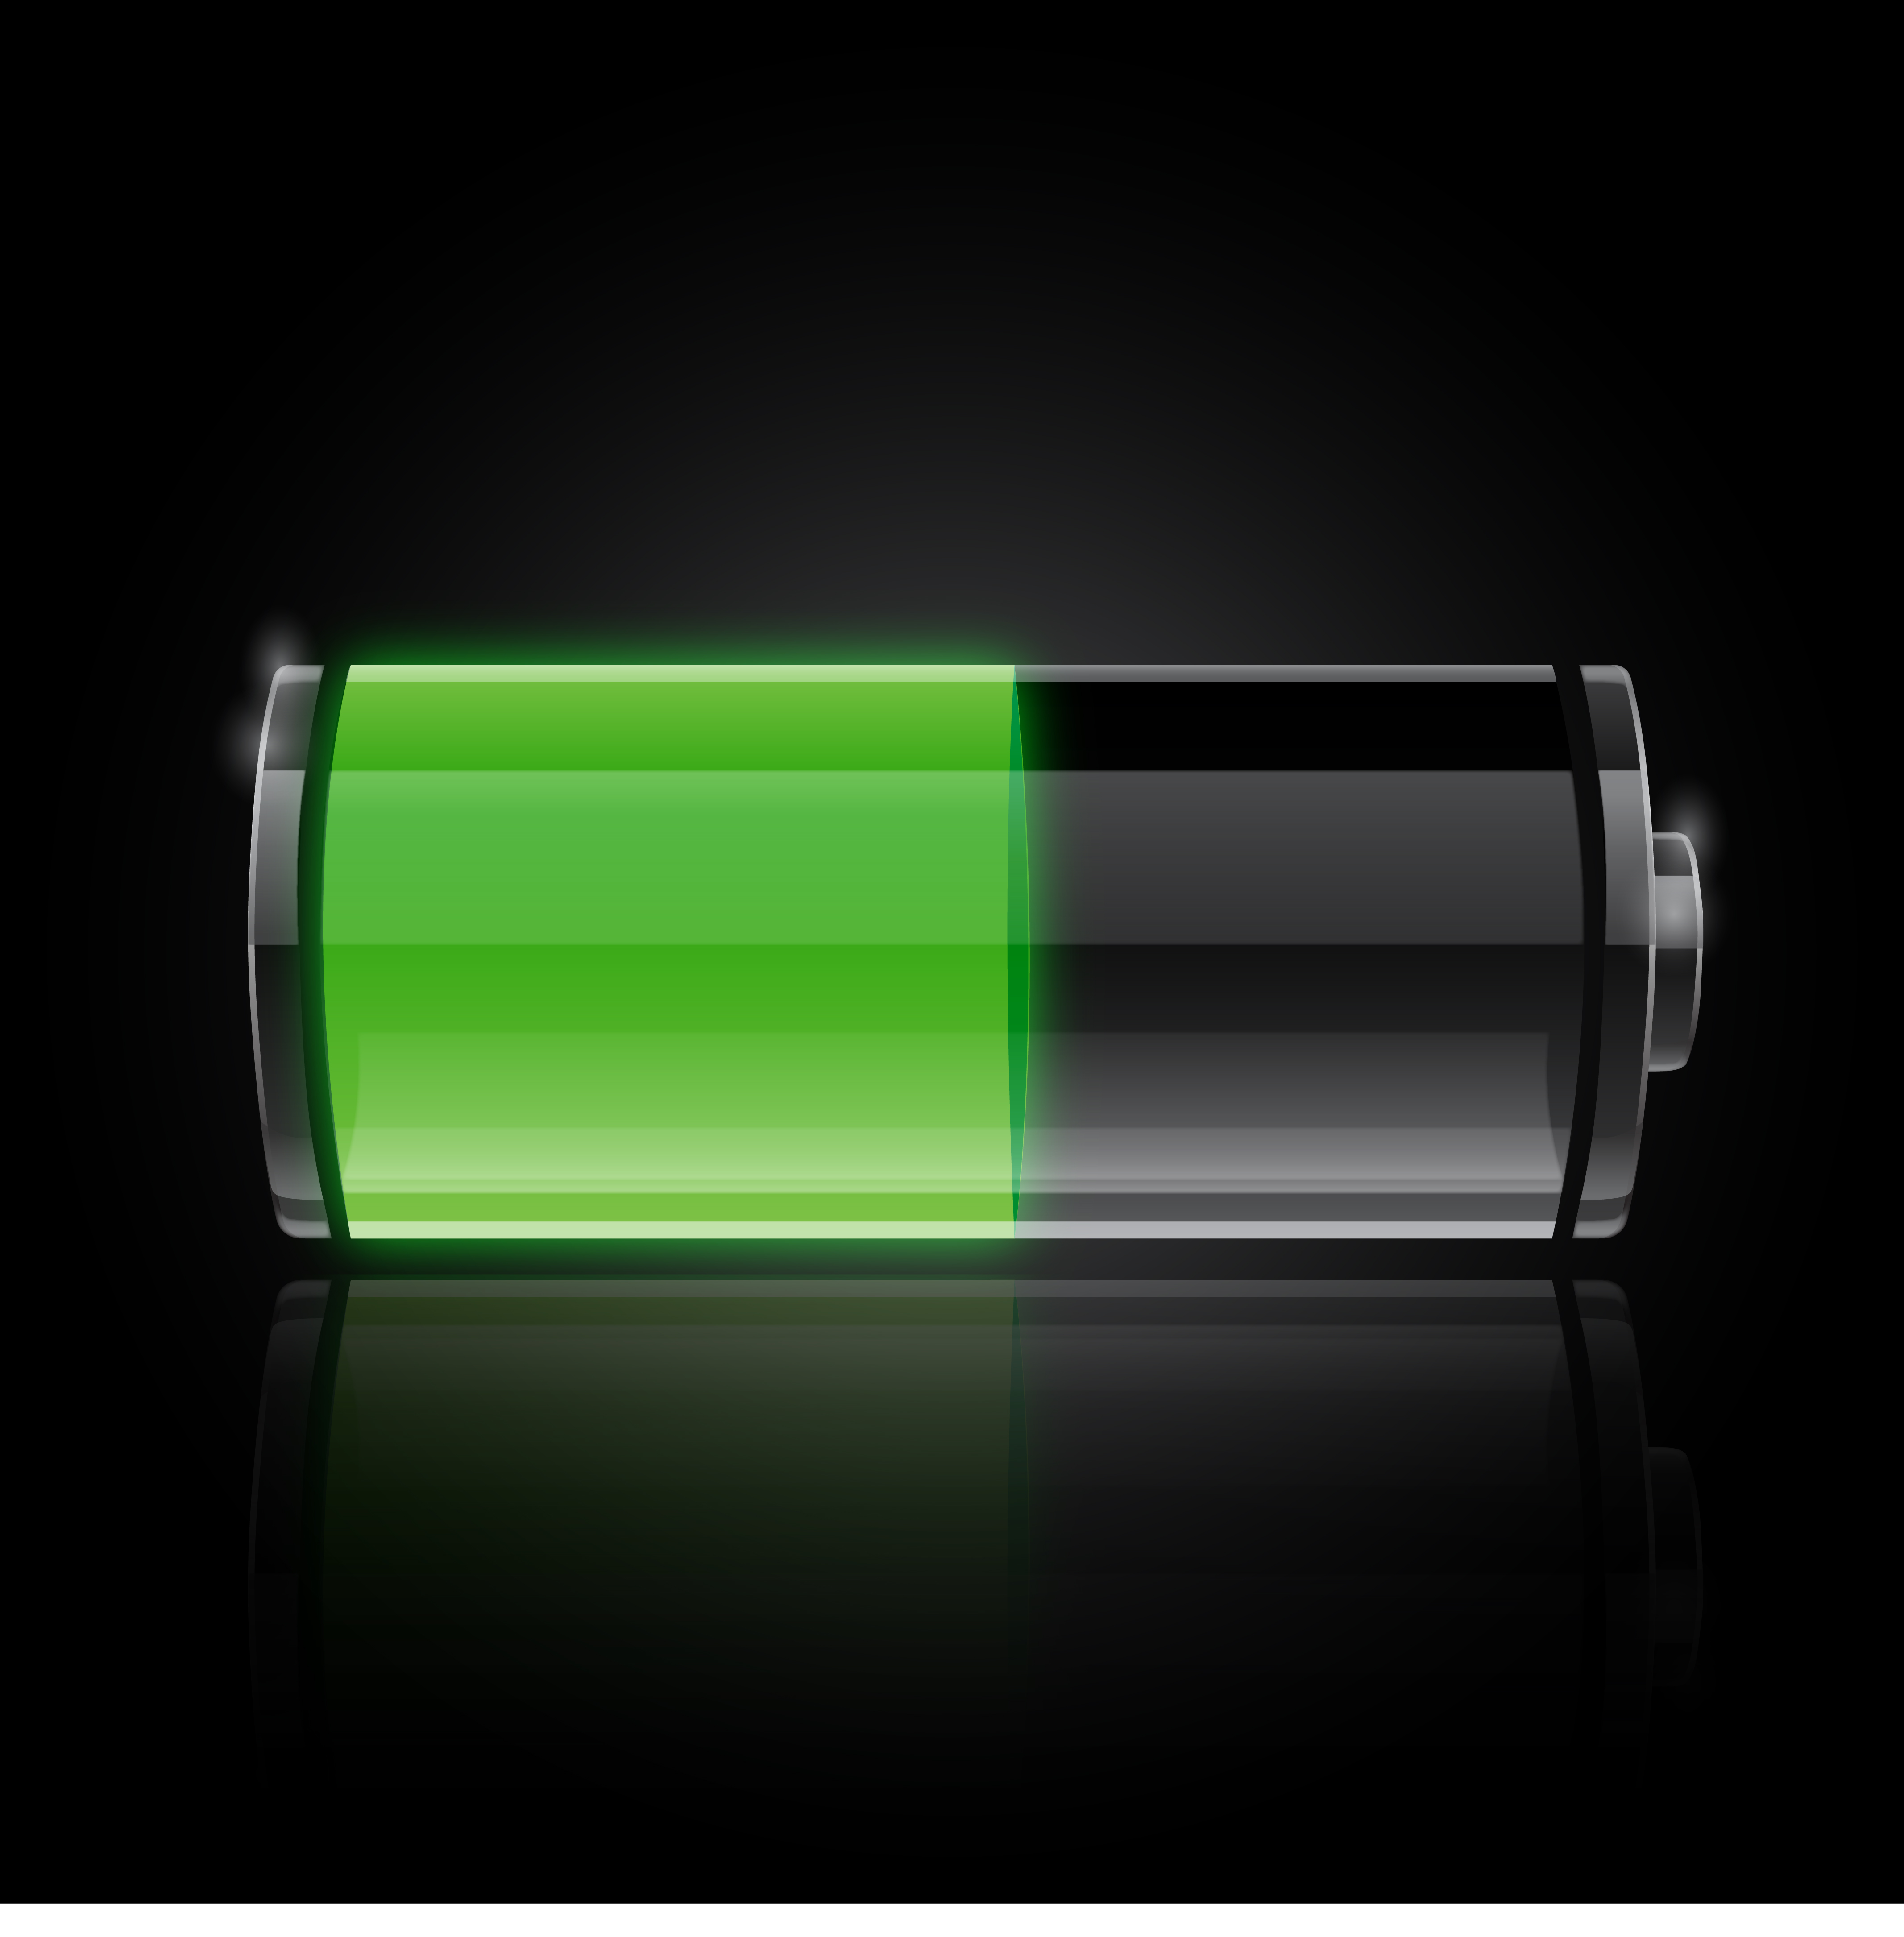
Here we got a transparent battery icon
0 Comment(s)