In this tutorial we will learn about to make a realistic flag in illustrator.
Step 1: First we need to create the vector american flag. so open up a new document and make the rectangle on the canvas. Fill the red color inside it.
Step 2: Now create the strips on the rectangle and fill with white color.
Step 3: Need to make a another rectangle. fill with blue color and place on the top left corner of the older rectangle.
Step 4: Select the basic shape tool and make a star and filled with white color inside it, Copy and paste the stars on the blue rectangle.
Step 5: Here we create a vector american flag. Now time to create real once. First select the flag and drag into the symbol panel. Goto the Window > Symbols and open it.
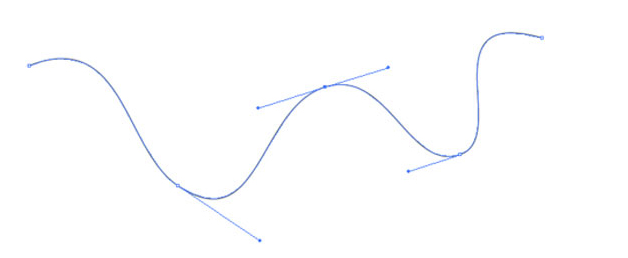
Step 6: Create a curve line on the canvas. See the below image to make a curve line and apply the 3D effect on it.

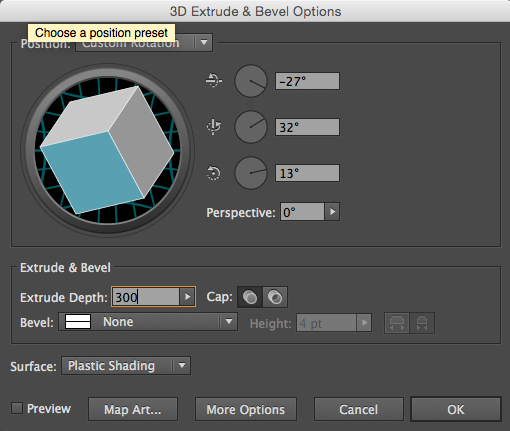
Step 7: Select the curve and Goto the Effects > 3D > Extrude & Revolve and click on it. open a 3d dialog box and set the values of 3d effects. Here is the image of 3d option.

Step 8: After doing this thing just hit on map art and apply the american flag symbol. All you have to do is to switch between the Surfaces of the flag and apply our symbol. if the flag doesn't fit the shape try manually.
Step 9: Now select the flag and goto object > Expand and click on it. We have to do is to ungroup the flag. flag contains so many elements so ungroup one by one.
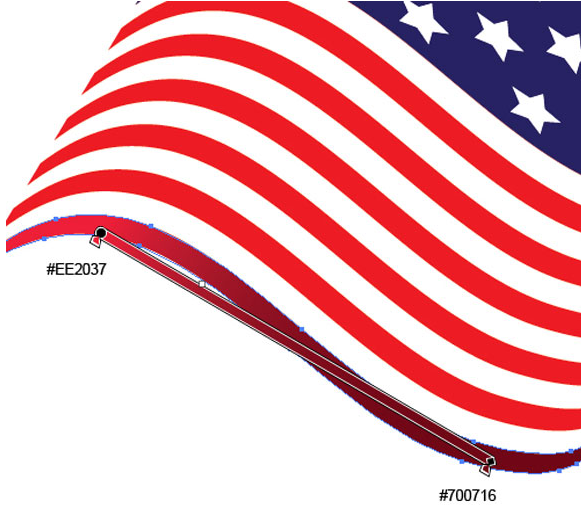
Step 10: If you want the flag more realistic apply the gradient to on the flag. select the red strip and apply gradient with dark and light color of red and select the white strip apply the gradient with white and grey. don't forget the blue rectangle and stars.

Step 11: Make another rectangle and filled with grey linear gradient. Make circle and filled with grey radial gradient.

This is the process to create a realistic flag. Use this procedure we can create the another flag.
0 Comment(s)