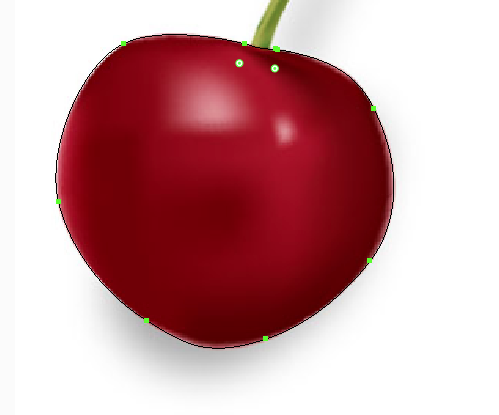
Step 1: In this tutorial you will learn how to make a sweet cherry in illustrator. Once the new document window appears name the document then add width and height.
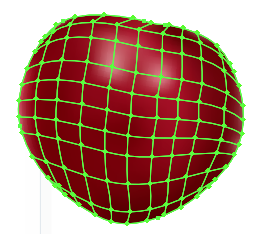
Step 2: Now go to the pen tool and start trace outline of the cherry. After this we need to add the mesh inside the outline of the cherry. See the below image to add and set the mesh.


Step 3: Go to sub selection tool and select the anchor points one by one and fill the color. (Same as a reference)

Step 4: Now create the stem of the cherry. Add mesh lines with the Mesh Tool inside the stem and fill the color.
Step 5: After this, it's time to make a shadow. Draw an oval and fill it with black and white gradient. Make sure the blending mode is to be overlay. Place the shadow under the garlic.

0 Comment(s)