In this tutorial we"ll learn how to make a smoking pipe.
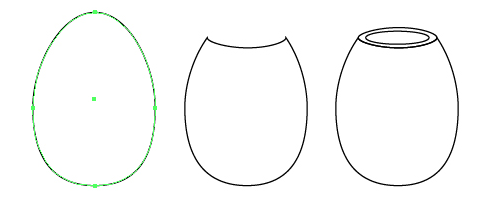
Step 1: First open up a new document with any size. Take a ellipse tool and draw a oval shape. Select the direct selection tool, select the right and left center point and drag downward. so we can get the shape like an egg.
Step 2: Now draw another horizontal oval and select both oval. Goto the Go to Object > Path > Offset Path. Then draw the another oval inside the first one.
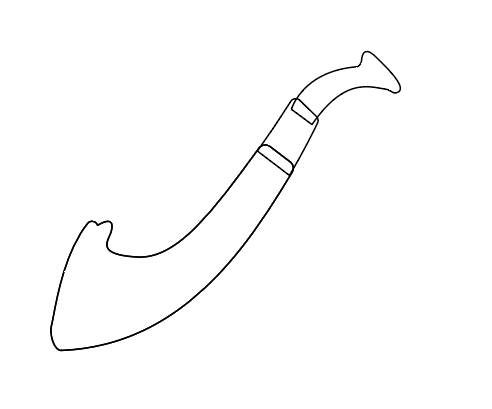
Step 3: By using pen tool draw the shape of shank see the below image to draw the actual shape of shank.
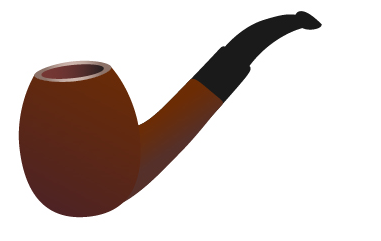
Step 4: Now we need to fill the color inside the pipe. In bowl and shank we"ll fill brown color and the other part of pipe are filled with black tone.
Step 5: Let's make a wood texture for the pipe. So make a rectangle and filled with brown color, Goto Effect > sketch > graphic pen and apply on it. See the values of this settings.
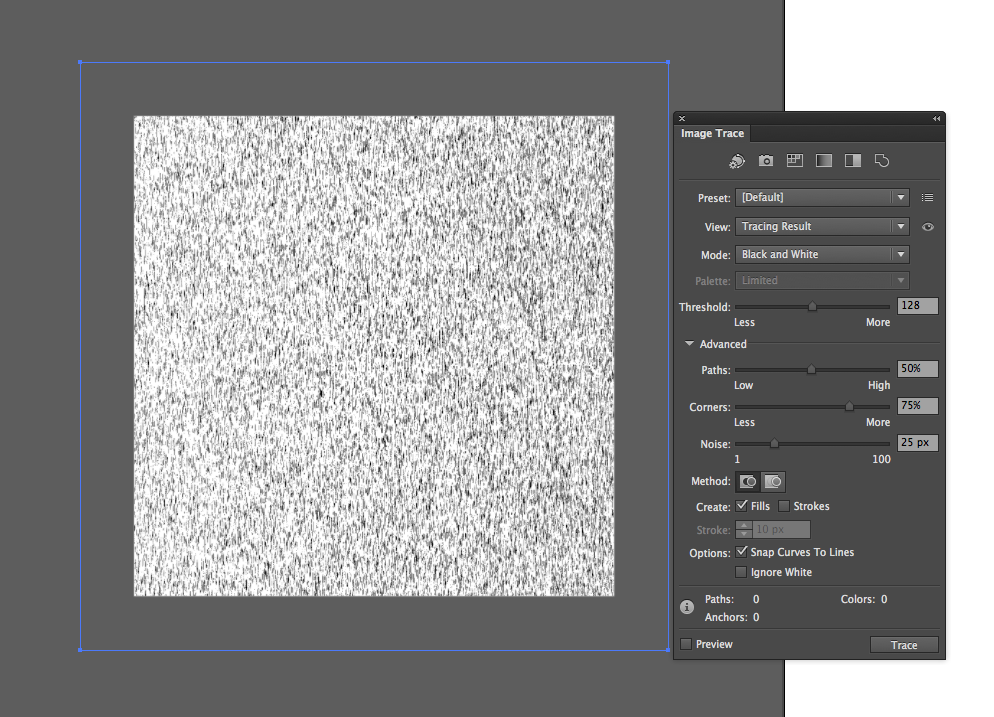
Step 6: Select the texture and goto Object > Live Trace > Tracing Options. Click on it, set the values of this settings. Then expand the rectangle Object > expand appearance.
Step 7: Now select the pipe and texture and apply masking on it. Click right mouse button and make clip masking.
Step 8: Take ellipse tool and draw the Two ovals on the bowl. Apply the gaussian blur to make a light effect. Decrease the opacity by 30%.
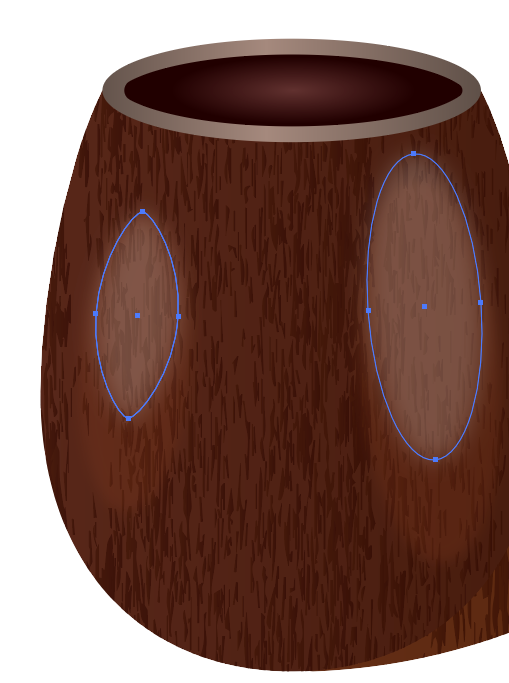
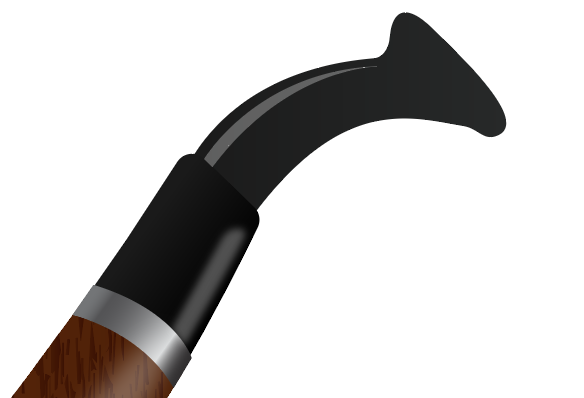
Step 9: Take a pen tool and draw the shape and filled with linear gradient like a metal. Need to add more light, draw another oval and apply gaussian blur, decrease the opacity by 50%.
Step 10: Draw another shapes using pen tool on the upper part of pipe and apply gaussian blur. than decrease the opacity by 50%.
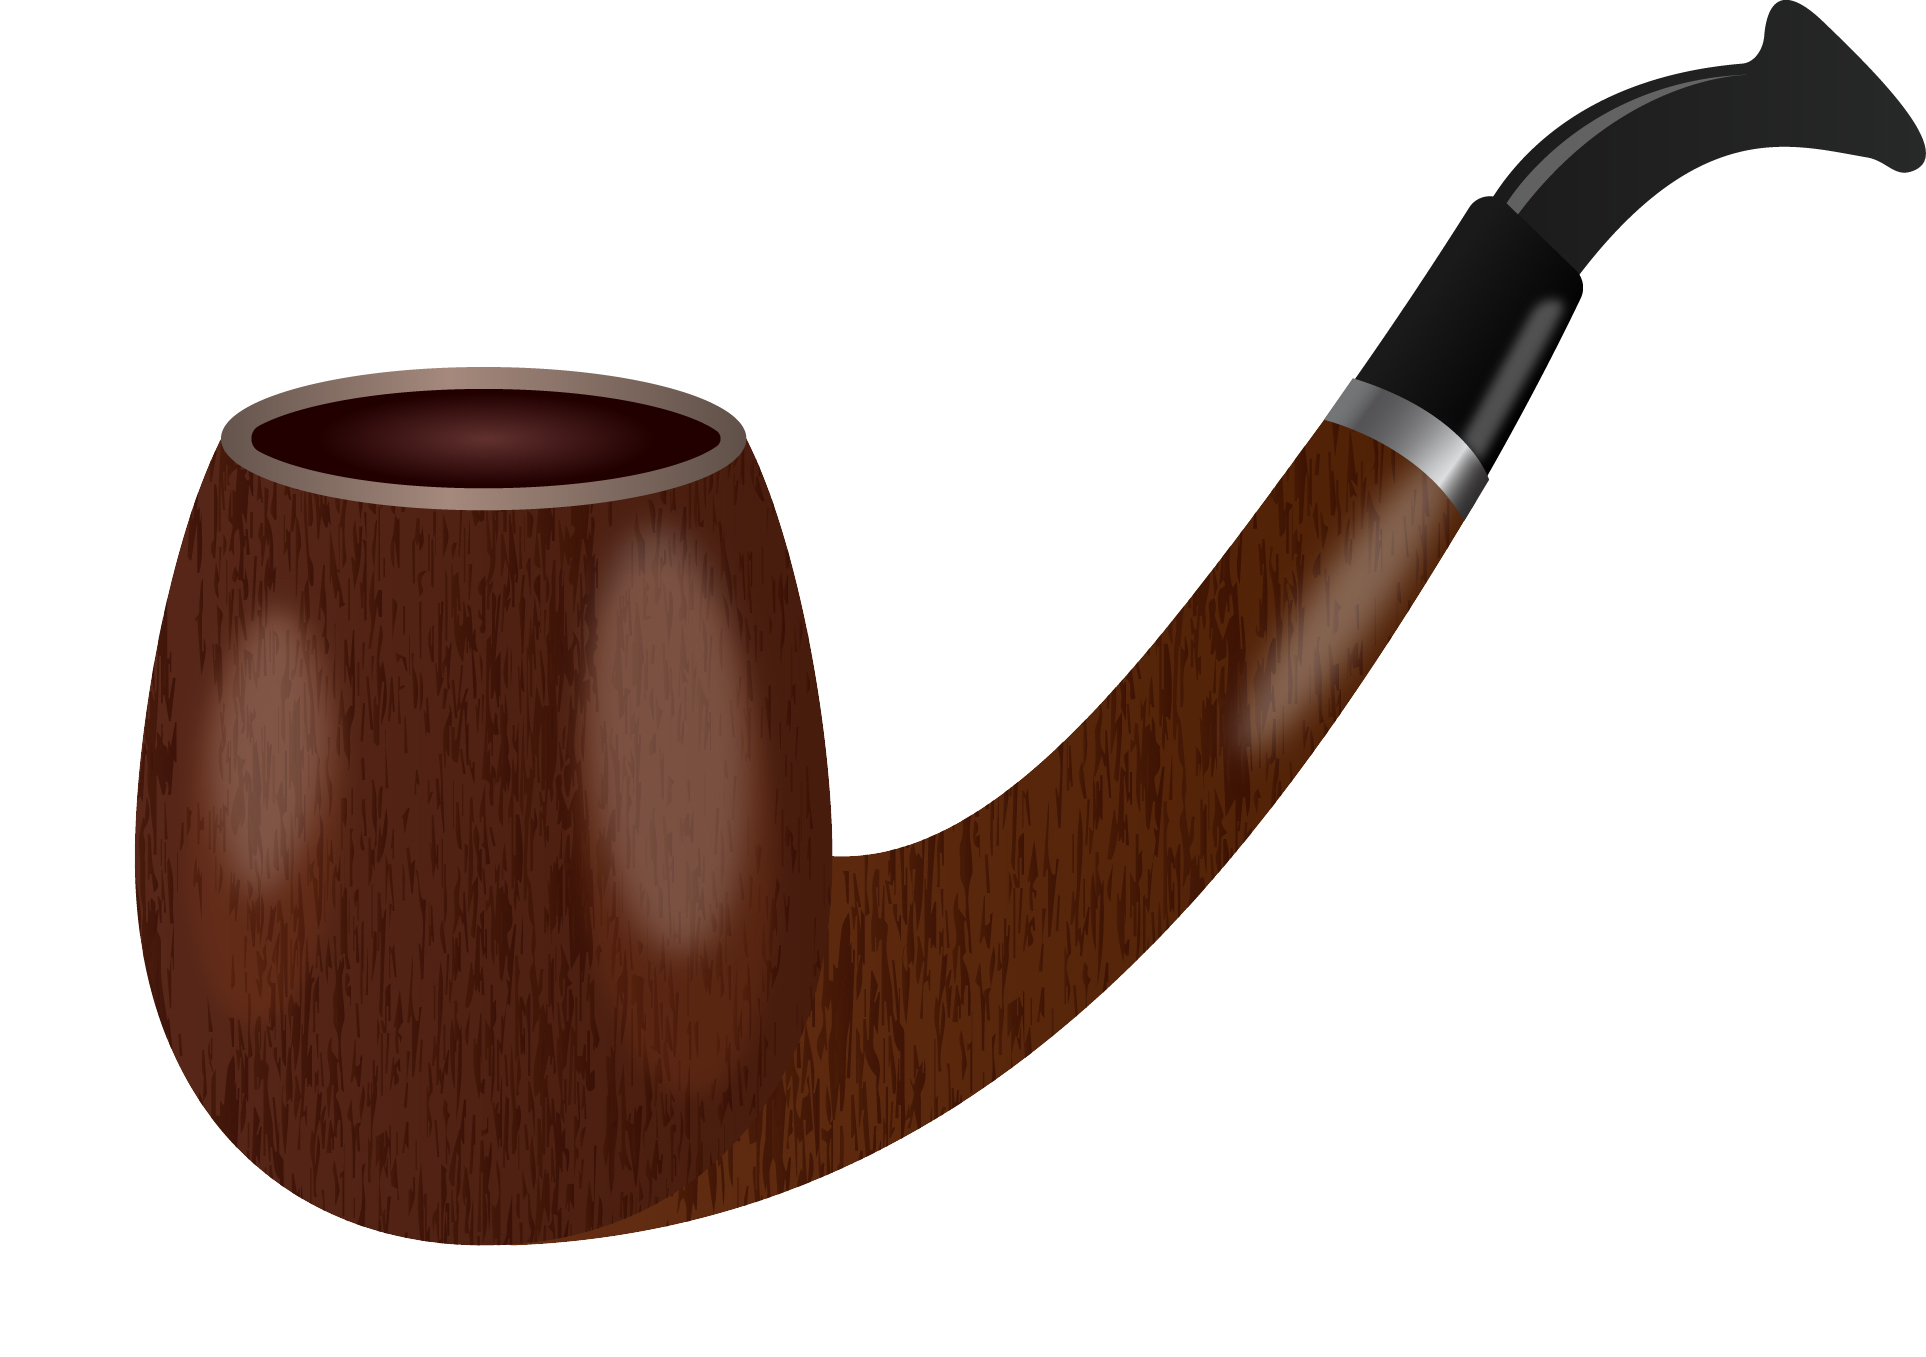
Here we make the smoking pipe.
0 Comment(s)